

- What is house rendering?
- Different types of rendering
- Cement Render
- Lime Render
- Polymer Render
- Acrylic Render
- Silicone Render
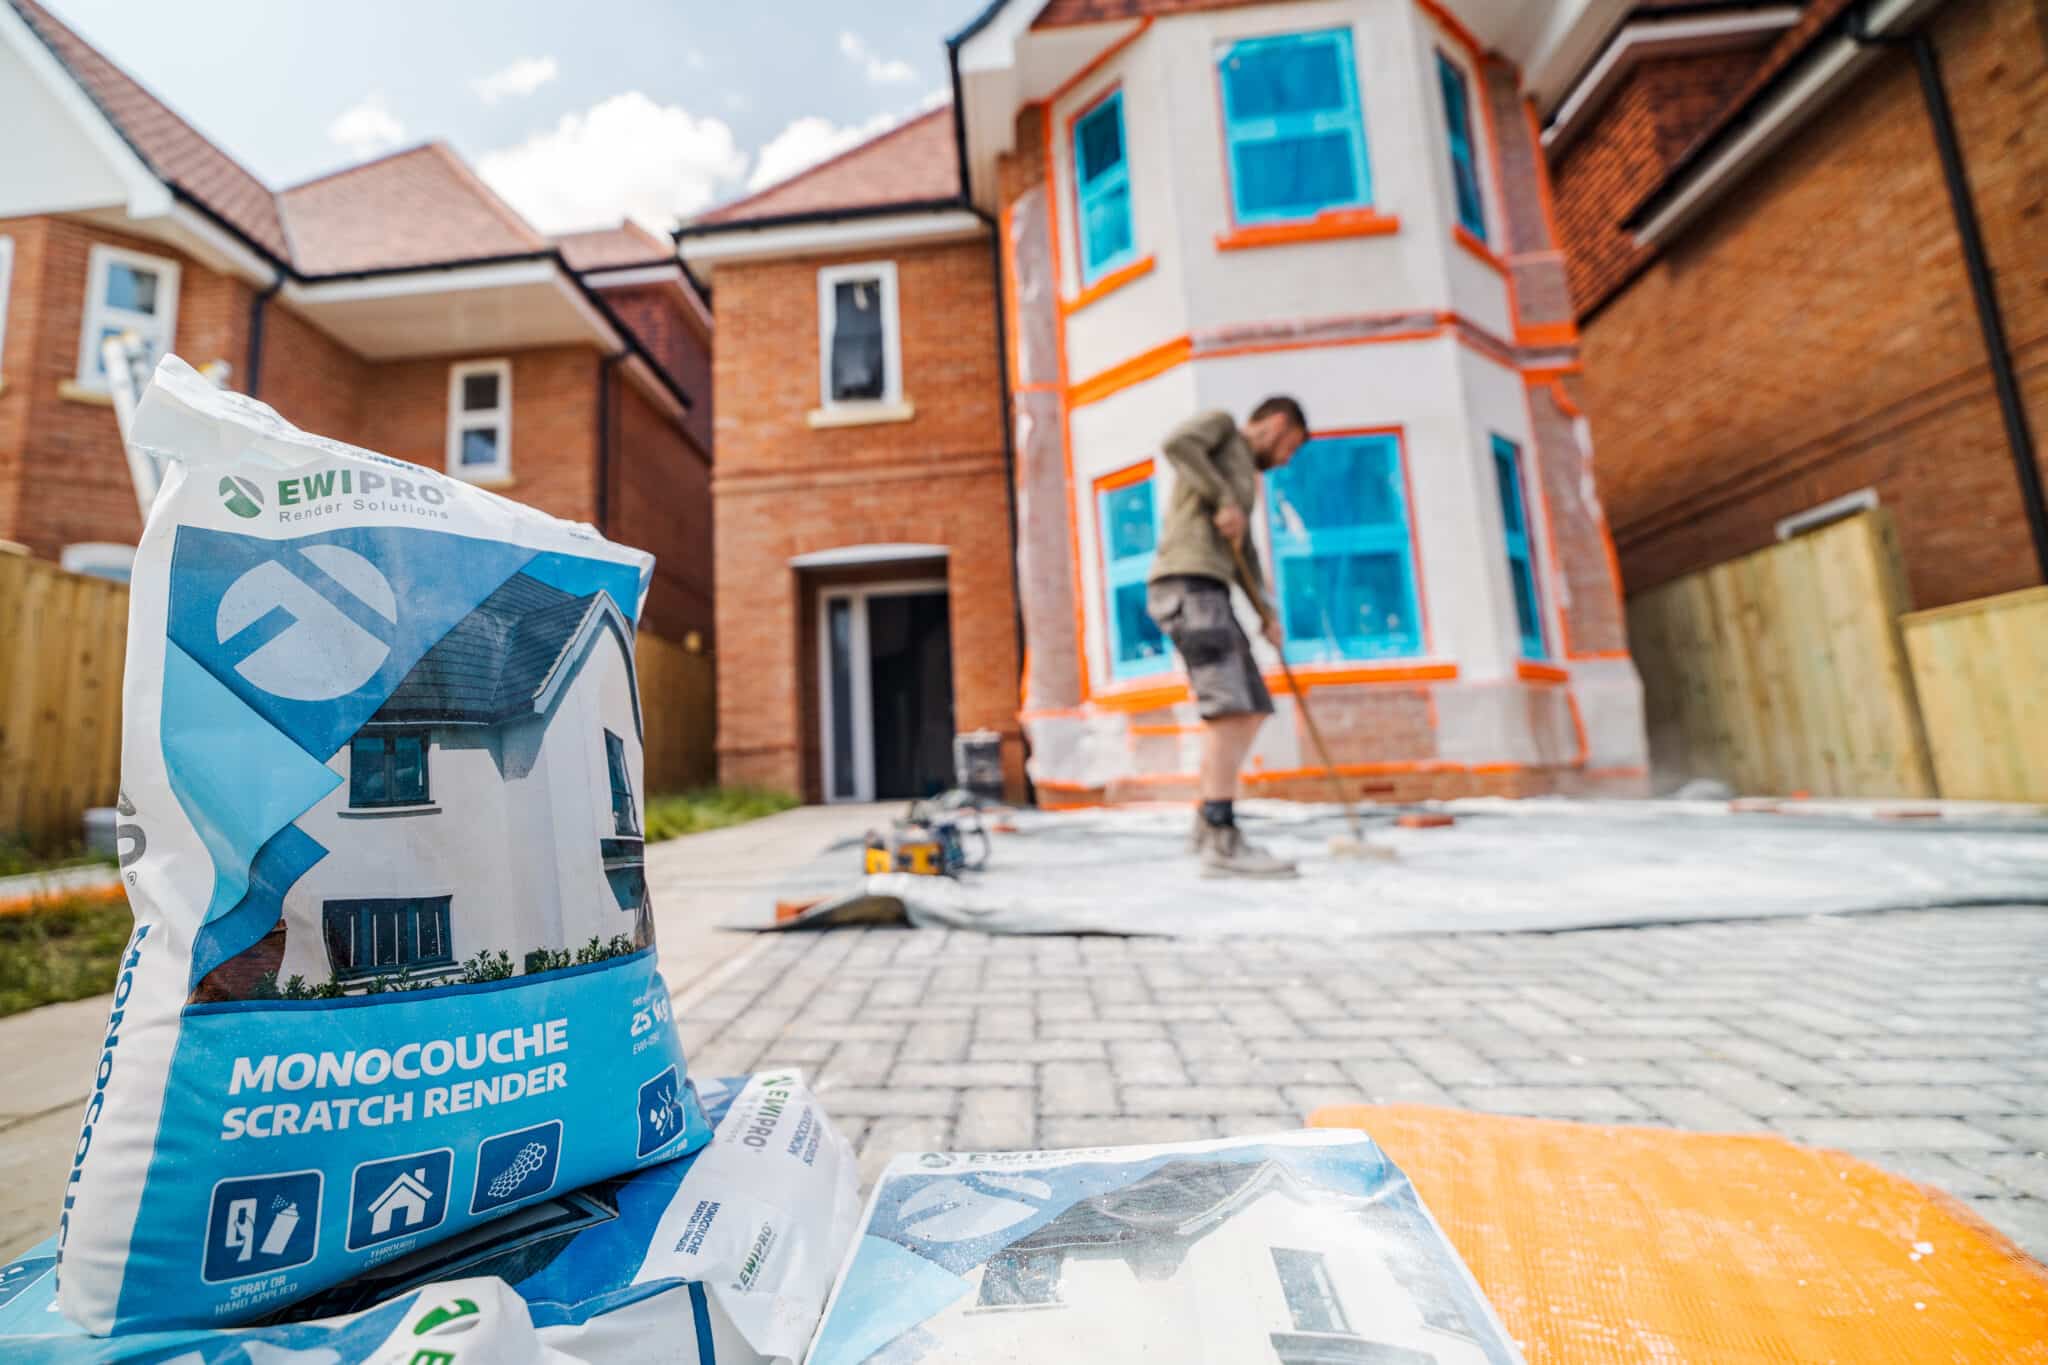
- Monocouche Render
- The cost of rendering
- Benefits of rendering
- Enhanced Protection
- Improved Thermal Performance
- Increased Property Value
- Low Maintenance
- Moisture Management
- Aesthetic Flexibility
- Sound Insulation
- Is this something you can DIY?
- Do you require planning permission for house rendering?
- How do you apply render - trowel or spray?
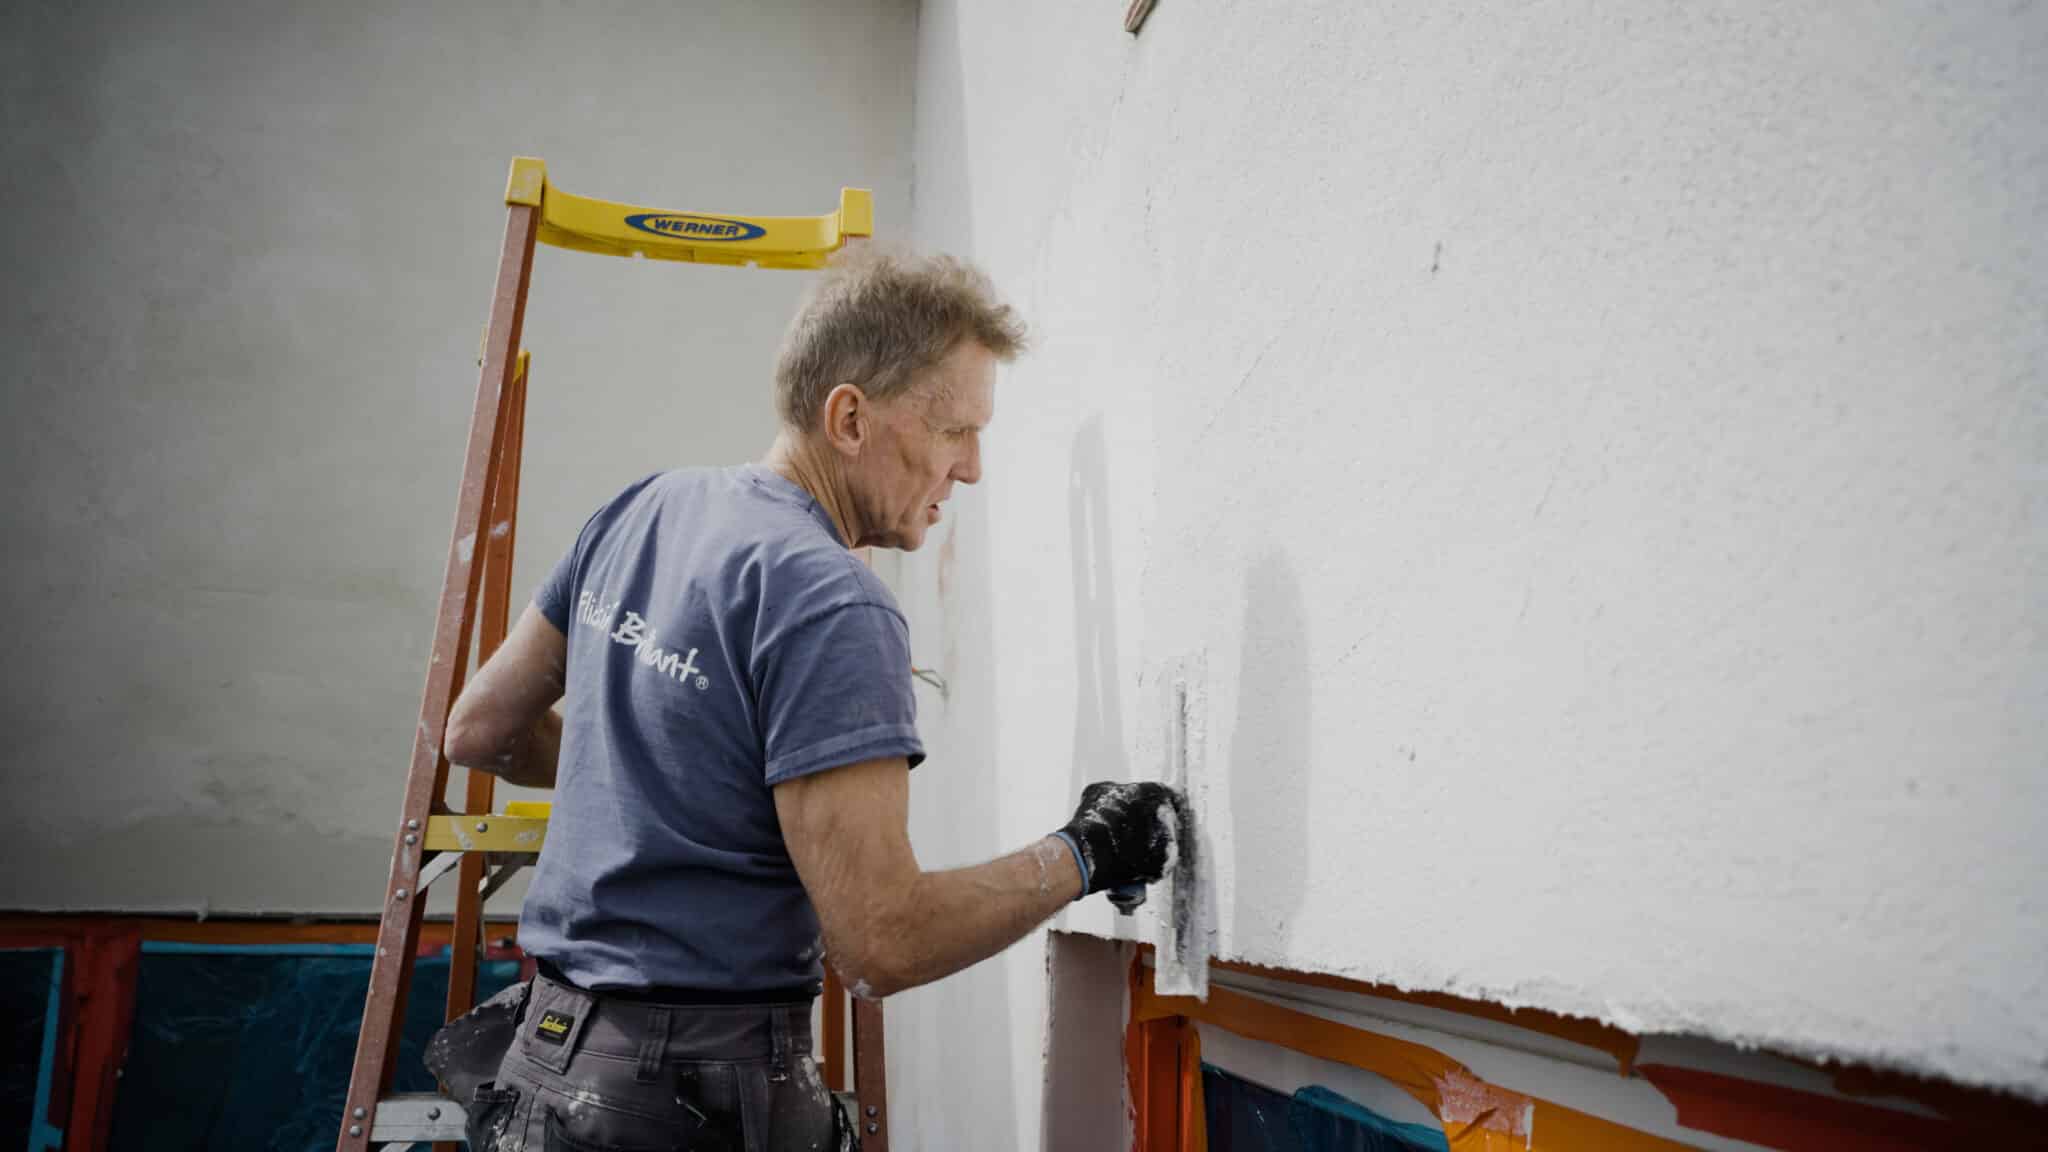
- Trowel Application
- Spray Machine Application
- Installing EWI alongside house rendering
- Types of Insulation and Render Used
- Application Process
Rendering is a construction technique that covers the exterior walls of a building with a protective layer or finish. Rendering can be an excellent option for giving your house an aesthetic facelift or improving its weather resistance. This comprehensive guide will explore rendering, the various types available, cost considerations, benefits, DIY possibilities, planning permissions, application methods, and its use with External Wall Insulation (EWI).
What is house rendering?
Rendering is a construction process that applies a protective and decorative coat to a building's exterior walls. This coat can be made from various materials, including traditional mixes of sand and cement and more modern and advanced materials like silicone and acrylic-based renders. The primary purpose of rendering is to protect buildings from external weather elements such as rain, snow, and ice, which can cause structural damage over time. Besides protecting a building, rendering is crucial in enhancing its aesthetic appeal. It provides a smooth or textured finish that can be coloured or painted, allowing for a significant transformation in appearance. This can be particularly beneficial for older buildings with brickwork or stonework that have become discoloured or damaged over time. Rendering can be applied to a range of materials, including brick, stone, concrete, and even over existing renderings, to improve insulation or update the façade of the building. Different application methods involve using a trowel to apply the render in layers or using a spray machine for a more uniform and faster application. Moreover, rendering also contributes to improving the thermal performance of a building. Adding a layer of insulation beneath the render, known as EWI, allows the building to retain more heat during the winter and stay cool in the summer, reducing energy costs.
Different types of rendering
Rendering has evolved significantly, adapting to various architectural styles and climatic conditions.
Cement Render
Cement rendering is the oldest and most traditional form of rendering. It is composed of sand, cement, and sometimes lime to make the mixture workable. It is typically applied in several coats, starting with a thicker base layer and finishing with a finer topcoat. The cement render needs to be painted after application to achieve the desired colour and to provide additional weather protection. While it is cost-effective, it can be prone to cracking if not mixed or applied properly, especially in areas with extreme weather changes.
Lime Render
Lime render is especially suitable for older, historic buildings because it is more flexible and breathable than cement. This render type allows moisture to evaporate from the walls, reducing the risk of trapped damp and damage to the building structure. Due to its self-healing properties, lime render naturally deters mould growth and can heal small cracks over time. While more expensive and slower to cure than cement, its durability and eco-friendly characteristics make it a preferred choice for heritage conservation projects.
[caption id="attachment_73867" align="aligncenter" width="1024"]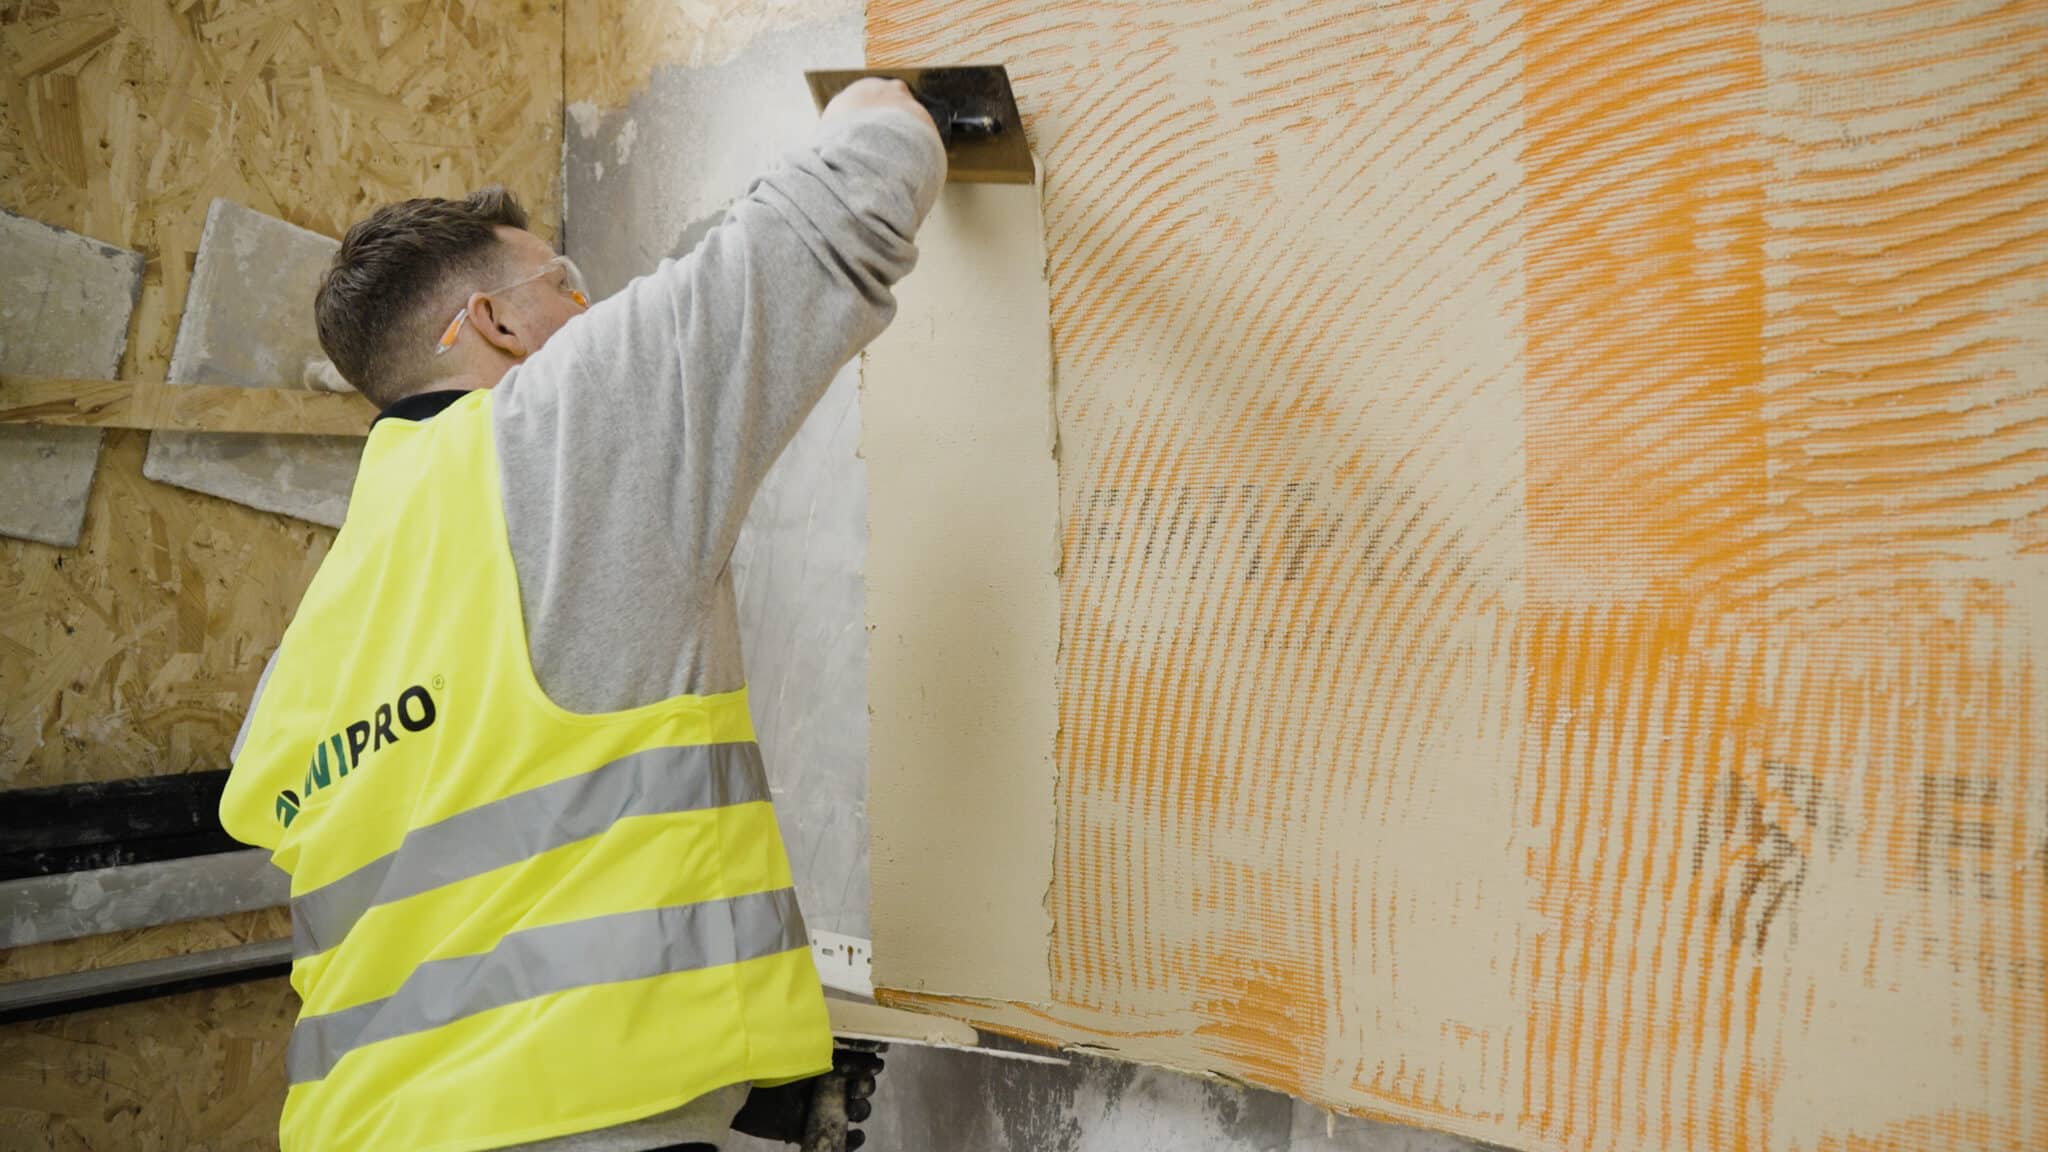 Lime basecoat install[/caption]
Polymer Render
Polymer renders are cement-based renders enhanced with synthetic polymers, which improve adhesion, flexibility, and water resistance. They are less likely to crack than traditional cement render and can be pre-coloured, eliminating the need for painting. Polymer renders often come ready to use and can be applied in thinner layers, making them quicker and easier to apply than traditional renders.
Acrylic Render
Acrylic render features a plastic-based finish that is highly resistant to cracking and provides a smooth or textured finish.This render type is typically used as a topcoat over existing render to add colour and improve water resistance. Acrylic renders dry quickly, enhancing the facade’s durability and colour retention.
Silicone Render
Silicone renders are advanced formulations that offer excellent water resistance and breathability. They allow water vapour to escape from the walls while preventing rain from penetrating, making them ideal for wet climates. Silicone render also self-cleans repels dirt and algae and reduces maintenance needs. It comes in various textures and colours, providing a durable and attractive finish.
[caption id="attachment_73885" align="aligncenter" width="1024"]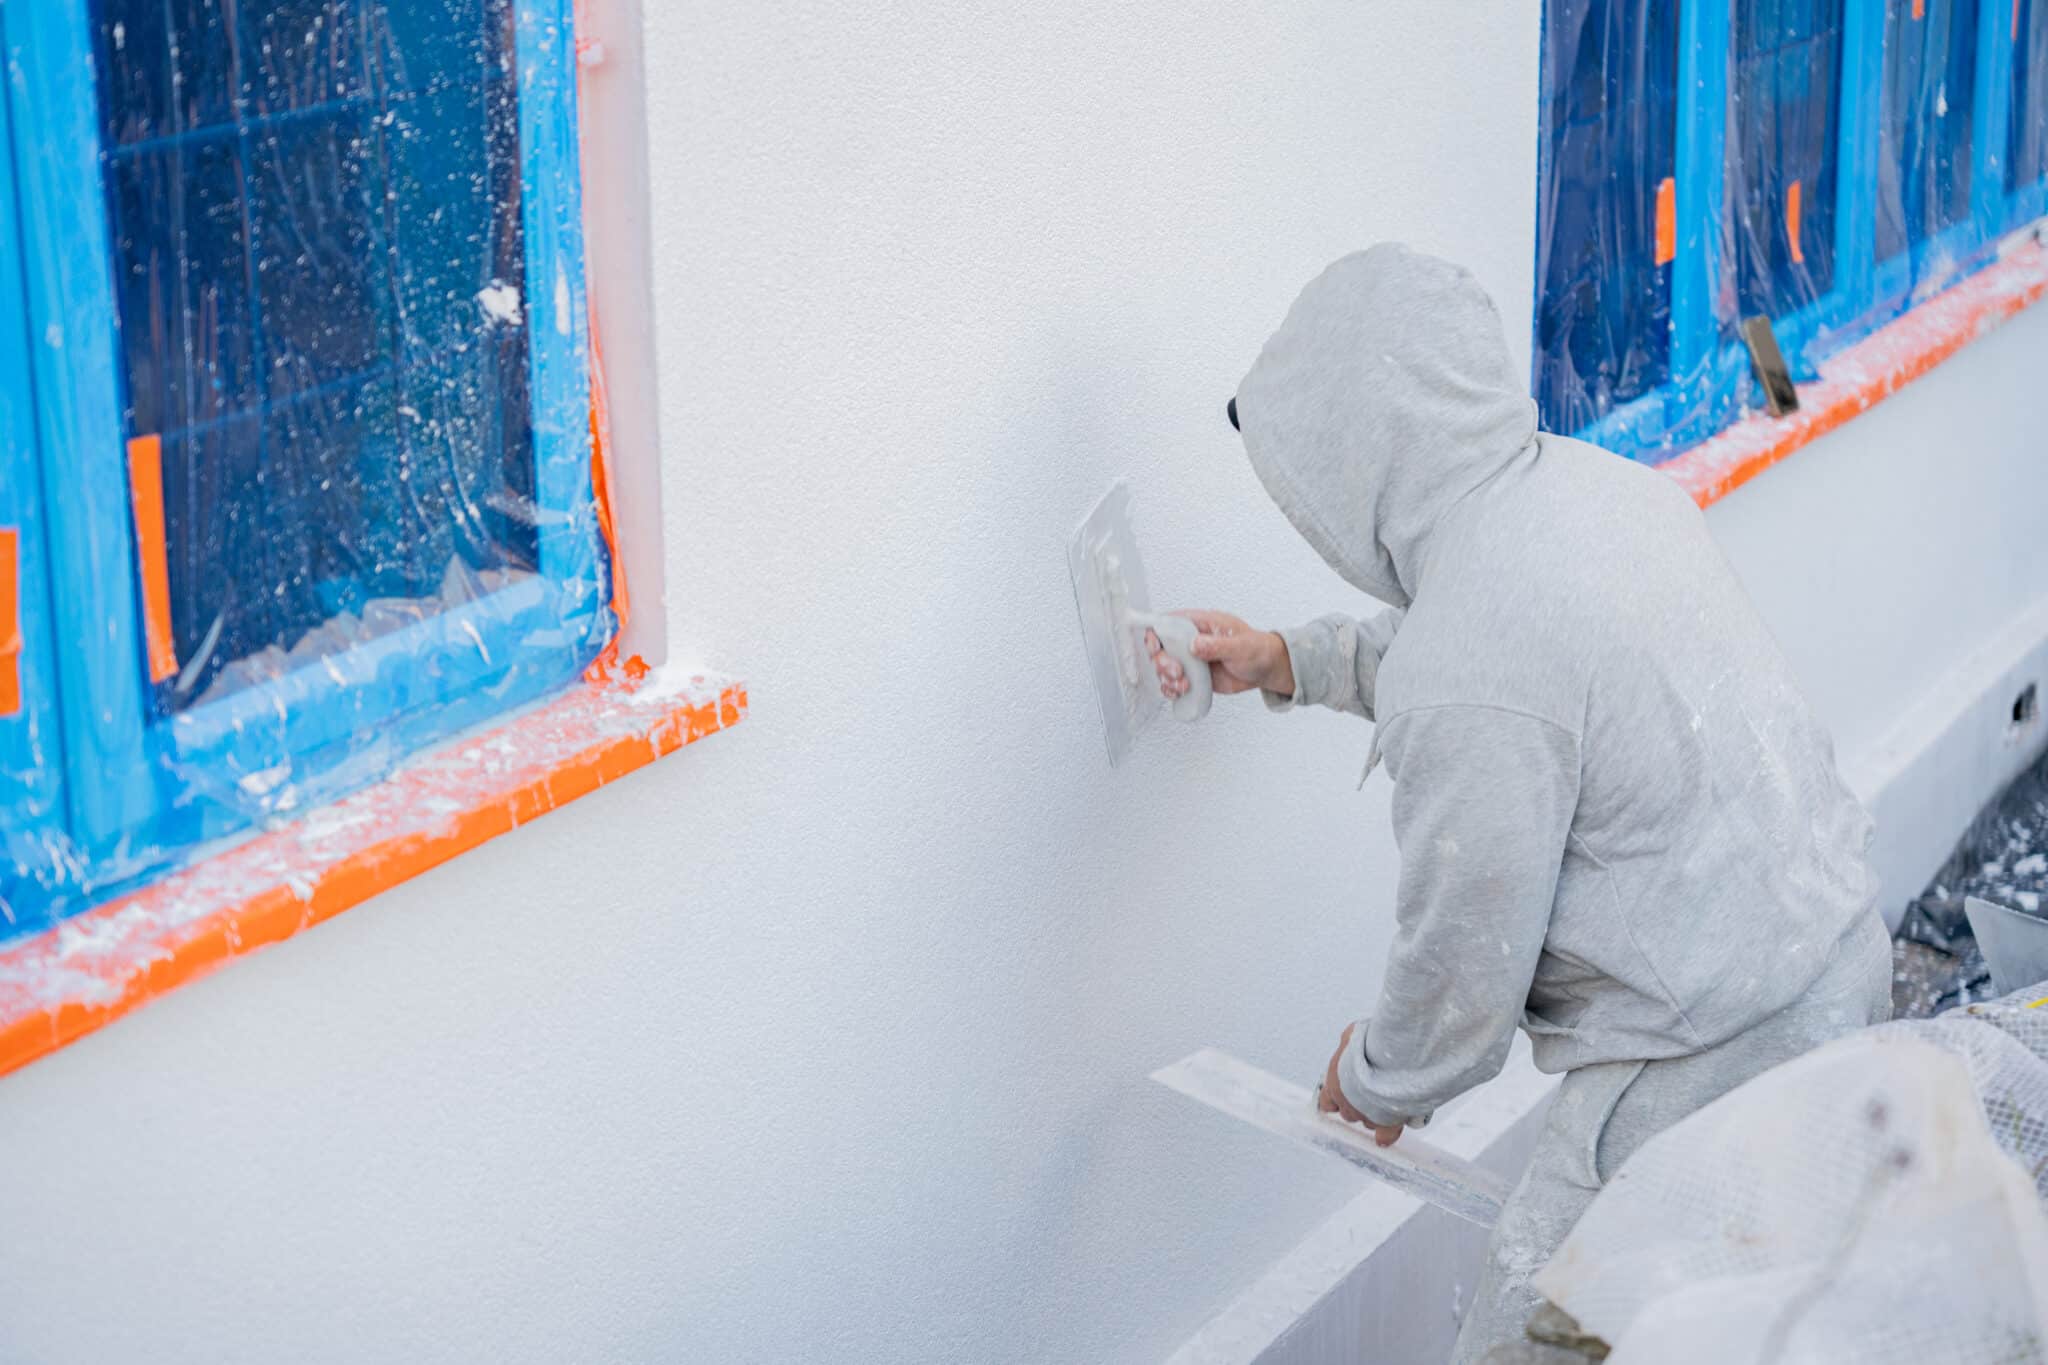 Silicone render being textured with a render float[/caption]
Monocouche Render
Monocouche render, from the French term for "single layer," is a type of through-coloured render that can be applied in one coat directly to blockwork. It is often formulated with lime and cement and designed to be decorative and weatherproof. Monocouche renders provide a crisp, chalky finish in various colours and are popular for their quick application and minimal maintenance requirements.
The cost of rendering
The cost of rendering a house can vary significantly depending on several factors, including geographical location, the size and experience of your tradesperson, and specific attributes of the house such as size, current wall condition, and accessibility. The traditional sand and cement method involves a base coat of sand and cement followed by a finer topcoat, one of the more affordable rendering options. This method costs approximately £35-60 per square meter. This price generally includes the necessary preparation of the walls, application of two coats of render, and two coats of external masonry paint to finish the surface and protect the render from weathering. Monocouche rendering is a bit more expensive due to its specialised materials and the fact that it typically requires less maintenance once applied. This type of render costs upwards of £40 per square meter. As the name suggests, monocouche renders are applied in one coat but require careful application to ensure a uniform thickness and appearance. The cost includes the render, which is often pre-coloured. Lime render suits older buildings or those requiring a breathable finish. It is more labour-intensive and time-consuming to apply properly, thus making it more expensive. Costs for lime rendering start from around £45-50 per square meter. This price reflects the additional time needed to mix and apply the lime render carefully and the slower curing time, which requires more attention during drying. Suppose you’re considering adding external wall insulation with a render finish. In that case, this is one of the most cost-effective ways to improve your home’s thermal performance while updating its exterior. However, it is also the most expensive rendering option due to the materials and labour involved in installing insulation boards before applying the render. Costs for this type of rendering start at approximately £70-90 per square meter.


Benefits of rendering
Enhanced Protection
Rendering acts as a shield for your home, protecting the underlying structure from exposure to the elements. This is especially beneficial in climates where adverse weather, such as heavy rains, snow, or constant sun exposure, can degrade the building materials. Properly applied render helps prevent moisture penetration into the walls, reducing the risk of structural damages such as cracks, rot, or mould growth.
Improved Thermal Performance
One significant benefit of rendering, particularly when combined with external wall insulation (EWI), is the improvement in thermal efficiency. The insulation layer keeps heat from escaping during the winter and prevents heat from entering during the summer, stabilising indoor temperatures. This can substantially reduce heating and cooling costs, making your home more energy-efficient and comfortable.
Increased Property Value
A freshly rendered house can significantly boost curb appeal, making it more attractive to potential buyers. The aesthetic improvement increased energy efficiency and structural protection can enhance the property's overall value. Whether you plan to sell soon or not, rendering can be a worthwhile investment that pays dividends in terms of functionality and financial value.
Low Maintenance
Certain types of render, such as silicone or acrylic, are designed to be low maintenance. These materials often feature dirt-resistant and self-cleaning properties, so they stay cleaner for longer and require less frequent painting or repairs. Silicone particles in render give it a hydrophobic property, often called the lotus effect. This can be particularly advantageous for homeowners looking to reduce ongoing maintenance costs and effort.

Moisture Management
Properly installed render systems, especially those involving lime or breathable silicone renders, allow for effective moisture management within the walls. By letting the walls breathe, these renders help expel trapped moisture, a common problem in older buildings, thus preventing damp issues and promoting a healthier living environment.
Aesthetic Flexibility
Rendering provides a vast array of aesthetic options. You can choose from various textures, from smooth to textured or patterned finishes, and a wide range of colours. This flexibility allows homeowners to customise the look of their home to match their style or to fit in with the surrounding environment. Whether updating an older property or finishing a new build, render can be tailored to meet any design requirement.
Sound Insulation
Besides its thermal advantages, rendering can also contribute to better sound insulation. The additional layer added to the external walls can help dampen noise from outside, leading to a quieter and more serene indoor environment. This can be particularly beneficial in urban areas or locations near busy roads.
Is this something you can DIY?
DIY rendering can be rewarding for those with some home improvement experience, but it requires careful planning and execution to achieve a professional-looking finish. Choose the right render type for your home's needs and skill level. Traditional sand and cement render is generally more straightforward and cost-effective, making it a popular choice for DIY enthusiasts. However, it requires careful mixing and layering to prevent cracking. Silicone and acrylic renders are more forgiving due to their flexibility and often come pre-mixed but can be more expensive. Preparation is key in DIY rendering. Ensure the wall surface is clean, stable, and free of loose or damp material. Depending on the existing surface, you may need to apply a basecoat or primer to help the render adhere properly. This step is crucial as it can significantly affect the longevity and adherence of the render. To ensure even coverage and thickness, applying render requires specific tools, such as a hawk, trowel, and sometimes a straight edge. The render should be applied in smooth, upward strokes, maintaining a consistent thickness across the wall. Consider using guides or battens to divide the wall into manageable sections for large areas, which can help achieve a more uniform application. Finally, be prepared for the physical effort and time required, especially for larger projects. Rendering is labour-intensive and can be quite demanding over extensive areas. Allow sufficient time for each layer to dry thoroughly, which can vary depending on the weather conditions and the type of render used.
Do you require planning permission for house rendering?
In the UK, rendering work generally falls under "permitted development" rights, which allow you to make certain changes to your house without needing to apply for planning permission. However, there are exceptions, particularly if your property is a listed building or located in a conservation area. For listed buildings, any changes to the exterior, including rendering, will require listed building consent, as these properties are protected due to their historical significance. Similarly, if your home is in a conservation area, you may need to seek permission due to strict controls over alterations that could affect the area's character and appearance.
 Even if your property isn't listed or in a conservation area, it's wise to check with your local planning authority before proceeding. This is because specific external finishes may not be allowed under Article 4 directions, restricting work that could harm the local environment's look. Also, consider the finish and colour of the render, as these can impact the likelihood of needing planning permission. A finish that significantly alters the appearance of your house compared to neighbouring properties might require approval.
How do you apply render - trowel or spray?
Trowel Application
Using a trowel is the traditional method for applying render. It allows for a high degree of control over the thickness and texture of the application. This method is particularly effective for achieving specific finishes, such as textured or patterned surfaces, which might be preferred for aesthetic reasons. Trowel application requires a skilled hand to ensure an even, smooth surface, making it ideal for smaller areas or where detailed craftsmanship is desired. However, it can be labour-intensive and time-consuming, particularly for larger surfaces, requiring the render to be manually applied and smoothed.
Spray Machine Application
On the other hand, using a spray machine for rendering is becoming increasingly popular, especially for larger projects. Spray machines can cover large areas quickly and uniformly, significantly reducing the time and labour required compared to the trowel method. This method pumps the render mixture through a hose and nozzle, spraying it directly onto the wall. It is particularly efficient for projects that do not require intricate textural details but need consistent and even coverage. The initial setup and cost of renting or buying a spray machine might be higher, but the savings in time and labour can make up for this, especially on extensive projects.
[caption id="attachment_65648" align="aligncenter" width="1024"] Spray training on site apply render[/caption]
The choice between a trowel and a spray machine depends largely on the project’s size, the type of render being applied, and the desired finish. The trowel method might be preferable for homeowners or contractors working in small to medium-sized areas that require a specific texture. A spray machine could be better for large-scale projects or when speed and efficiency are prioritised.
Spray training on site apply render[/caption]
The choice between a trowel and a spray machine depends largely on the project’s size, the type of render being applied, and the desired finish. The trowel method might be preferable for homeowners or contractors working in small to medium-sized areas that require a specific texture. A spray machine could be better for large-scale projects or when speed and efficiency are prioritised.
Installing EWI alongside house rendering
External wall insulation involves fixing a layer of insulation material directly on the exterior walls of a building. This layer is then covered with a protective render, which provides a weather-resistant surface. EWI is particularly effective for older buildings with insufficient internal insulation and can dramatically reduce heat loss, leading to improved energy efficiency and reduced heating costs.
Types of Insulation and Render Used
The type of insulation used can vary, including materials like expanded polystyrene (EPS), mineral wool, or phenolic foam, depending on the specific requirements for thermal performance and fire resistance. Over this insulation, a render is applied to protect the insulation from weather conditions and to provide a desirable finish. Common types of render used in EWI systems include silicone, acrylic, and mineral renders. These are chosen for their durability, breathability, and ability to handle the thermal expansion and contraction of the insulation layer beneath without cracking.
Application Process
The process of applying EWI is detailed and requires professional expertise. The existing wall surface is initially prepared, which may involve repairing any damage to ensure a stable substrate. The insulation boards are then cut to fit and mechanically fixed or adhesively bonded to the walls. To minimise thermal bridges, special attention is needed around windows, doors, and corners. Once the insulation is in place, a basecoat render with embedded reinforcing mesh is applied to provide strength and crack resistance. Finally, a finish coat of render is applied, which can be customised in texture and colour to meet aesthetic preferences. The benefits of using render with EWI extend beyond energy savings. It provides an opportunity to upgrade the external appearance of the building and potentially increase its market value. Additionally, it can help with sound insulation and improve the overall comfort of the interior environment. However, there are considerations to consider, such as the increased thickness of the external walls, which may affect the property's appearance and require adjustments to external features like roof overhangs and window sills. Moreover, as the installation involves significant alteration to the exterior of the building, it is essential to check local building regulations and possibly seek planning permission, especially in conservation areas or listed buildings.