What is Pebbledash?
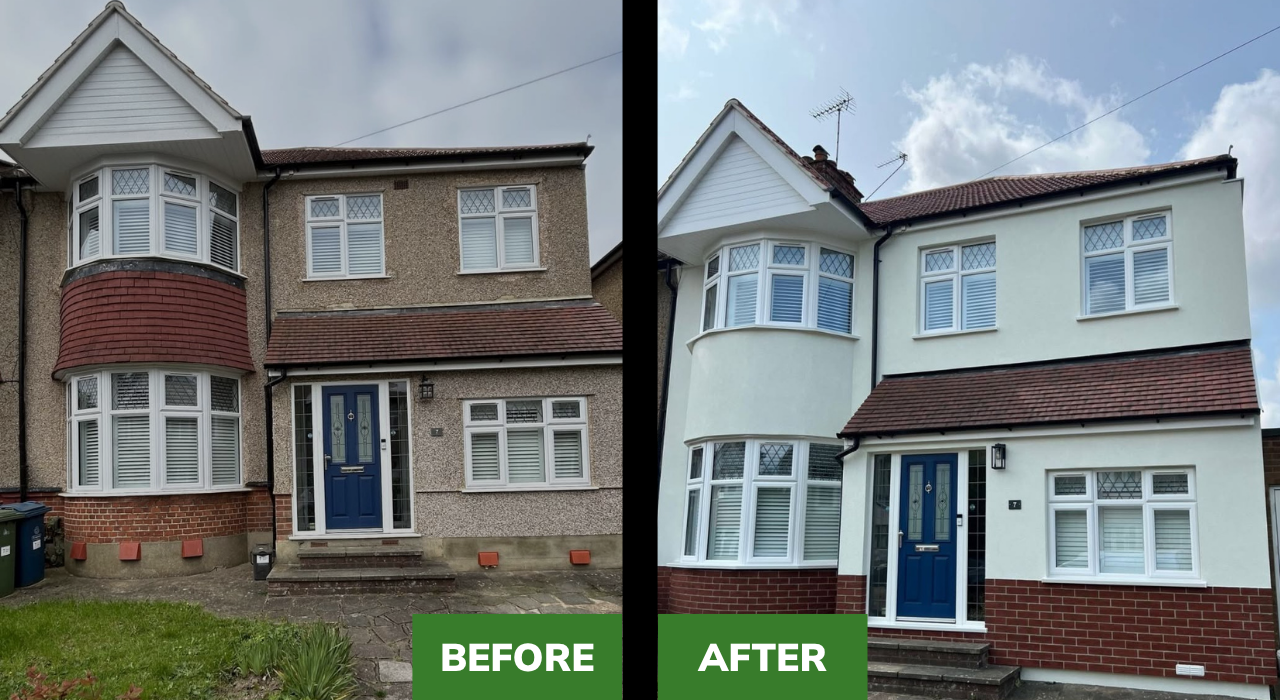
Pebbledash is a type of external wall finish created by applying a layer of mortar to the surface of a wall and then throwing or spraying small pebbles onto it. Popular across the UK, particularly in homes built after WW1, it offered a quick, affordable and weather-resistant finish that masked poor brickwork or surface damage.
However, over time, pebbledash can deteriorate. Pebbles may loosen and fall, leaving areas exposed to the elements. It’s also prone to cracking, which can lead to water ingress, compromising the structure beneath. If you want to return to the original brick finish, removing pebbledash can be expensive and labour-intensive.
A more efficient and modern approach is to insulate over the pebbledash using an External Wall Insulation (EWI) system. This not only upgrades the thermal performance of your property but also creates a smooth, modern façade.
Step-by-Step: Insulating Over Pebbledash
1. Priming the Pebbledash
To ensure your insulation system adheres properly, the existing pebbledash surface must be cleaned, stable, and primed. Remove any loose or flaking areas and repair significant cracks.
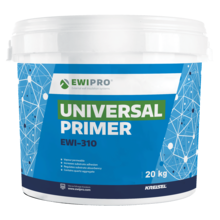
We recommend EWI-310 Universal Primer, which creates a grippy surface for adhesives to bond to. It covers approx. 60m² per 20kg tub and dries in around 4 hours.
2. Mixing the Adhesive
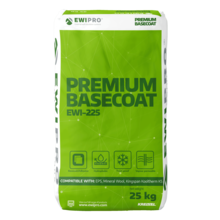
At EWI Store, we use adhesives alongside mechanical fixings for a secure installation. For pebbledash, a strong adhesive is essential. EWI-225 Premium Basecoat is ideal, acting as both an adhesive and basecoat.
Mix one 25kg bag with 5.9L of water using a paddle mixer. Each bag covers around 5m² (as adhesive) and dries within 24–48 hours.
3. Installing the Insulation Boards
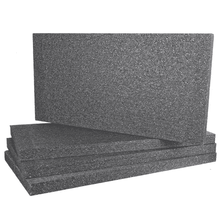
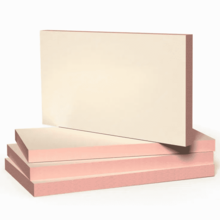
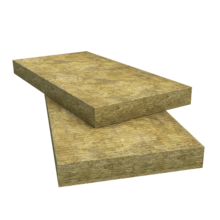
Insulation boards can be applied directly over the primed pebbledash. Apply adhesive around the perimeter and add three central dabs (dot-and-dab method). For certain insulation types like mineral wool, full coverage is required.
4. Securing with Mechanical Fixings
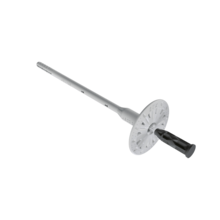
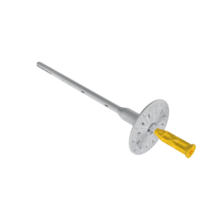
Once the adhesive has set, reinforce the insulation boards using metal mechanical fixings. Fixings must be at least 65mm longer than the thickness of the insulation to penetrate through to the substrate.
5. Applying Beading
Beads protect and reinforce high-stress areas like corners, window reveals and door frames. We recommend uPVC beads, embedded into the basecoat layer, for optimal durability.
Shop our wide range of Render Beads here.
6. Basecoat Layer & Fibreglass Mesh
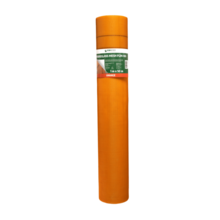
Apply a 6–8mm layer of EWI-225 Premium Basecoat using a 10mm notched trowel, then embed mesh to strengthen the system.
Two mesh options are available:
-
Orange Mesh: Excellent all-round strength and flexibility.
-
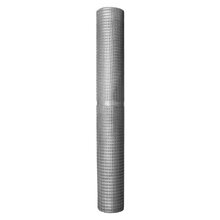
Panzer Mesh: Heavy-duty mesh for high-impact or high-traffic areas.
7. Priming the Basecoat
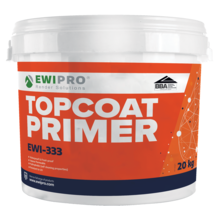
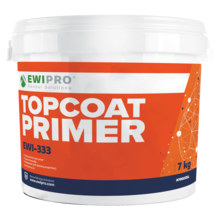
Once the basecoat is dry, apply EWI-333 Topcoat Primer. This limits absorption and promotes a strong bond with the final render layer. It can be tinted to match your chosen topcoat colour.
Coverage:
-
7kg = approx. 23m²
-
20kg = approx. 66m²
Drying time: 12–24 hours
8. Applying the Silicone Render
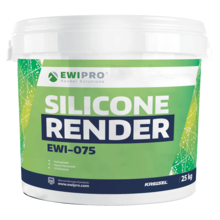
After the primer has dried, apply a thin-coat silicone render. The render should match the grain size of your chosen finish, e.g., 1.5mm EWI-075 Silicone Render should be applied at a 1.5mm thickness.
Apply with a trowel, then float with a plastic float in circular motions to achieve your finish.
Coverage per 25kg bucket:
- 0.5mm = 16-20m²
-
1.0mm = 12–13m²
-
1.5mm = 9–10m²
-
2.0mm = 6–8m²
-
3.0mm = 5–6m²
Upgrading a tired pebbledash façade with an External Wall Insulation system is one of the most effective ways to modernise your property, boost energy efficiency and improve its overall durability. With the right preparation and high-performance materials, you can transform outdated exteriors into clean, contemporary finishes that stand the test of time. Whether you're a seasoned installer or a homeowner exploring retrofit options, EWI Store offers the tools, guidance, and technical support to help you get the job done right.

