

- What is EWI, and what are the benefits?
- What do you need for DIY External Wall Insulation?
- Is DIY External Wall Insulation easy?
- Pitfalls and how to avoid them
- Adhere to the manufacturer's guidelines
- Consult with professionals
- Research and select high-quality materials
- Familiarise yourself with building regulations
- Prioritise safety
- Assess your comfort level and skillset
- Our verdict
External wall insulation is an excellent option to improve your home's energy efficiency and reduce utility bills. But is it possible to do it yourself? In this blog post, we'll explore the feasibility of a DIY external wall insulation project, what you'll need, the potential pitfalls, and how to avoid them.
What is EWI, and what are the benefits?
It is always useful to recap what EWI is and the benefits it brings to your home. External wall insulation involves fixing a layer of insulation material to the outside of your home, which is then covered with render or cladding. The primary goal is to reduce heat loss, which can lead to significant savings on heating bills and improve the thermal comfort of your home.
What do you need for DIY External Wall Insulation?
Several key components and factors must be considered to execute a DIY external wall insulation project successfully. First, selecting the appropriate insulation material for your home, such as expanded polystyrene (EPS), mineral wool, or phenolic foam, is essential. EPS is a great cost-effective option and is incredibly lightweight, making it easier to handle on-site. You will require 90mm of EPS to achieve the required U-value to match building regulations.
| Thermal conductivity | Thickness required for 0.3W/m2K | |
| Mineral Wool | 0.036W/(m2K) | 110mm |
| EPS | 0.032W/(m2K) | 90mm |
| Kingspan K5 | 0.021W/(m2K) | 60mm |
Mineral Wool is a premium, sustainable option for EWI. As such, it provides ample extra benefits, including acoustic insulation. Moreover, mineral wool is also A1 fire-rated, offering peace of mind to your home. At EWI Store, we stock Kingspan K5, a type of phenolic foam. The insulation boards offer unmatched thermal performance, as only 60mm is required to achieve the required U-value. K5 is our premier space-saving system due to its low thickness and higher compressive strength.
Additionally, you will need specialised mechanical fixings and adhesives to securely attach the insulation boards to the wall and a protective layer like a weatherproof render or cladding system to safeguard the insulation from the elements and provide an attractive finish. Basic tools for cutting and shaping insulation boards, a trowel or spray gun for adhesive application, and safety gear such as gloves and goggles are also crucial for the project.
Is DIY External Wall Insulation easy?
Although external wall insulation may appear simple, it's important to recognise that it can be complex and time-consuming. The process demands a solid understanding of building construction, materials, and thermal performance. Proper installation techniques are also necessary to ensure the insulation's effectiveness and the project's overall appearance. Depending on your home's size, the installation may be labour-intensive and require several weeks.
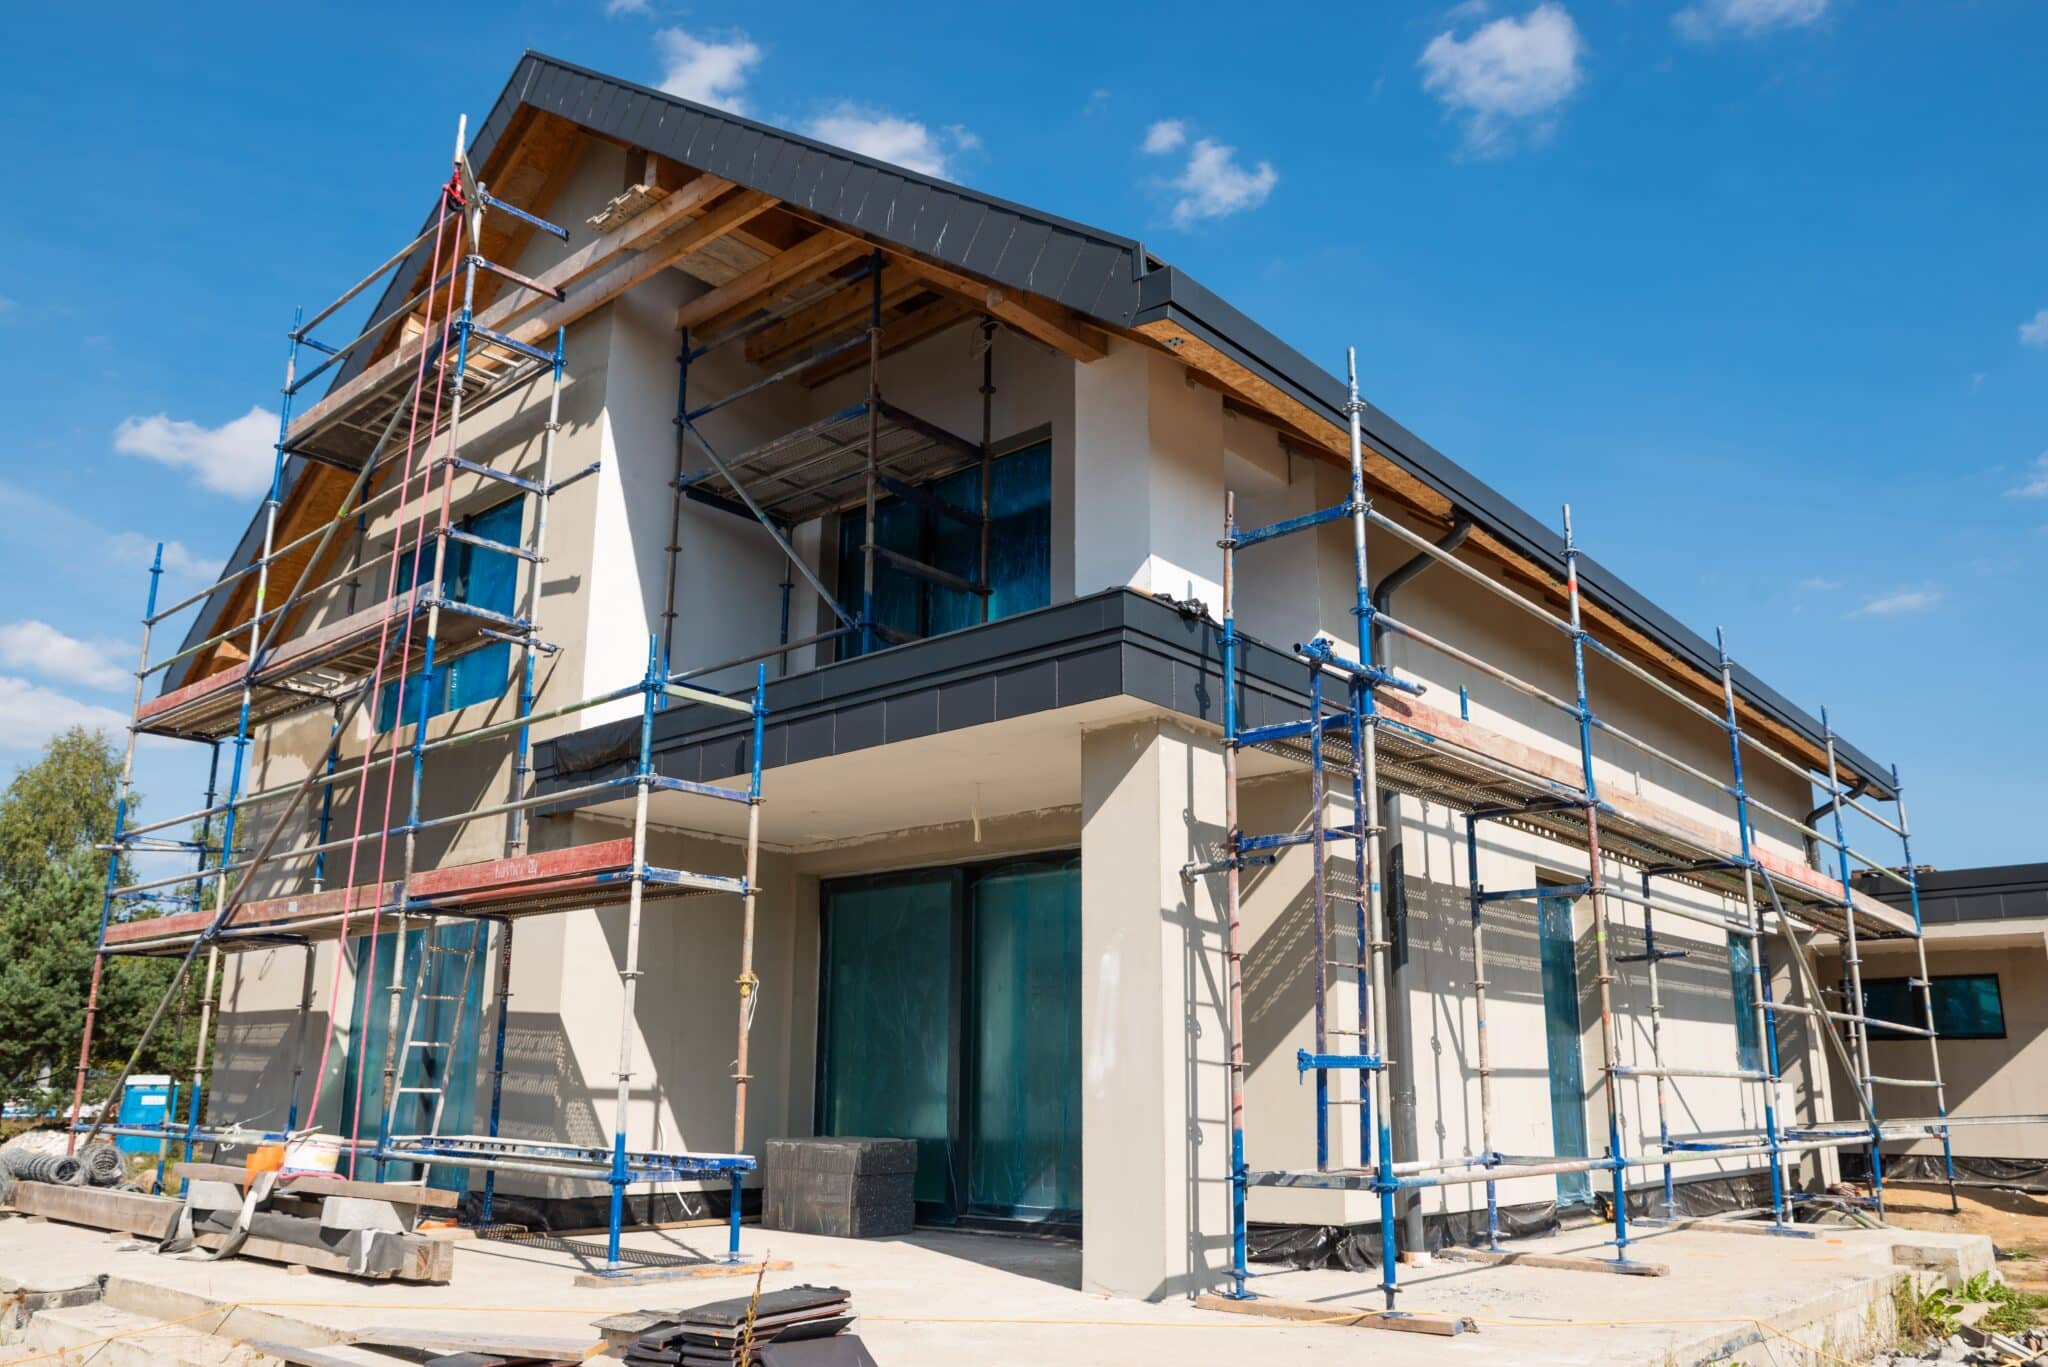
Thorough assessment and planning are necessary to successfully navigate the intricacies of a DIY external wall insulation project. This includes evaluating your home's walls for existing insulation, wall material, and potentially damp issues. This will inform you of your choice of insulation system and installation method. Precise measurements, material selection, and adherence to local building regulations are essential to project planning.
Proper surface preparation, which may involve cleaning and repairing walls, removing debris or old paint, and addressing dampness or structural issues, is crucial for the insulation system's effectiveness and longevity. Additionally, accurate cutting and fitting of insulation boards are key to achieving a snug and seamless fit. The secure attachment of insulation boards to the wall using appropriate fixings and adhesives demands technical expertise. This will avoid problems like detachment or thermal bridging.
Weather conditions, such as rain, wind, and temperature fluctuations, can impact the adhesion and curing of materials, necessitating close monitoring and adjustments throughout the installation process. Skilled application of the chosen protective finish, such as render or cladding material, is also essential for the insulation system's durability and appearance. Maintaining consistency in your project, particularly for larger homes or those with complex architectural features, requires patience, attention to detail, and problem-solving abilities.
Pitfalls and how to avoid them
Several precautions must be taken to prevent potential issues during your DIY external wall insulation project.
Adhere to the manufacturer's guidelines
Always follow the instructions provided by the insulation material and adhesive manufacturers. These guidelines are designed to ensure optimal performance and longevity of the insulation system. Deviating from the recommended procedures may result in compromised efficiency, moisture problems, or damage to your home's structure.
Consult with professionals
If you're unsure about any aspects of the installation process, seek advice from experienced professionals. They can provide valuable guidance and recommendations based on their expertise in the field. Consulting with experts can help you avoid costly mistakes and ensure the success of your project.
Research and select high-quality materials
Investing in premium, compatible materials is crucial for the effectiveness and durability of your insulation system. Research the various insulation materials, fixings, adhesives, and protective finishes available on the market. Then, choose the one that best suits your needs and local climate conditions. For example, high-quality materials will provide better thermal performance. They will also require less maintenance and have a longer lifespan. As a result, your overall savings will be higher.
Familiarise yourself with building regulations
Before starting your project, check with your local authority to determine whether planning permission is required or if there are specific building regulations you must adhere to. Compliance with these regulations is essential to avoid fines, penalties, or even the need to dismantle and redo the work. This may include restrictions on altering your home's appearance or requirements for energy efficiency, ventilation, and fire safety.
Prioritise safety
Working at heights and handling insulation materials can harm your health and safety. To minimise these risks, ensure you have the appropriate safety gear, such as gloves, goggles, and a sturdy ladder or scaffold. Familiarise yourself with the proper handling and installation techniques of your chosen insulation materials. Also, be cautious when working with power tools or sharp objects.
Assess your comfort level and skillset
Before embarking on a DIY external wall insulation project, evaluate your skills, experience, and comfort level with the tasks involved. Installing insulation can be challenging and requires a certain level of expertise to ensure the desired outcome. If you're not confident in completing the project successfully or safely, consider hiring a professional insulation contractor. They will have the necessary skills, tools, and knowledge to ensure a high-quality, long-lasting installation.
Our verdict
Any DIY project comes with extra risk. Therefore, if you have the option, we always recommend hiring a professional installer, especially for external wall insulation projects. As EWI can be extra tricky, with thermal bridging and damp constant issues, hiring an approved installer at the outset may prove more cost-effective.
Have you thought about DIY EWI? Let us know below!