

- What is a self-levelling compound, and what is it composed of?
- Detailed composition:
- Types of self-levelling compounds
- Water-based compounds
- Latex-based compounds
- Epoxy-based compounds
- Polymer-modified compounds
- Fast-setting compounds
- EWI Store's products
- Application steps
- 1. Surface preparation
- 2. Mixing the compound
- 3. Application of the compound
- 4. Curing process
- Advantages of self-levelling compounds
- Uniform and smooth surface
- Rapid application and setting
- Enhanced durability and strength
- Versatility and compatibility
- Accommodates varied floor coverings
- Things to consider
- Substrate condition and preparation
- Material selection
- Manufacturer’s instructions
- Ambient conditions
- Budget and cost-effectiveness
Ensuring a surface that is impeccably smooth and level during a renovation project is paramount. Self-levelling compounds are indispensable for those who seek perfection in flooring. These compounds, a blend of cementitious materials and often polymers, are the preliminary layer in flooring, rendering uneven or rough surfaces perfectly smooth and flat. Self-levelling compounds are specifically formulated to improve the flatness and uniformity of the substrate. This creates an ideal base for the final floor covering, be it tiles, carpet, or wood. This guide explores the facets of self-levelling compounds, including their composition, modes of application, and inherent advantages. These compounds essentially synthesise cement, polymers, aggregates, and additives. Each plays a pivotal role in ensuring the compound’s performance, workability, and durability. Polymers augment the compound's flexibility and adherence properties. On the other hand, the additives are integrated to modulate the flow, set time, and enhance other functional properties. The amalgamation of these components ensures that self-levelling compounds effectively rectify any substrate discrepancies, delivering a uniformly levelled surface ideal for any flooring type.
What is a self-levelling compound, and what is it composed of?
A self-levelling compound is a highly specialised, hybrid flooring solution primarily used to rectify and mitigate imperfections in the substrate, creating a smooth and level surface for subsequent floor installations. It is a fluid material that autonomously levels out, filling in depressions and eliminating protrusions. Hence, it is used extensively to correct surface irregularities like dips, bumps, or cracks on subfloors.
Detailed composition:
The composition of a self-levelling compound is predominantly comprised of the following components, each contributing to its unique properties:
- Cement: Acts as the foundational base of the compound, providing rigidity and structure.
- Polymers: These are incorporated to enhance the compound's flexibility and adhesion, enabling it to bond efficiently with diverse substrates, accommodating minor movements and fluctuations in the substrate without compromising integrity.
- Additives: Specific additives are integrated to modulate and optimise the flow characteristics and setting time of the compound, ensuring a seamless, even spread over the substrate and aiding in the attainment of a flat, uniform surface.
- Aggregates: These are granular materials that provide bulk, stability, and structure to the compound, aiding in achieving the desired consistency and thickness.
- Pigments: Some compounds may contain pigments to impart colour to the compound, which could be advantageous in certain aesthetic or functional applications.
Upon application, the self-levelling compound spreads and levels itself out due to its low viscosity and optimised flow properties, filling in low spots and levelling high spots, thus creating a uniform, smooth surface. The refined balance of components in the compound ensures that it maintains its shape and structure once set, providing a stable and reliable base for subsequent floor coverings. This foundational layer is pivotal for the longevity and quality of the overall flooring system. It rectifies substrate irregularities, preventing future issues such as cracking, debonding, or uneven wear in the final floor covering.
Types of self-levelling compounds
There are three major types of self-levelling compounds. Understanding their composition dictates their use. For example, residential properties and commercial spaces will have different requirements. However, the ultimate goal is to achieve dimensionally stable and level surfaces.
Water-based compounds
- Application: Ideal for residential and light commercial spaces due to their cost-effectiveness and ease of application.
- Characteristics: These are usually less viscous, user-friendly, and emit lower VOCs (Volatile Organic Compounds).
- Substrates: Suitable for concrete, wood, and other standard subfloor materials.
- Limitation: They might not be suitable for areas with heavy loads or extreme conditions due to lower strength and resistance.
Latex-based compounds
- Application: Preferred for surfaces prone to movement or vibration, such as wooden floors, due to their enhanced flexibility.
- Characteristics: They exhibit superior adhesion and flexibility, reducing the risk of cracking or debonding.
- Substrates: Ideal for substrates like wood, which may exhibit movement or dimensional instability.
- Curing: Latex-based compounds often require longer curing times compared to their counterparts.
Epoxy-based compounds
- Application: It is predominantly used in industrial settings where high strength and resistance to chemicals, impact, and abrasion are required.
- Characteristics: They are characterised by high compressive strength, chemical resistance, and durability.
- Substrates: Best suited for concrete and steel substrates in demanding industrial environments.
- Limitation: These compounds are more complex to mix and apply and are usually more expensive than water and latex-based compounds.
Polymer-modified compounds
- Application: Suitable for a wide range of applications with enhanced performance characteristics.
- Characteristics: They combine the properties of polymers and cementitious compounds for improved adhesion, flexibility, and water resistance.
- Substrates: Can be applied to various substrates, including concrete, wood, and tiles.
- Versatility: They can be customised with additives to achieve specific performance requirements.
Fast-setting compounds
- Application: Ideal for projects with tight timelines where rapid setting and curing are crucial.
- Characteristics: They offer quick drying times, allowing the progression to subsequent construction stages.
- Substrates: Suitable for most standard substrates, including concrete and wood.
- Consideration: The fast setting time requires a quick and efficient application to avoid premature drying and curing.
EWI Store's products
| EWI-250 Self-Levelling Compound | ProLevel Fibre: Reinforced Flexible Floor Leveller |
| Internal Flooring | Internal Use |
| Manual or machine application | Manual application |
| Quick set in 2 hours | Set in 3 hours |
| Thickness - 2 to 100mm | Thickness 3 - 75mm |
| Basic surface levelling, including cement, concrete, load-bearing anhydrite screed, etc | Excellent flexibility for timber floors and underfloor heating systems |
| Tile after 8 hours | |


Application steps
1. Surface preparation
Before applying a self-levelling compound, it's critical to prepare the substrate to ensure optimal adhesion and performance meticulously. Start by thoroughly cleaning the surface and removing any traces of dust, dirt, grease, oil, or loose and deteriorating materials. This step is imperative as contaminants left on the substrate can impede the compound's adhesion, leading to future failures. Consider using a degreasing agent or an industrial cleaner for surfaces with stubborn contaminants like oil or grease. Once the cleaning is complete, assess the substrate for any cracks, holes, or other damages and repair them using a suitable patching compound. After repairs, the application of a primer is crucial. A primer enhances the bond between the substrate and the levelling compound, preventing pinholing and bubble formation issues. Ensure that the chosen primer is compatible with the levelling compound and apply it per the manufacturer’s instructions, allowing adequate drying time before proceeding to the next step.
2. Mixing the compound
The mixing process is a pivotal step, and precision is key here. Accurate measurement of the compound and water (or any other recommended liquid) is essential. Follow the manufacturer’s specified ratio diligently to avoid inconsistencies in the mixture. Use a mechanical mixer to achieve a lump-free, homogenous consistency. Avoid overmixing as it could introduce air bubbles into the mix, leading to problems during application. Once mixed, the compound should be used immediately, considering its rapid-setting nature.
[caption id="attachment_74394" align="aligncenter" width="1024"]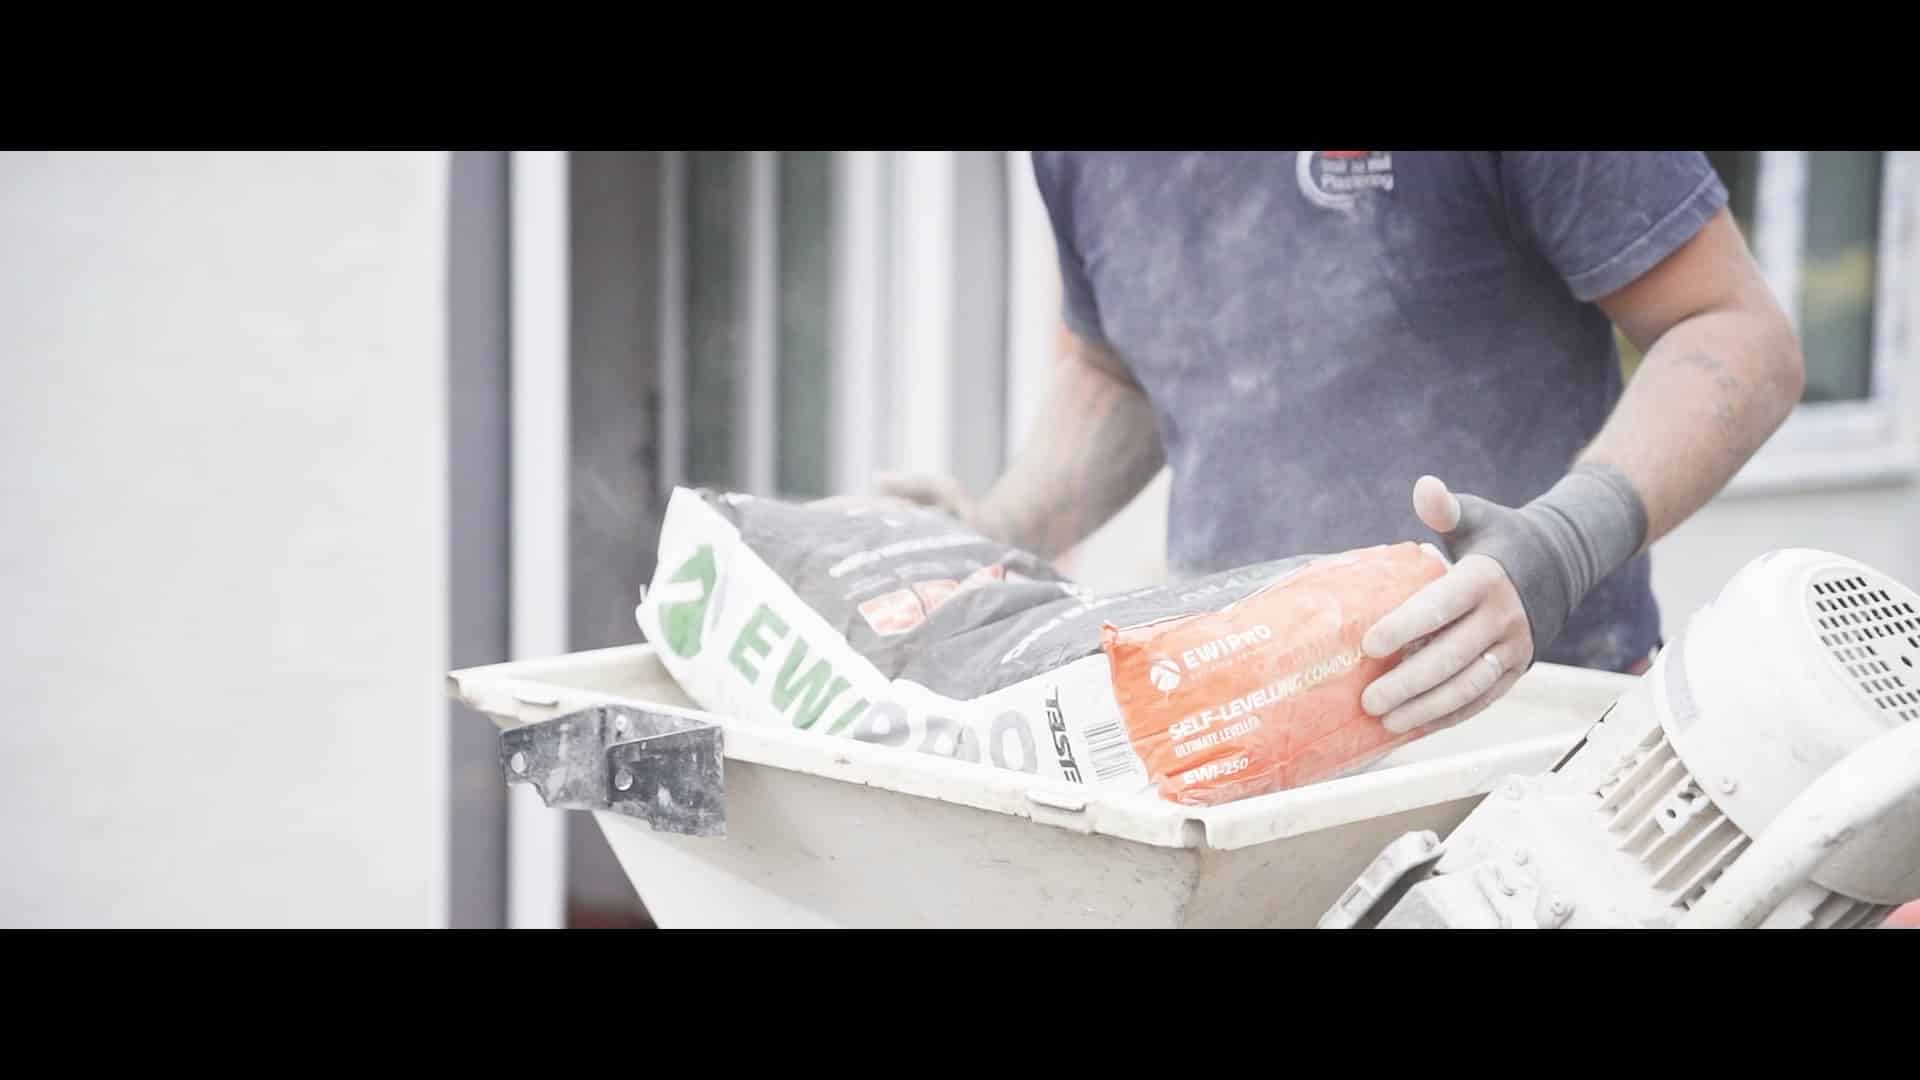 The self-levelling compound is emptied into the hopper, where it is mixed[/caption]
3. Application of the compound
Pour the mixed self-levelling compound strategically, starting from the furthest point of the room and working your way towards the exit. The compound should also be poured evenly over the surface, allowing it to flow and level out. Utilise a squeegee or a gauge rake to assist in spreading the compound to the desired thickness, ensuring it covers the entire area uniformly. Adhering to the manufacturer’s recommended application thickness is crucial to avoid cracking or insufficient coverage. A trowel can also be used to spread the compound manually for areas that are hard to reach or for detailing.
4. Curing process
After application, the self-levelling compound requires a sufficient curing period to achieve its full strength and properties. The drying time can vary depending on the type of compound used, ambient conditions like temperature and humidity, and the thickness of the application. Generally, it ranges between 1 to 3 days. During this period, it is paramount to avoid any traffic or disturbance to the area to prevent imperfections or damage to the freshly applied compound. Adhering to the manufacturer's recommended drying time ensures the compound is adequately set before installing the final floor covering.
EWI Store YoutubeAdvantages of self-levelling compounds
Uniform and smooth surface
One of the primary advantages of self-levelling compounds is their ability to provide a uniform and smooth surface, which is crucial for the optimal installation of final floor coverings. These compounds meticulously fill in the depressions and rectify undulations on the substrate, eliminating irregularities and imperfections. A smooth, flat surface is indispensable for the longevity and performance of floor coverings such as tiles, laminate, or carpet, ensuring they are laid evenly and securely.
Rapid application and setting
Applying self-levelling compounds is relatively swift and straightforward, significantly reducing downtime in construction or renovation projects. Many of these compounds are formulated to set and cure rapidly, allowing for the progression to subsequent stages of the flooring installation in a shorter timeframe. This setting is particularly advantageous in commercial settings, where minimising operational disruption is critical.
Enhanced durability and strength
Self-levelling compounds are imbued with properties that enhance the floor structure's durability and strength. They are a robust intermediary layer between the substrate and the floor covering, distributing loads and stresses evenly across the surface. This uniform distribution of stresses mitigates the risk of cracking, deformation, and other structural damages to the floor covering, prolonging its lifespan and maintaining its aesthetic appeal over time.
Versatility and compatibility
Self-levelling compounds are versatile and compatible with various substrates, including concrete, wood, and tiles. This versatility is augmented by the availability of different compounds, each tailored to meet specific requirements and conditions of the project. Whether it’s a high-traffic industrial floor requiring chemical resistance or a residential space needing aesthetic appeal, there is a suitable self-levelling compound that can cater to diverse needs and preferences.
Accommodates varied floor coverings
The use of self-levelling compounds is not restrictive to specific floor coverings. Once cured, these compounds can accommodate varied floor coverings, including tiles, carpet, vinyl, and wood, providing ample flexibility in choosing the final floor's desired aesthetic and functional attributes. Adapting to different floor coverings allows for greater design freedom and customisation, enabling the realisation of distinct architectural visions and preferences.
Things to consider
Substrate condition and preparation
Before applying a self-levelling compound, examining the substrate's condition thoroughly is crucial. Any presence of contaminants, loose materials, or structural damage on the substrate can compromise the adhesion and performance of the compound. Proper preparation, including cleaning and repairing the substrate, is fundamental to achieving optimal results. Substrate moisture levels should also be evaluated, as excessive moisture can lead to failures such as debonding or blistering of the compound.
Material selection
Choosing the appropriate type of self-levelling compound is essential, considering the specific requirements and conditions of the project. Factors such as the substrate type, environmental conditions, desired drying time, and the intended floor covering should influence the selection. For instance, epoxy-based compounds may be more suited to industrial environments due to their enhanced strength and chemical resistance. In contrast, due to their flexibility, latex-based compounds might be preferable for surfaces prone to movement.
Manufacturer’s instructions
Adherence to the manufacturer’s instructions is paramount throughout the process, from mixing to application. Instructions typically include guidelines on the proper mixing ratios, drying times, and application thickness. However, deviations result in inconsistencies, poor performance, or failures of the compound. Reading and following the product datasheet and guidelines ensures the compound is prepared, applied, and cured correctly, optimising its performance and durability.
Ambient conditions
The environmental conditions during the application and curing of the self-levelling compound can significantly impact its performance. Temperature and humidity levels should be within the recommended range to prevent issues such as improper curing, cracking, or poor adhesion. Protecting the area from direct sunlight, wind, or precipitation is also essential, particularly for outdoor applications, to avoid rapid drying or contamination of the compound.
[caption id="attachment_74395" align="aligncenter" width="1024"]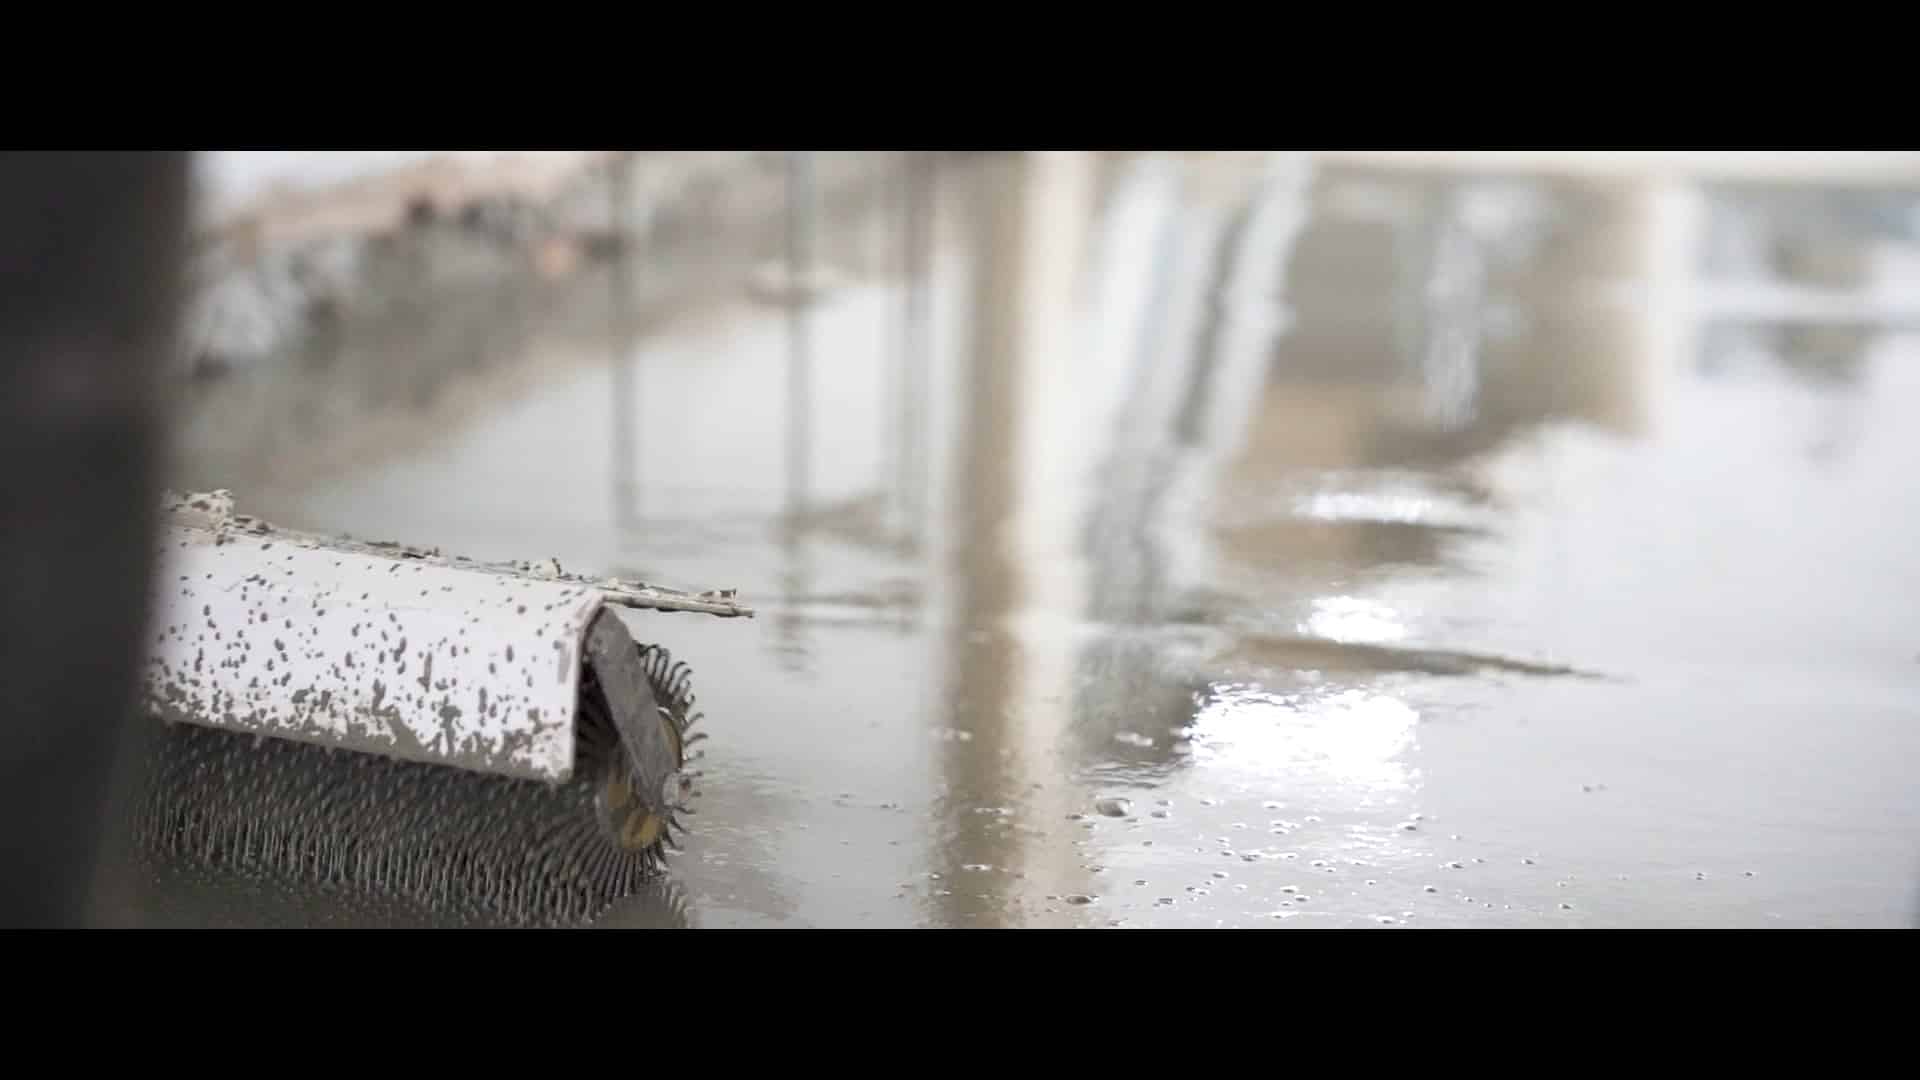 Spiked aeration roller used to remove air from self-levelling compound[/caption]
Budget and cost-effectiveness
Economic considerations should also influence decision-making. While self-levelling compounds are a valuable investment for achieving high-quality floors, balancing costs with project requirements and budget is essential. Opting for cost-effective solutions without compromising quality and performance is crucial. Therefore, exploring various products and their cost implications can help make informed, economically sound decisions.