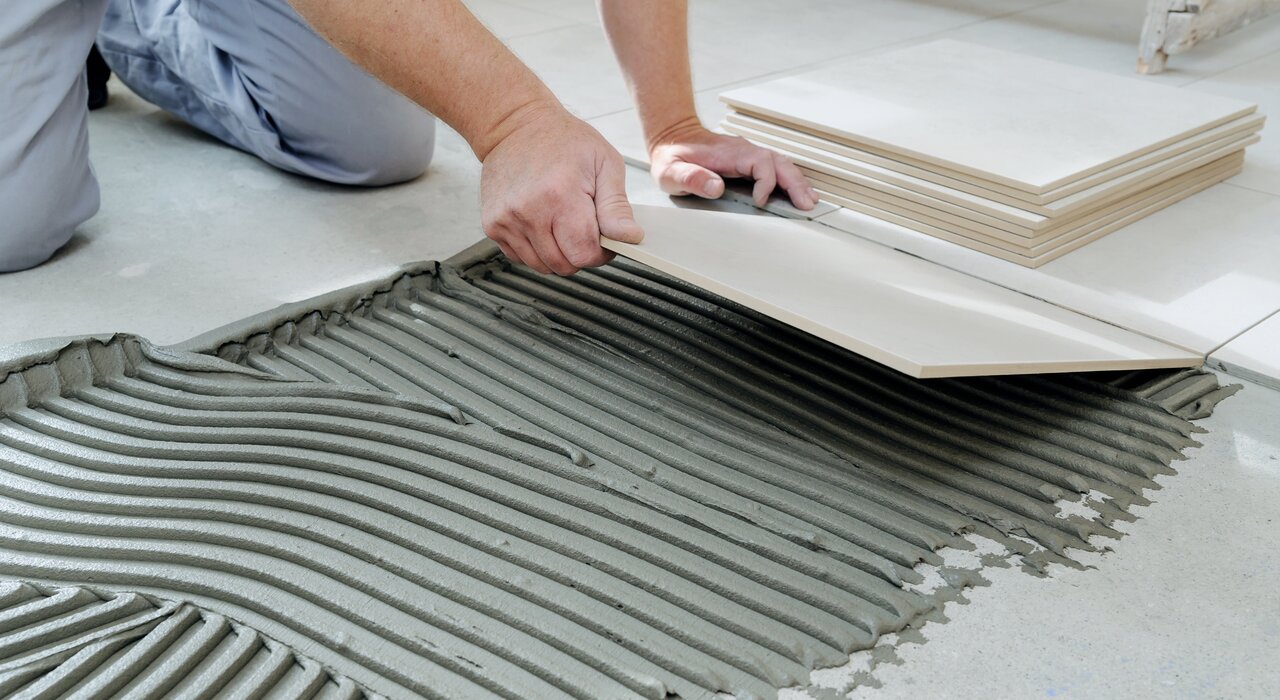
Tiling and levelling work intrinsically together. Whenever you tile an area, you will need the tiles and the substrate to be level. However, levelling can also refer to levelling walls to facilitate the installation of external wall insulation. General floor levelling is also a practice, often associated with underfloor heating. EWI Store continues to expand the range of tiling and levelling products, highlighted by the innovative Clip & Snip system.
What is tiling?
Put simply, tiling is the process of laying tiles. Depending on the application, the tiles are either glazed or unglazed. Internal tiles are glazed and traditionally manufactured from fired clay. However, modern tiles are also made of plastic, glass, or asphalt. Furthermore, fibreboard or other sound-absorbing materials can create acoustical tiles. The tiles can be either functional or decorative, with decorative tiling dating back thousands of years. For example, glass tiles date back to ancient Egypt.
Several tools and products are required for the process of tiling: tile adhesive, trowel, spacers, and tile cutter. At EWI Store, we stock the full range of accompanying tiling and levelling products.
Adhesive
Tile adhesive - Tile adhesive is a type of bonding material that is used to attach tiles to surfaces. It is a cement-based material that is designed to bond tiles to a wide range of substrates, such as concrete, plaster, and wood. Tile adhesive is typically applied to the surface using a trowel, and then the tiles are pressed into place. The adhesive holds the tiles securely in place, preventing them from shifting or slipping over time. Tile adhesive can come in different forms, including powder, paste, or pre-mixed, and it can be used for various types of tiles, including ceramic, porcelain, and natural stone.
We stock ProFlex SPES Tile Adhesive at EWI Store, in standard and rapid set variations. Both products are designed with increased workability, enhanced adhesion, and flexibility. Therefore, the adhesives are suitable for areas where vibration or movement occurs. In most cases, the solid bed method of coverage is advisable.
Tiling Accessories
Trowel - The best trowel for applying the tiling adhesive is a notched trowel, as internal adhesive beds require ribbing. Regal & Barnes trowels come with notches spaced at a range of intervals; therefore, you can always find the one that matches your requirements. Using a trowel is fairly simple: spread the adhesive in a smooth, even layer, then use the notched edge to create ridges in the adhesive, adjusting the size of the notches based on the tile size and spacing requirements.
Spacers - Spacers come in two variations. Cross-shaped spacers ensure even spacing between floor tiles. However, wedge spacers are used in situations where you are putting bottom cuts above any uneven surface like rough concrete. They can also be used for marble wall tiles where each piece varies slightly and standard spacers will not work.
Tile cutter - A large, hand-operated tool that provides a stable base to cut tiles. The scoring wheel ensures a straight scoring line across the tile. Once scored, the rubber attachment is lowered onto the tile surface and the level is lowered, which snaps the tile gently and precisely.
What is levelling?
Levelling can refer to the process of preparing floors or walls for the installation of certain features, or the levelling of tiles. Ultimately, both are concerned with creating a totally flat surface. This can be achieved with a variety of products.
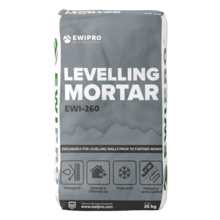
Levelling walls - To achieve a level surface, whether that be a wall or floor, you will require some form of a cementitious product. Walls will tend to need filling in if they are old, as they may have suffered significant wearing. EWI-260 Levelling Mortar is a great product for this. EWI-260 Levelling Mortar is used on walls as a scratch coat or to prepare an uneven substrate prior to applying render for EWI Pro solid wall insulation systems. The product is a polymer-modified sand and cement mixture, which can be used for repairing and filling cavities in walls.
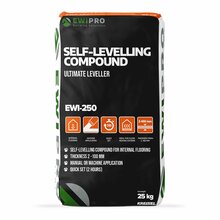
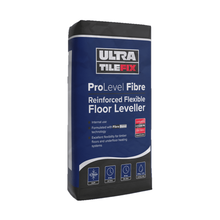
Levelling floors - Floors require slightly different mortars and are often referred to as floor screeds. For example, our EWI-250 Self-Levelling Compound is specially designed for internal purposes, with a particular focus on a quick set and use in underfloor heating projects. We also stock another floor levelling product. UltraTile ProLevel Fibre Reinforced Flexible Floor Leveller is a single-part, high-strength, rapid drying and curing concrete floor leveller. This floor leveller incorporates a blend of specially graded fillers, cement, polymers and fibres. The specially formulated fibre technology aids application and strength, resulting in a strong and even base which sets in 3 hours and can be tiled after 8 hours.
Clip & Snip - when tiling and levelling meet
The newest entry into the EWI Store tiling and levelling range is the innovative Clip & Snip system. The system turns into a slow, laborious, and potentially damaging system and turns into a very simple clip-and-snip procedure. Wedge style and screw-in levellers have no presets for how level a surface should be. The removal of these systems also relies on brute force, which exposes fragile tiles to cracking and scratches. However, the Clip & Snip system is designed with precisely these issues in mind. It is incredibly easy to use and does not damage the tiles. The double-notched straps will always break off in the exact same place. The strapping gun speeds up the whole process of tiling, reducing the time required on site. The clips are also durable and reusable, which is often not the case with traditional systems.
Tips for tiling
- Plan ahead: Measure the area you plan to tile, and calculate how many tiles you'll need. Plan out the layout of the tiles, and make sure to take into account any corners, obstacles, or odd angles.
- Prepare the surface: Make sure the surface you're tiling is clean, level, and dry. Remove any old tiles and repair any cracks or holes. If necessary, use a primer to help the tiles adhere.
- Choose the right adhesive: Make sure to choose an adhesive that is appropriate for your tiles and your surface. For example, if you're tiling a bathroom, you'll want to use a waterproof adhesive.
- Cut tiles carefully: If you need to cut tiles to fit around corners or obstacles, use a tile cutter or a tile saw. Make sure to measure carefully and make precise cuts.
- Use spacers: Spacers will help ensure that your tiles are evenly spaced and aligned. They'll also help you maintain the proper grout lines.
- Allow for expansion: When tiling in an area that will be exposed to heat or moisture, such as a bathroom or kitchen, make sure to leave a small gap between the tiles to allow for expansion.
- Grout carefully: Once your tiles are in place, use a rubber float to apply grout between the tiles. Be sure to fill all the gaps evenly and wipe away any excess grout.
- Clean up: Once the grout has dried, use a damp sponge to wipe away any remaining grout haze. Allow the tiles to dry completely before using the area.
Tips for levelling
- Assess the surface: Before starting any levelling work, assess the surface you plan to level. Determine the cause of any unevenness, whether it's due to settling, moisture, or other factors.
- Choose the right material: Choose a levelling compound or mortar that is appropriate for the surface you're levelling. For example, if you're levelling a concrete floor, you'll want to use a self-levelling compound.
- Prepare the surface: Clean the surface thoroughly and remove any loose debris, dirt, or old adhesive. If the surface is very uneven, you may need to use a grinder or chisel to remove high spots.
- Apply the levelling compound: Follow the manufacturer's instructions to mix and apply the levelling compound. Use a trowel or a flat board to spread the compound evenly over the surface, working in small sections.
- Smooth and level the surface: Use a screed or a long, straight board to level the compound as you apply it. Check the level frequently and make adjustments as necessary.
- Allow the compound to dry: Follow the manufacturer's instructions for drying time. Once the compound is dry, check the surface for any remaining high spots or unevenness.
- Sand or grind the surface: If necessary, use a sander or grinder to remove any remaining high spots or roughness.
- Finish the surface: Once the surface is level, you can proceed with any necessary finishing work, such as laying tile or painting

