

It is a widely accepted guideline that most forms of render are applied in the 5°C to 25°C range. However, there is a multitude of factors that affect the curing and drying time. The major factor we want to focus on today is the sun. It may usually indicate a time of beer gardens and ice cream; however, it is the time to act for renderers. It is crucial to note that you must be cautious when working in the sun. Our main recommendation is to render ahead of the sun and, if possible, manufacture some shade for a wall portion. This process applies to both the basecoat and topcoat layers, as both are susceptible to potential cracking.
How to render walls
The process of rendering a wall, in this case, presumes that the wall has a layer of basecoat and reinforcing fibreglass mesh. It is also possible that an external wall insulation system is in place. These stipulations depend on the type of project being completed. However, many of the rules stay the same. Render requires some form of mechanical key to add adhesion. Therefore, the basecoat layer must be fully cured and then covered with EWI Pro Topcoat Primer.
The process of applying render begins with the choice of the render. Silicone renders offer exceptional durability and flexibility, as well as being hydrophobic. Therefore, your home is fully protected from the elements; more importantly, our renders can be tinted to any colour and will not fade due to enhanced UV resistance. Another potential finish to consider is a monocouche scratch render; applied in two passes, despite the French name suggesting singular, monocouche scratch render mimics a natural stone finish.
Silicone render application
EWI Pro Silicone Render is a ready-to-use render. As such, it does not require the addition of water prior to application. However, we recommend mixing the render before use to ensure an even distribution of the colour pigments. Always check that the colour of the render matches your order before application.
To apply EWI-075 Silicone Render, use a trowel for initial application onto the substrate, then a plastic float to create the desired texture. Remember that this is a thin-coat silicone render system, so the thickness of the render should match the selected grain size of the render.
Our Silicone Render comes in a 25kg bucket and is ready for immediate application. However, before application, we recommend that you mix the bucket with a paddle mix. Mixing ensures a homogenous substance with even grain distribution.
You can then apply a very thin layer of Silicone Render to the basecoat. You should ensure the grain size of the render matches the thickness of the render layer. For example, if you decided to install a 1.5mm Silicone Render, then that layer should be just 1.5mm thick.
Why render ahead of the sun?
Naturally, sunlight will increase the surface temperature of the substrate. Direct sunlight can increase the temperature by up to 10°C.
This disparity highlights the critical necessity of a strategic approach while applying basecoat or topcoat during construction or renovation works. Instead of following the sun, a prudent method involves working ahead of the sun, enabling its gradual movement to follow your work path around the building.
The reason behind this strategy lies in the drying and curing process of basecoat and silicone render. Basecoat, typically a layer of plaster or similar material, and silicone render, often used as a topcoat, both undergo chemical processes during their curing phase that can be affected by temperature and humidity levels.
The curing process is crucial for the overall strength and durability of the materials. It's not merely about the material drying but also involves complex chemical reactions that bind the elements together and impart the required strength and resilience to the coat. Rapid drying due to sunlight exposure can hinder these chemical reactions, leading to an imperfect cure.
Basecoat
When the sun's heat accelerates the drying of the basecoat, it inhibits the complete curing process. As a result, the basecoat becomes weak and crumbly or "friable." This friability poses a problem as it compromises the structural integrity of the coat, making it more susceptible to cracking and erosion over time. It also makes the surface uneven, which can negatively impact the application and finish of subsequent layers.
Silicone render
Silicone render, used as a topcoat, has its specific set of challenges when exposed prematurely to sunlight. The sun's heat can cause the silicone render to dry before there's adequate time to float and texture the surface properly. This rushed drying process can lead to unsightly scarring, marring the final finish and possibly affecting the material's weather-resistant properties.
Therefore, proper planning of basecoat and topcoat application, factoring in the sun's position, is vital. The approach of letting the sun follow your work path allows a controlled drying process, ensuring the strength and visual appeal of the finished wall surface.
How to manufacture shade on-site
Rendering ahead of the sun is an excellent tactic. However, especially in the Northern Hemisphere, south-facing sections of buildings will receive sunlight for extended periods of the day. As such, it may be extremely difficult to render ahead of the sun. Starting very early is a great tactic for installers, but the sun will still hit. Therefore, manufacturing shade for your drying basecoat or topcoat render is crucial.
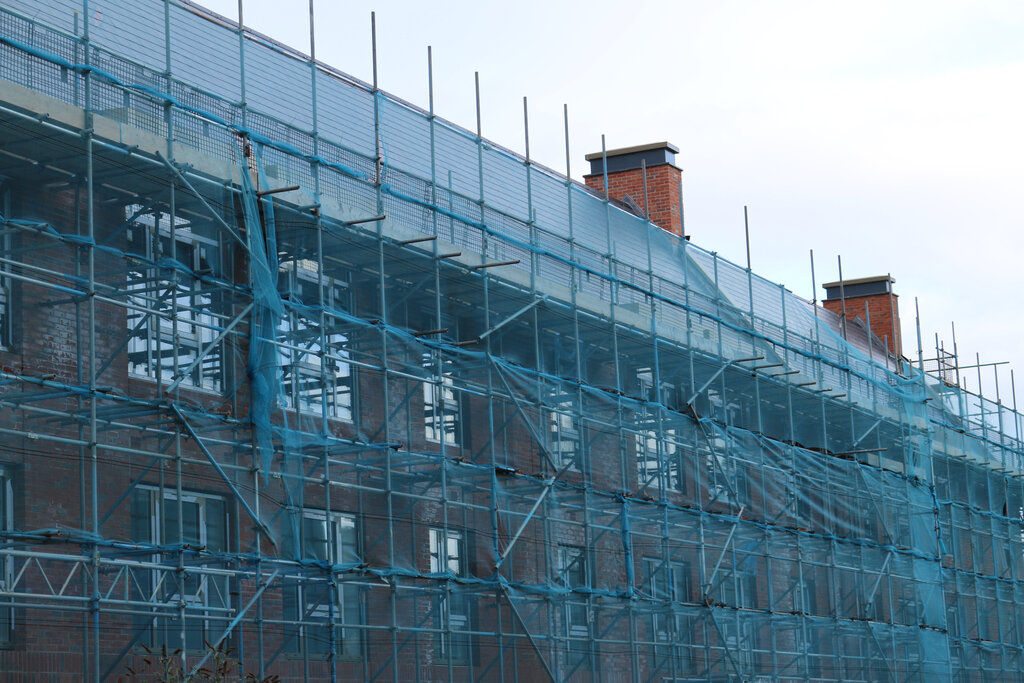
- Temporary scaffolding shades - You can construct temporary shades using scaffolding sheets or mesh netting. These are hung from the top of the scaffolding structure. As such, creating an artificial shade that blocks direct sunlight but still allows air movement for proper curing.
- Portable shade cloths - Portable shade cloths or tarps are also options. These can be moved around the site as needed, providing flexibility. However, they need to be set up securely to avoid being blown away or causing accidents.
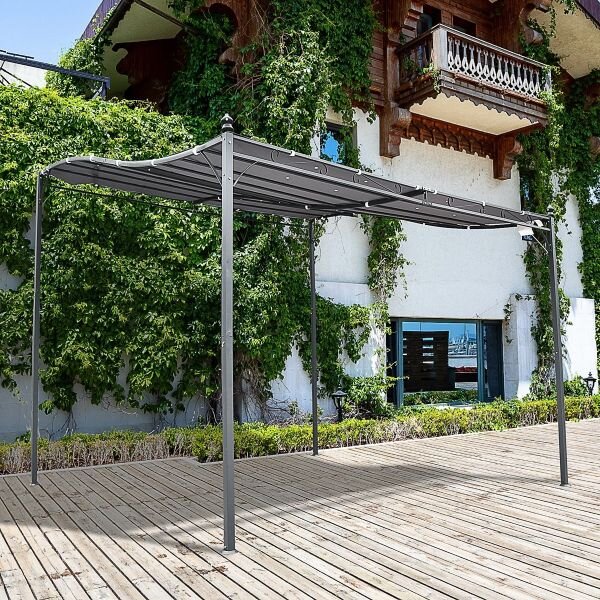
- Retractable awnings - If the project is long-term, or you frequently work on south-facing walls, investing in retractable awnings might be worthwhile. They can be extended during the sunniest parts of the day to provide shade and retracted when no longer needed.
- Pop-up canopy tents - These are portable, easy to set up, and can provide a large area of shade quickly. Again, these offer flexibility and portability.
- Constructed shades - In some cases, temporary wooden or metal structures covered with a shade cloth are erected. These are more substantial and stable but require more time and resources to set up.
It is crucial to adjust and move the shading as the sun's position changes throughout the day. This way, you can effectively control the drying and curing process of the basecoats and topcoat render, enhancing their durability and finish.
Let us know in the comments below how you combat the sun on site!