

- Prevent cracked render with substrate absorptivity tests
- Understanding substrate absorptivity
- Conducting the test
- Additional tips:
- Importance of primer
- Reinforce with fibreglass mesh
- Understanding the role of fibreglass mesh
- Benefits
- Installation process
- Upgrading to Panzer Mesh
- Beading and movement joints to prevent cracked render
- Types of Beading
- Key Considerations
- Stress patches are essential
Cracked render can indeed be a disheartening sight, particularly for homeowners who have recently invested in re-rendering their abodes. As a renderer, ensuring a crack-free, enduring finish is imperative. In this post, we delve into quintessential installation tips to help make cracked render a bygone issue.
Prevent cracked render with substrate absorptivity tests
Preventing cracked render begins right from understanding the substrate you are working on. The substrate, being the base or material underneath where the render will be applied, plays a crucial role in the final quality and durability of the render. One of the primary factors that affect the adhesion and, consequently, the longevity of render is the absorptive capacity of the substrate. Below is a detailed outline of how to conduct substrate absorptivity tests to prevent cracked render:
Understanding substrate absorptivity
Substrate absorptivity refers to the capacity of the substrate to absorb water. It's crucial to ascertain this because if a substrate is too porous, it can absorb water from the render mix rapidly, which can adversely affect its adhesion and lead to cracking.
Conducting the test
-
Initial Wetting:
- Begin by wetting the wall with water, either with a spray bottle or a sponge.
- Observe how quickly the water is absorbed into the substrate.
-
Evaluation:
- If the water is absorbed too quickly, it indicates high absorptivity, and if it takes a while or doesn’t get absorbed, it indicates low absorptivity.
-
Adjustment (for highly absorptive substrates):
- If the substrate shows high absorptivity, lightly dampen the walls with a fine mist of water and wait for a bit before performing the test again.
- The idea is to achieve a balanced level where the substrate neither repels the water nor absorbs it too quickly.
Additional tips:
- Maintaining Moisture Level: Ensure the substrate retains a consistent level of moisture before applying the render. This may require dampening the substrate a bit to prevent it from drawing too much moisture from the render upon application.
- Avoid Oversaturation: Be cautious not to oversaturate the walls during this process as oversaturated substrates can lead to weak adhesion and eventually cracking.
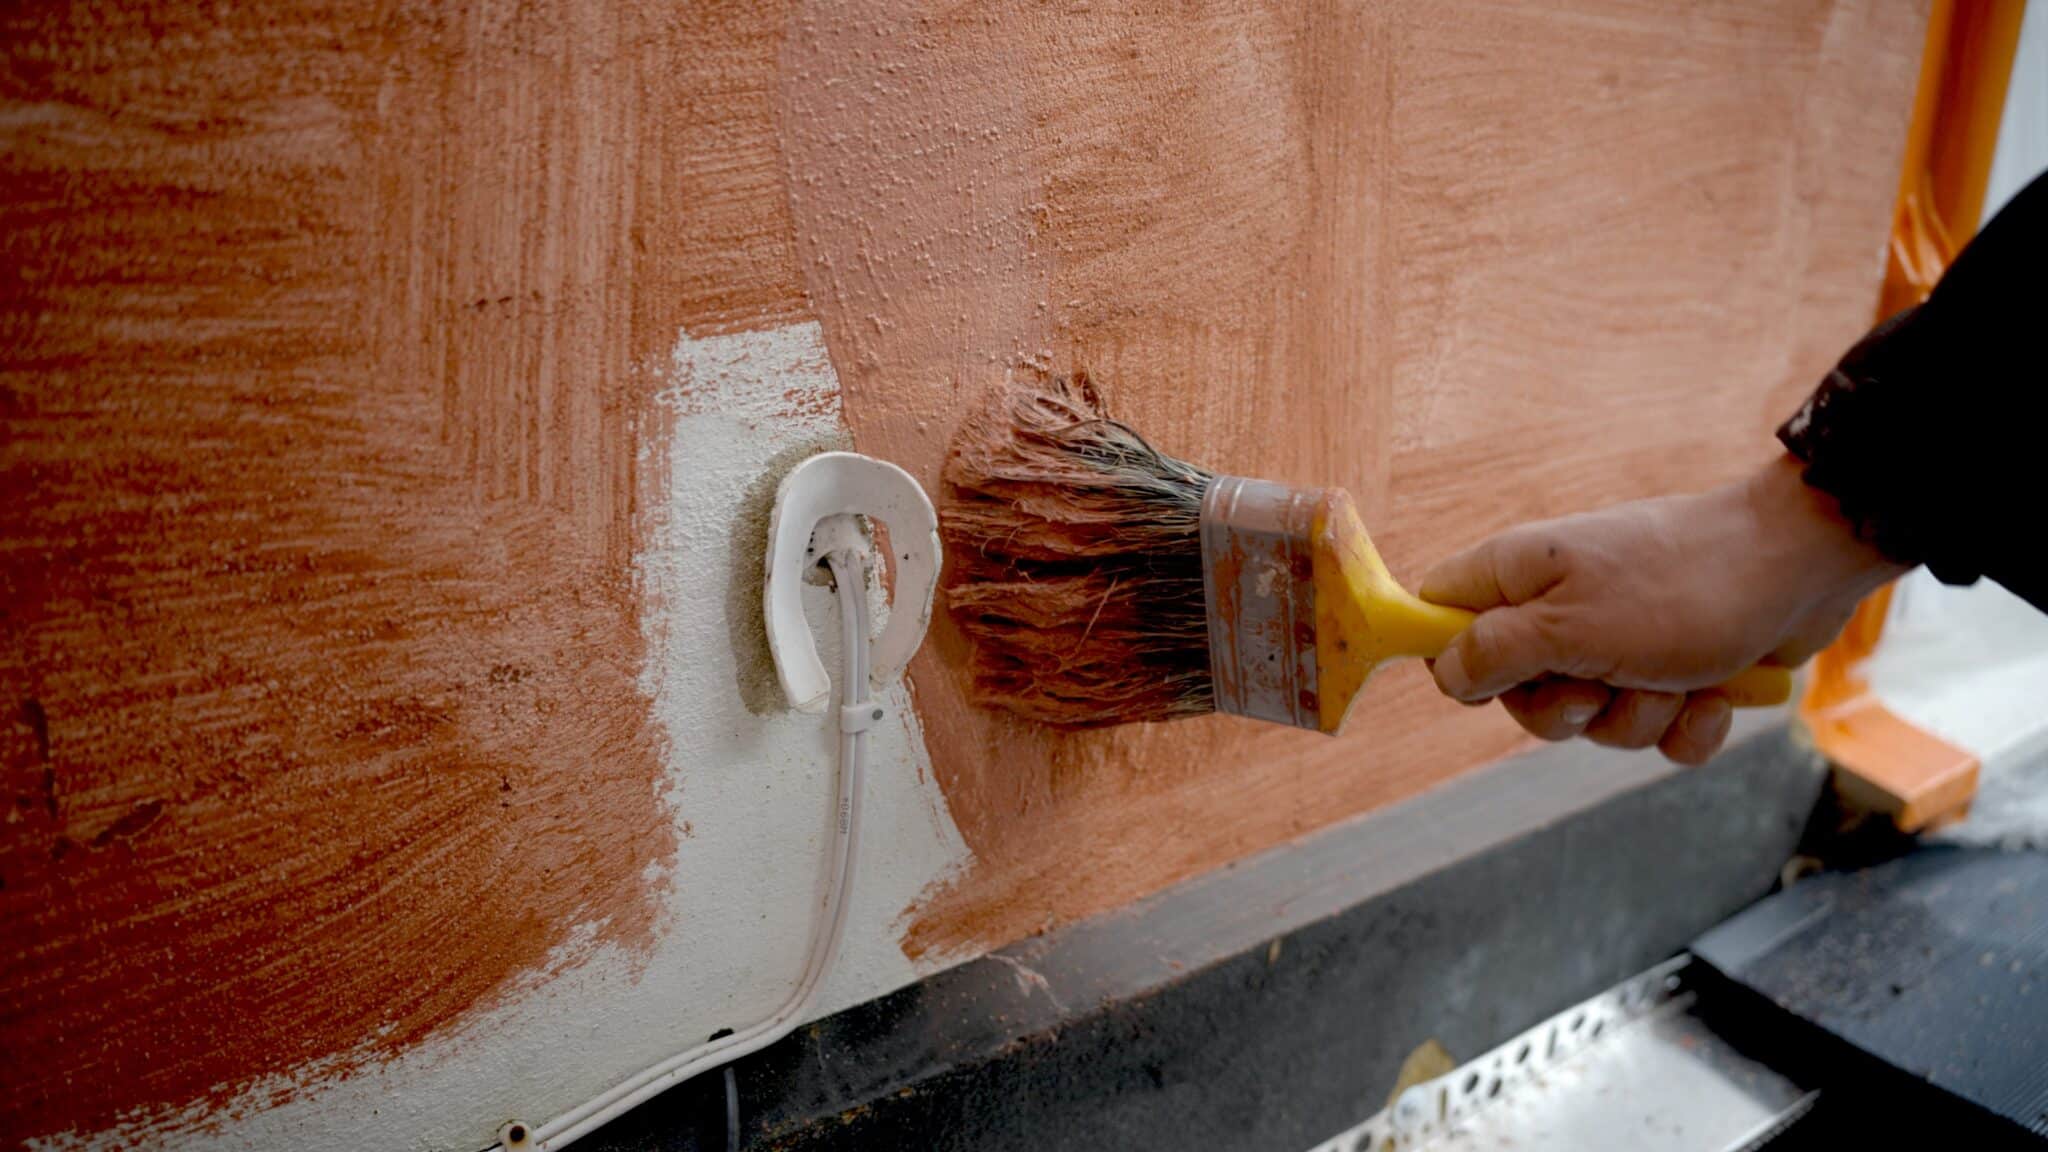
Importance of primer
Following the absorptivity test, applying a good primer can be essential. Primer acts as a barrier, limiting the absorptive capacity of the substrate and also ensuring a stable base for the render. A quality primer is indispensable for moderating the substrate’s absorptive capacity, ensuring stability, and averting cracked render. We recommend the 301 Water-Based Primer or the EWI-302 Deep Penetrating Primer, ideal for new build brick and blockwork. The EWI-310 Universal Primer, with its quartz aggregate content, provides a mechanical key to bolster adhesion, ensuring the substrate retains minimal water from your materials.
Reinforce with fibreglass mesh
Understanding the role of fibreglass mesh
Fibreglass mesh acts as a reinforcement layer within the render system, providing increased tensile strength which helps the render withstand movements and stress without cracking.
Benefits
- Enhanced Tensile Strength: Fibreglass mesh significantly boosts the tensile strength of the render, enabling it to resist cracking even under substantial structural movements or shifts.
- Improved Crack Resistance: By distributing stresses that can cause cracking, fibreglass mesh acts as a protective layer that maintains the integrity of the render.
- Increased Durability: The addition of fibreglass mesh extends the lifespan of the render, ensuring it remains intact and aesthetically pleasing for a longer period.
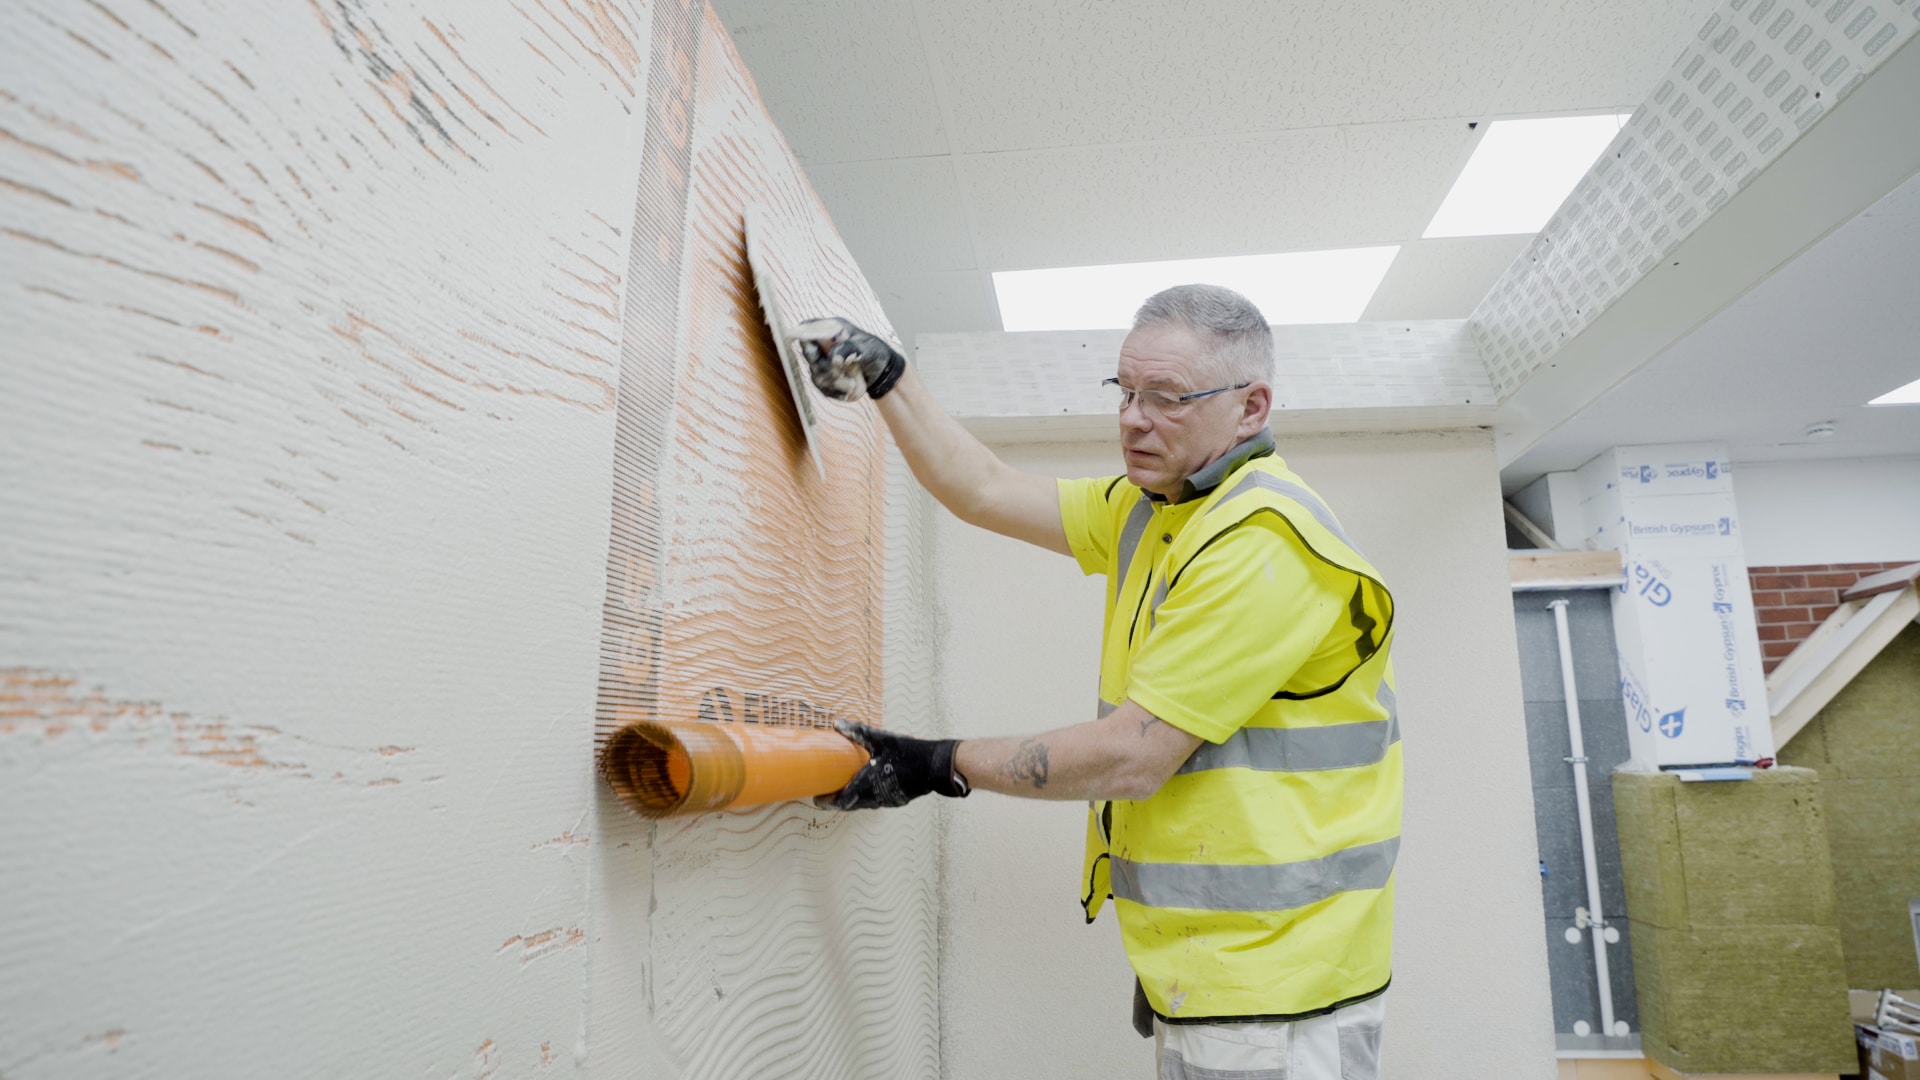
Installation process
- Cutting the Mesh:
- Measure and cut the fibreglass mesh into strips, ensuring that the mesh strips overlap on all sides to prevent any gaps where cracks might form.
- Embedding the Mesh:
- The fibreglass mesh should be embedded within the first pass of render or within the basecoat layer, depending on the type of render system you are using (Monocouche render or thin coat render system).
- Ensure that the mesh is fully embedded and lies flat against the substrate to ensure proper reinforcement.
- Overlapping:
- Overlap the strips of mesh by at least 10cm on all sides to ensure a continuous reinforcement layer with no gaps.
- Ensure the overlaps are well embedded and smoothed out to avoid any bumps or irregularities in the finished render.
Upgrading to Panzer Mesh
For an even higher level of crack resistance and strength, upgrading to Panzer Mesh is recommended. Panzer Mesh is known for its incredible strength and durability which makes it a premium choice for projects requiring enhanced crack resistance.
Beading and movement joints to prevent cracked render
Beading and movement joints are crucial elements in rendering that help in achieving a smooth finish. It also prevents cracks and ensures the longevity of the render. Beading serves various purposes including creating clean edges, providing impact protection, and aiding in creating a structured look.
Types of Beading
-
Corner Bead:
- Provides a clean, sharp finish at the corners.
- Reinforces the corner against impacts and cracks.
-
Stop Bead:
- Used to create a stopping point for the render.
- Ensures a neat finish at the render edges.
-
Expansion Bead:
- Allows for movement within the render system to prevent cracking.
- Creates a gap that can absorb any expansion or contraction.
-
Bellcast Bead:
- Directs rainwater away from the base of the wall.
- Provides a clean finish at the bottom of the rendered surface.
Movement joints accommodate structural movements within the building, preventing the render from cracking.
Key Considerations
-
Placement:
- Movement joints are placed where there's a large expanse of render (more than 12m) or in alignment with existing structural movement joints.
-
Installation:
- Movement joints should be installed vertically and embedded within the basecoat layer to stabilise the render and ensure cracking is prevented.
- They should be fixed securely to the substrate to ensure they perform effectively.
-
Render Movement Bead:
- Utilising a render movement bead within movement joints is essential for enhanced stabilisation of the render.
- The bead should be embedded within the basecoat layer. It also needs to be aligned with any structural movement joints.
Stress patches are essential
Reinforcing areas around openings (windows and doors) with Fibreglass Mesh strips is crucial to distribute and resist stresses. Ensure the strips extend at least 50cm past the stress patch and embed them either in the middle of the basecoat or on the first pass.