Having invested in a fresh new façade, it’s crucial to keep it looking like it did on the first day. Many pollutants will significantly impact the aesthetics of your rendered walls. Whilst top-of-the-range Silicone Renders, like EWI-075 Silicone Render, have self-cleaning properties, some soiling is inevitable. Therefore, it is imperative to know how to clean your walls without damaging your rendered façade.
What can make your rendered façade dirty?
Weather conditions
Weather conditions significantly impact the cleanliness and appearance of rendered walls. Rain, for instance, not only leaves behind water stains but also, over time, can seep into any cracks, fostering the growth of algae and moss due to the dampness it introduces. Sunlight plays a dual role; while it can help dry out damp areas, its UV rays gradually fade or discolour the render, especially if it’s tinted, leading to a patchy appearance. Additionally, wind carries dust, dirt, and various pollutants, depositing these elements onto the render’s surface. This accumulation of debris, exacerbated by varying weather patterns, means that without regular maintenance, the render can quickly lose its aesthetic appeal and protective qualities.
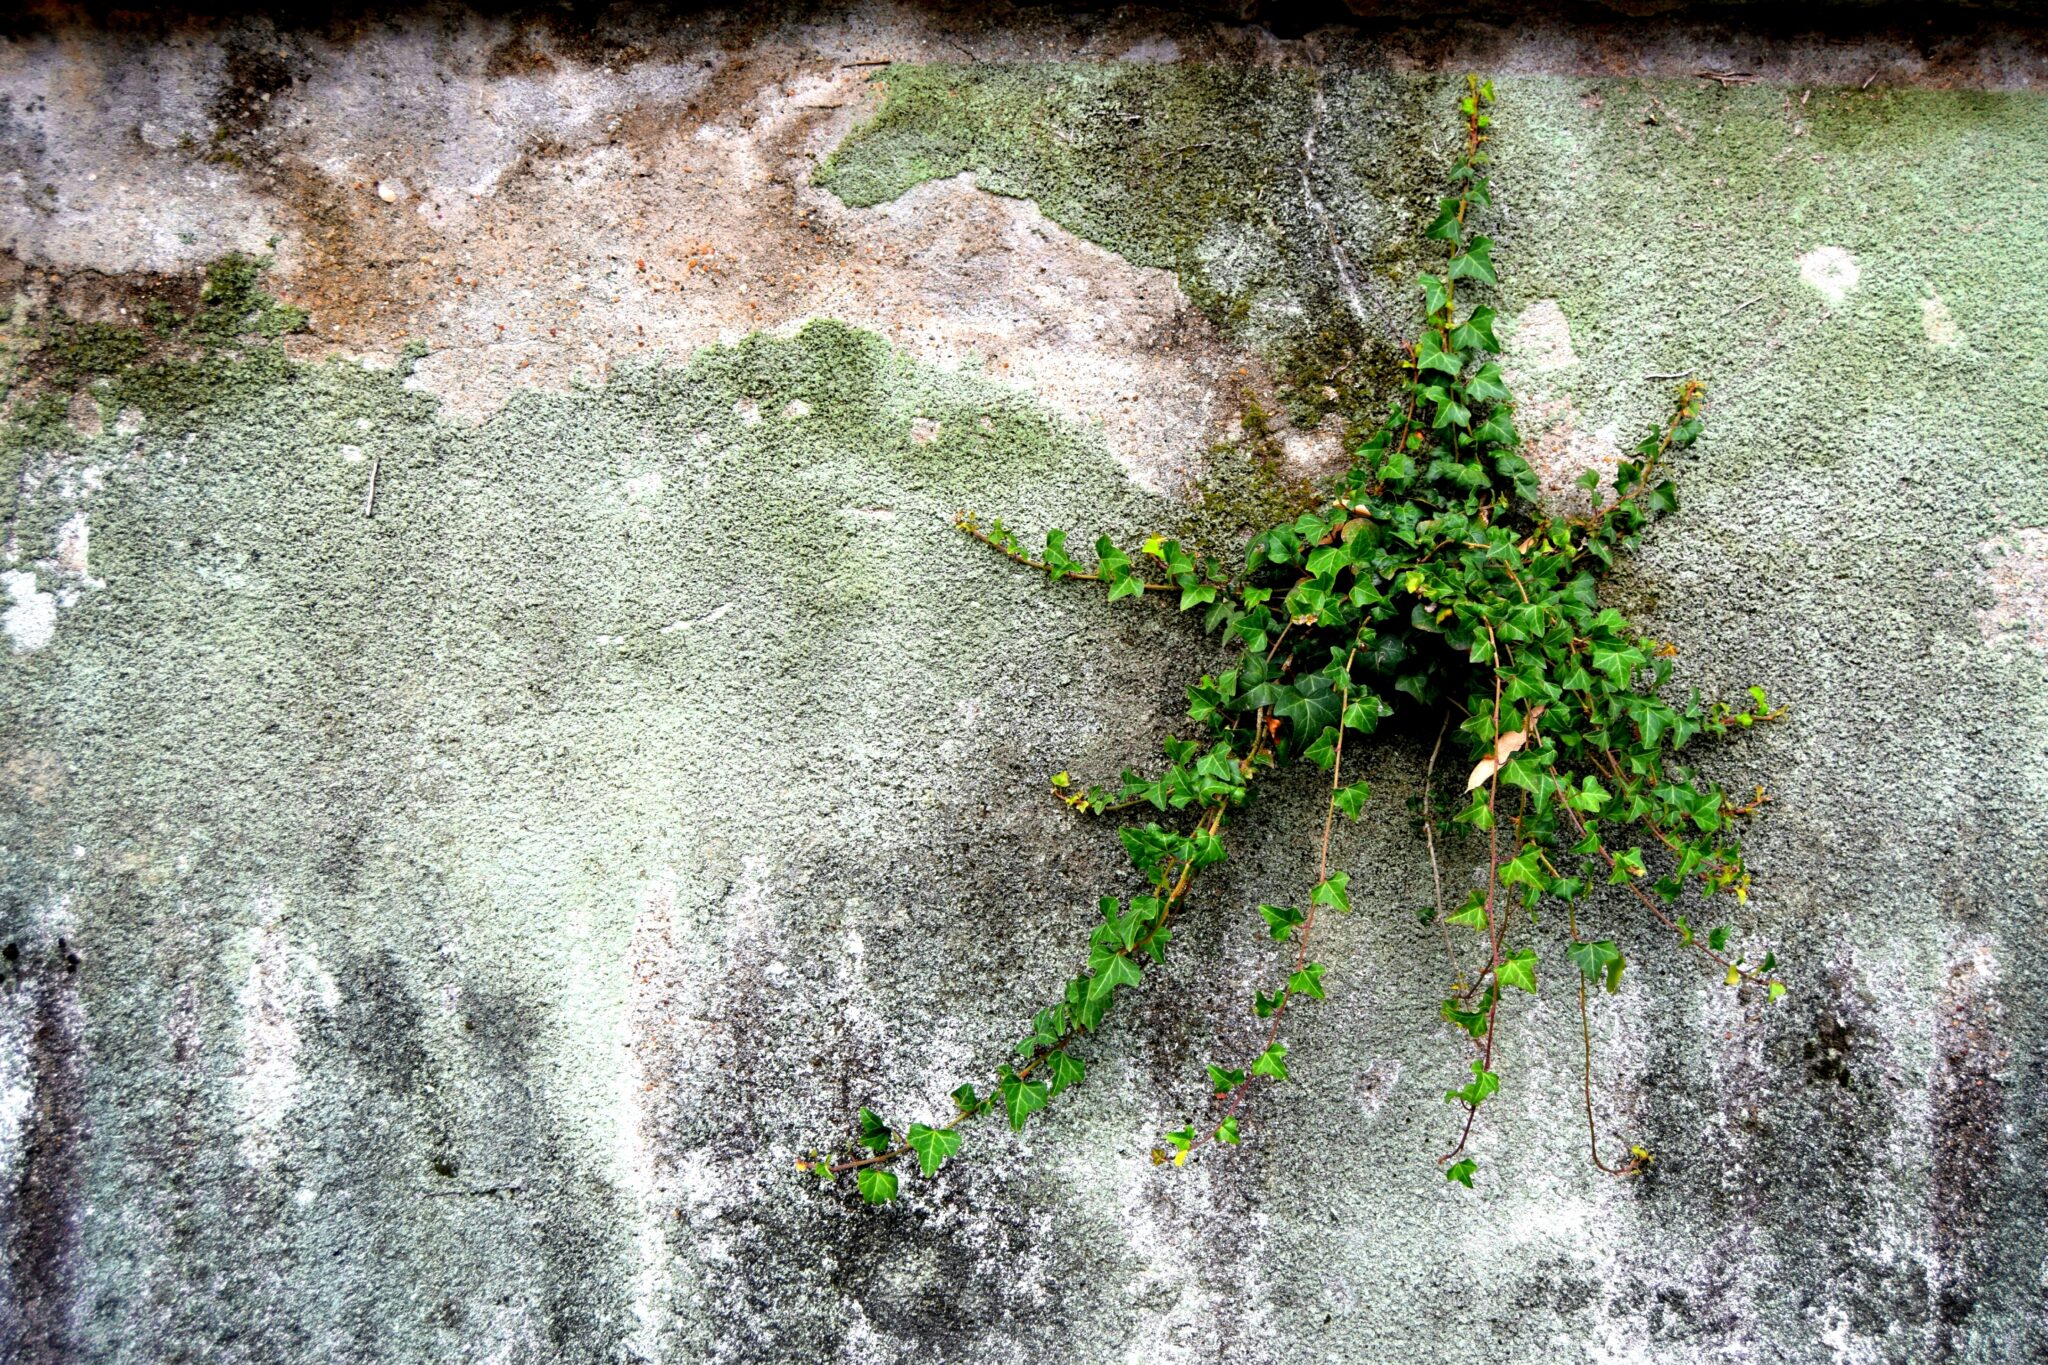
Biological growth
Rendered surfaces are prime real estate for biological growths such as algae, moss, and mildew, particularly in conditions that favour moisture. Algae, thriving in damp environments, often paints a green or black stain across north-facing walls that see less sunlight. Moss and lichen join the fray in similar moist conditions, causing the render to spot with green, black, or even red patches. Mildew, preferring the high humidity found in more sheltered areas, can manifest as black or white blotches that mar the uniformity of the wall’s appearance. Together, these organisms form a consortium of discolouration and degradation, challenging the integrity and aesthetics of the render.
Pollution
The battle against render discolouration doesn’t stop with natural elements; pollution plays a significant role in tarnishing the exterior aesthetics of buildings. Urban environments, particularly, are prone to a buildup of airborne pollutants. Smoke and soot from industrial activities, along with the fine particulates from car exhausts, slowly accumulate on rendered surfaces. This gradual deposition forms a layer of grime that can significantly dull the render’s appearance, leaving it tired and worn. Especially in areas with heavy traffic, vehicle emissions contribute further to this issue, embedding pollutants into the porous surface of the render. Over time, the cumulative effect of these pollutants can lead to a persistent dirty appearance that is challenging to clean and maintain, emphasising the importance of regular care and attention to preserve the render’s original beauty and functionality.
Physical factors
Physical factors are also crucial in rendered walls’ cleanliness and overall health. A common culprit for render discolouration and damage is poor drainage; when water from the roof cascades directly onto the walls, it leaves watermarks and encourages the growth of unsightly moss and algae. Similarly, leaking gutters and downpipes exacerbate this problem by creating damp patches that serve as breeding grounds for biological growth. Additionally, the physical integrity of the render can be compromised by cracks and other forms of damage, which allow water to penetrate the surface, leading to internal damp issues and further facilitating the growth of moss, algae, or mildew. These physical factors demand vigilant maintenance and prompt repairs to prevent minor issues from escalating into significant problems, ensuring the render remains pristine.
Surrounding environment
A property’s surrounding environment can significantly influence its render condition. Vegetation, such as trees and plants located close to the building, contributes to a picturesque setting and poses challenges. These natural elements can create shaded areas that retain moisture, making them ideal for the proliferation of algae and moss. Falling leaves and other organic debris can accumulate on the walls, decomposing and leaving stains that mar the render’s appearance. Additionally, the proximity of soil and garden beds can lead to splashing during rainstorms, with mud and dirt staining the lower sections of the walls. These environmental factors highlight the importance of strategic landscaping and regular cleaning to mitigate their impact, ensuring that the natural beauty of the surroundings enhances rather than detracts from the appearance of rendered walls.
Maintenance issues
Maintenance issues, if left unaddressed, can significantly degrade the appearance and integrity of rendered walls. Cracks and other forms of structural damage mar the visual appeal of a property and offer an entry point for water. Once moisture penetrates these breaches, it can lead to internal damp problems and foster the growth of unsightly biological organisms such as moss, algae, and mildew. This deterioration signals that preventative maintenance and prompt repair work are essential for preserving the render’s condition. Regular inspections can identify potential problems before they escalate, allowing for the timely sealing cracks and rectifying any damage. This proactive approach ensures the longevity of the render, keeping the home’s exterior looking well-maintained and visually appealing.
Cleaning process
Assessing the type of render on your walls is pivotal before embarking on the cleaning process. This initial step is crucial as different types of render—be it silicone, monocouche, or lime—have distinct characteristics and cleaning requirements. Understanding the type of render you’re dealing with will guide you in selecting the appropriate cleaning methods and products, ensuring you achieve optimal results without causing any harm.
Identifying your render type
Silicone renders are known for their hydrophobic properties, which make them highly resistant to water and less prone to algae and moss growth. Because of this, they often require gentler cleaning methods to avoid damaging their water-repellent surface.
Monocouche renders, applied in a single coat, are through-coloured for a long-lasting finish. They are durable and breathable but can still accumulate dirt and biological growth. To maintain their integrity, use mild cleaning solutions and avoid aggressive scrubbing.
Lime render is traditional, highly breathable, and suited for older buildings. It is more susceptible to erosion and damage from harsh cleaning techniques. Opt for the gentlest cleaning methods, preserving the render’s natural properties.
Once you’ve identified your render type, gather the necessary equipment and materials tailored to your needs. This preparation step ensures you approach the cleaning process with everything on hand for a safe and effective clean.
- For Silicone Render: Choose soft brushes and mild, soap-free cleaning solutions to maintain the hydrophobic surface.
- For Monocouche Render: Mild detergents and low-pressure water rinsing will suffice to clean without compromising the colour or integrity of the render.
- For Lime Render: Use gentle, pH-neutral cleaning solutions and soft brushes, avoiding pressure washing to prevent erosion or damage.
Preparation
Before diving into the cleaning process, assemble all necessary equipment and materials to ensure a smooth and efficient operation. You’ll need the following:
- A soft-bristled brush or broom for initial dusting.
- A garden hose with a spray nozzle to wet and rinse the walls.
- A gentle, pH-neutral cleaning solution suitable for your type of render.
- Protective gear such as gloves and eyewear to safeguard against cleaning solution splashes.
- Optionally, a pressure washer should be set to low pressure if deemed safe for your render type.
Step-by-Step Cleaning Process
1. Initial Dry Brushing
Begin by using a soft-bristled brush to gently sweep away any loose dirt, dust, and cobwebs from the surface of the render. This dry brushing step removes surface debris that could otherwise become a muddy mess when wet.
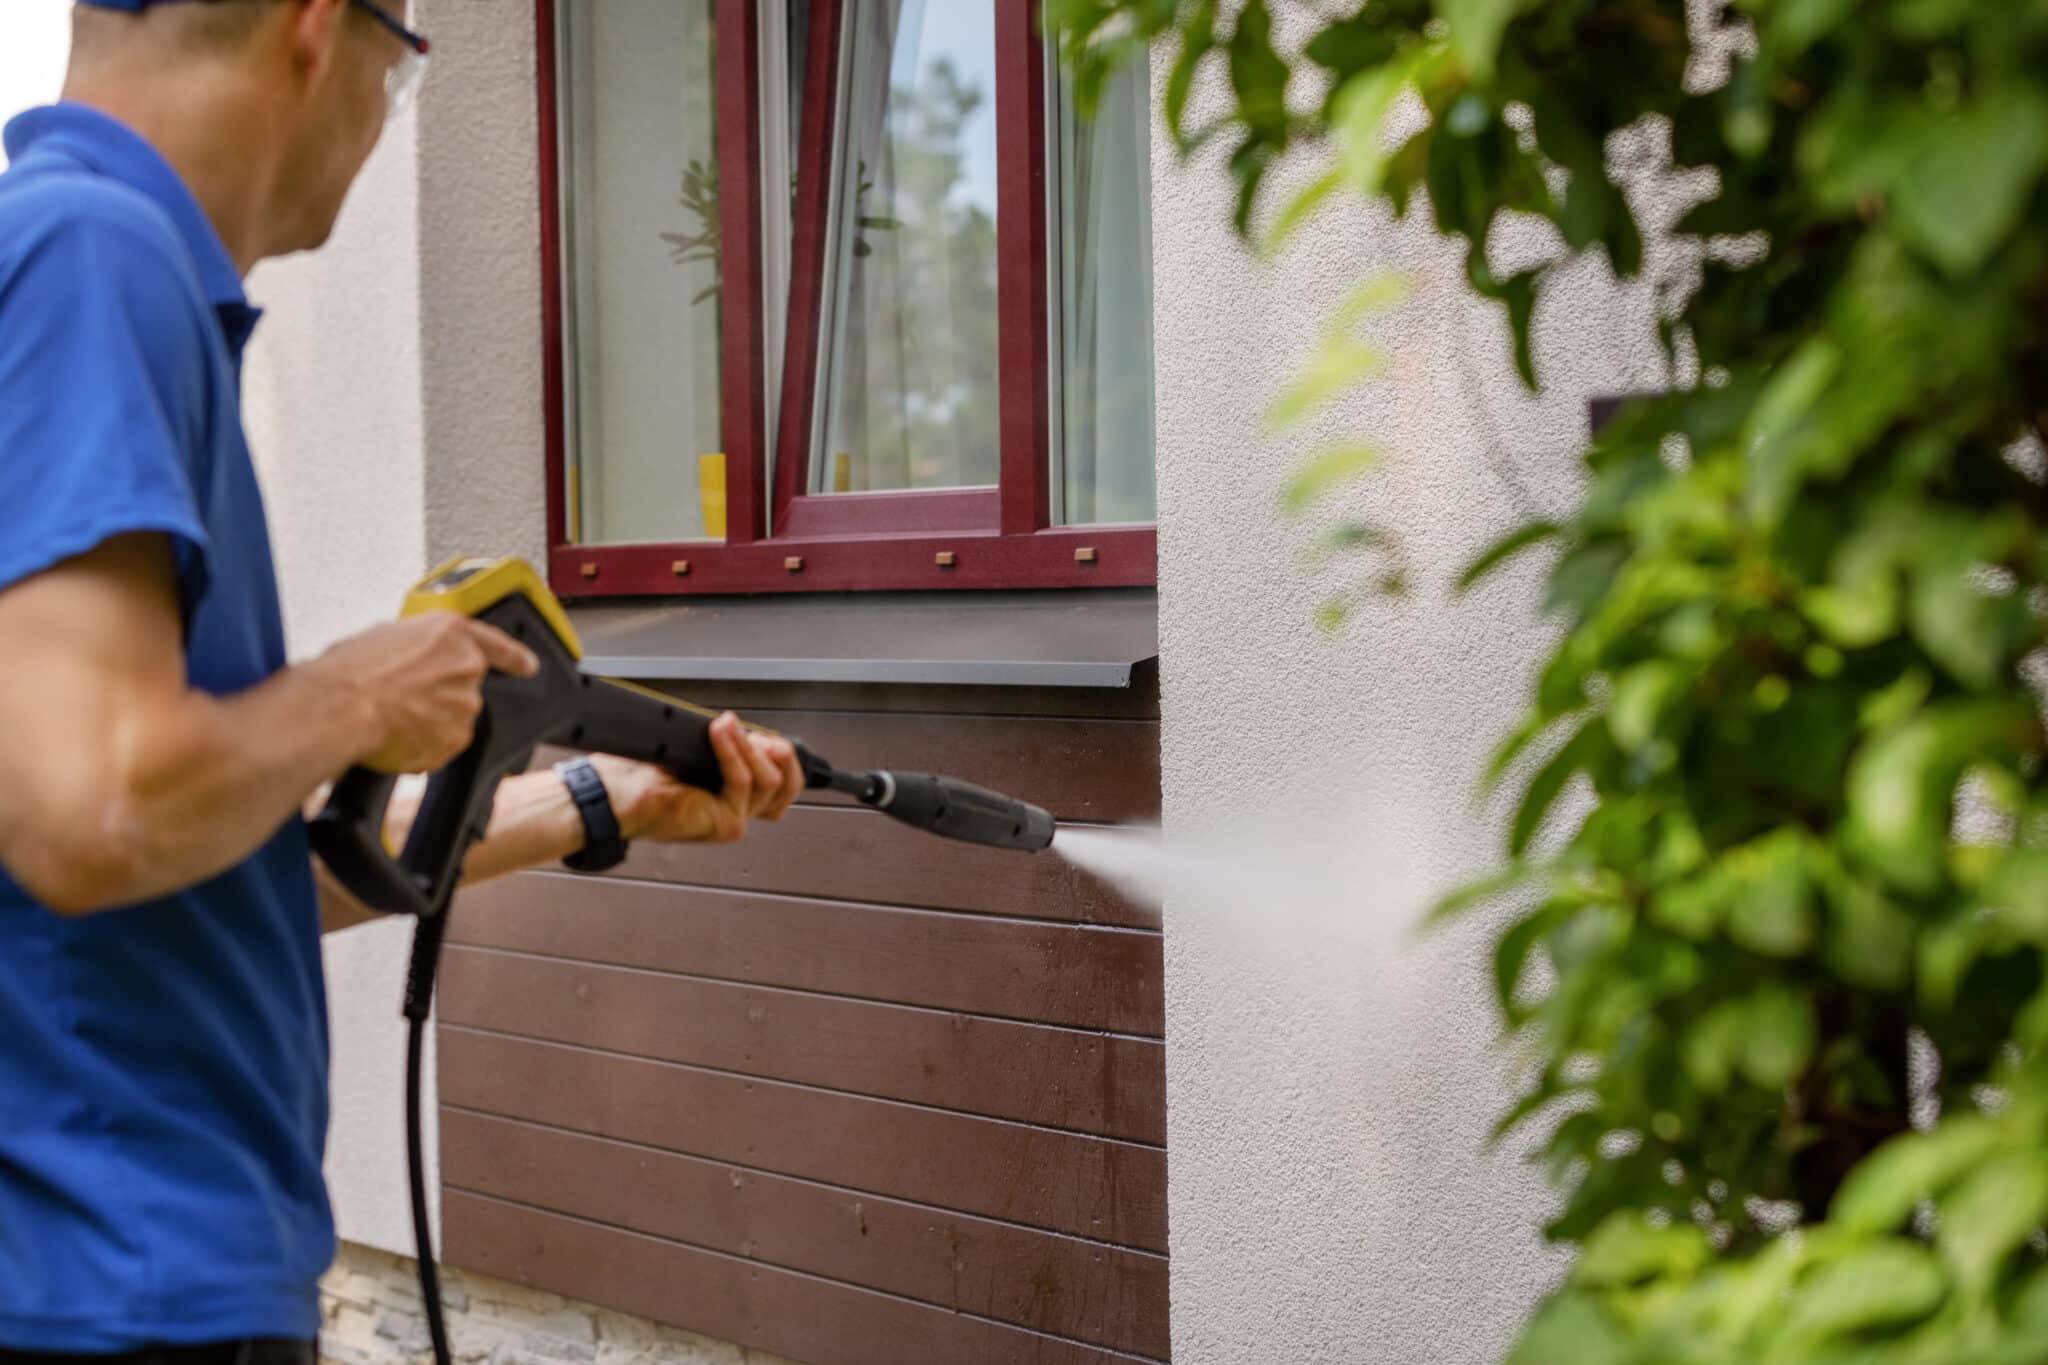
2. Rinsing with Water
Gently rinse the walls from top to bottom using a garden hose with a spray nozzle. The aim is to saturate the render and wash off loose dirt without exerting too much pressure that might damage the surface. A fine mist setting is often ideal for this purpose.
3. Applying Cleaning Solution
For areas with stubborn stains, mildew, or algae, prepare a mild cleaning solution per the manufacturer’s instructions, ensuring it’s suitable for your render. Apply this solution gently with a sponge or a soft cloth, focusing on the problematic areas. You might use a low-pressure sprayer to apply the solution evenly for large areas.
4. Gentle Scrubbing
Gentle scrubbing may be necessary for areas where dirt persists even after applying a cleaning solution. Use a soft-bristled brush and work in a circular motion to avoid damaging the render’s surface. Focus on small sections at a time to ensure thorough cleaning without soaking the render excessively.
5. Rinsing
Once you’ve applied and scrubbed the cleaning solution where needed, it’s time to rinse the walls thoroughly. Rinse the walls from top to bottom using your garden hose with a spray nozzle to ensure all cleaning solutions and loosened dirt are washed away. Be sure to gently flow water into the render to prevent water from ingressing.
6. Inspecting and Touching Up
After the walls have dried, inspect them for missed spots or areas needing a touch-up. It’s not uncommon to find spots that could benefit from a bit more attention, especially if you’re dealing with stubborn stains or areas of biological growth. Repeat the targeted cleaning on these spots, following the same gentle procedure.
7. Drying
Allow the walls to dry completely. This natural drying process is crucial for assessing the effectiveness of your cleaning efforts. It ensures that no moisture remains trapped within the render, which could lead to damage over time.