A Complete Guide to
Brick Slips Onto Any Substrate

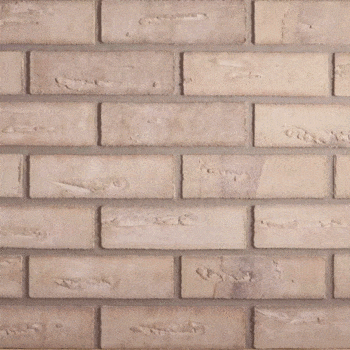
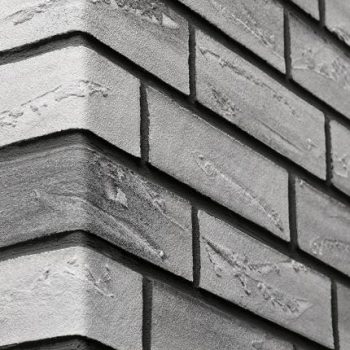
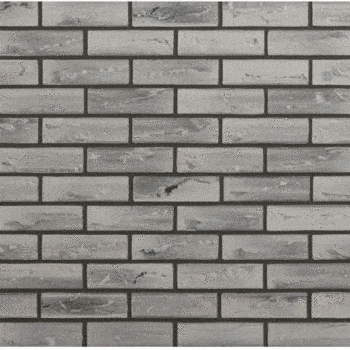
Acrylic Brick Slips are a striking architectural feature that seamlessly blends with insulated or non-insulated systems. They realistically mimic traditional brickwork, ensuring that any property can retain the heritage charm brickwork can provide. Brick Slips are incredibly simple to work with and easy to handle given their light weight. They can also be used internally or externally, making them an incredibly versatile product.
The brick slip system can be installed on mixed masonry, insulated and/ or a modern method of construction substrate., e.g., light steel frame, timber frame, etc.
Please ask the Technical Team for a detailed site-specific specification
Step 1 – Prepare the substrate
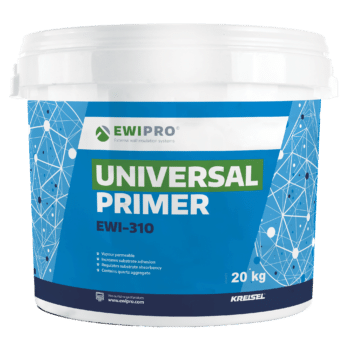
Ensure the substrate is clean, dry, and dust-free before applying EWI Pro’s specialised Brick Slip Adhesive. You can use Universal Primer to ensure the substrate’s absorption level is harmonised.
-
Universal Primer (EWI-310) – 20kg
Rated 4.40 out of 5£64.82 Incl. VAT£54.02 Excl. VAT£72.04 Incl. VAT£60.03 Excl. VAT
Step 2 – Starter Track Installation
The starter track is attached to the bottom edge of the sheathing board. This not only provides a level surface for easy installation of the insulation, but it also protects the base of the insulation against weather, dampness and other damage.
We offer either an uPVC starter track or an aluminium starter track. The uPVC starter track is our premium product and helps minimise thermal bridging. The aluminium starter requires a clip-on profile, which provides a mesh layer that helps tie the starter track together with the insulation when the reinforcement layer is added. For A1 systems, we would consider working with the project improver and specifying the stainless steel.
Both starter tracks are fixed to the substrate self-drilling screws, fixed at 300mm centres to ensure the starter track is held securely in place.
Step 3 – Preparing the Board Adhesive
Once the starter track is in position, you will need to start fixing the insulation boards to the substrate.
You can use the EPS, Mineral Wool or K5 insulation boards. They are attached to the substrate with one of our adhesives. We always recommend using EWI-225 Premium Basecoat as the adhesive as it has the highest bonding strength.
EWI-225 comes as a dry mix in 25kg bags and should be combined with clean water at a ratio of 6.5 litres per 25kg bag. To do this, use a heavy-duty power plaster mixer on a slow rotating setting. Freshly mixed adhesive should be left for approximately 5 minutes and then re-mixed for a short period of time before use. Bucket life is approximately 1 hour, although this is dependent upon the weather conditions.
We recommend applying the adhesive onto the insulation boards either using a notched trowel to apply a layer of the adhesive to the entirety of the insulation board or using the adapted ‘dot-n-dab envelope’ method. The adapted dot-n-dab envelope method applies the adhesive to the whole perimeter of the board with 3 dots in the middle. This will provide an airtight finish.
The amount of adhesive used by either of these methods should be approximately the same. Each 25kg bag should be able to mount approximately 4-5m2 of boards to the substrate.
Step 4 Applying the Insulation to the Substrate
The insulation boards should be attached to the wall in a staggered formation. At the corners, it is important to interlink the insulation from the two sides.
When installing insulation around window and door openings, it is important that the joints between boards are not in line with these openings. This will prevent cracks from appearing in the future.
Also, when the insulation is installed, you must use mesh off-cuts (350mm x 250mm) and fix them to the substrate at 45 degrees to the openings.
As a general tip: ensure the boards are aligned correctly both horizontally and vertically, with no gaps. This is best achieved using a spirit level.
Step 5 – Mechanical Fixings through the boards
All our insulation systems require the use of mechanical fixings as an additional method of tying the insulation to the substrate. The mechanical fixings help to ensure a completely secure system. Installation of the fixings should take place at least 1-2 days after the insulation boards have been attached to the substrate with the adhesive.
Follow the specification or the product purchasing instructions as to the appropriate mechanical fixings. Note: The fixing type will vary on the substrate.
Each 1200 x 600 board is attached to the sheathing board using the domino pattern of 5 fixings per slab. Around windows, additional fixings are used to reinforce these areas.
Step 6 Applying the Fibreglass Mesh
Mix up EWI-225 Premium Basecoat. It should be mixed with clean water at a ratio of 4.8 – 6.3 litres / 25kg bag. The compound should be mixed using a heavy-duty power plaster mixer or paddle mixer in a slow-rotating setting. Freshly mixed compounds should be left for approximately 5-10 minutes and then re-mixed for a short period of time before use. Bucket life is approximately 2 hours (at 20oC), although this is dependent on weather conditions.
Fix all the necessary system beadings:
- Stop beads attached at the end of the wall substrate, parallel to the adjacent property.
- Corner/ angle beads attached at corners and openings.
- Expansion joints are fitted as specified.
- Install the corner drip bead on the window and door heads (optional).
The basecoat is applied with a notched trowel to the top of the substrate – this layer needs to be 3-4mm at this stage. The mesh is then placed onto the basecoat (top-down) in vertical strips and embedded into the adhesive using the flat edge of the notched trowel. Each vertical strip of fibreglass mesh should overlap its neighbouring vertical strip by approximately 100mm.
Finally, apply another 1-2mm of basecoat on top of the substrate to fully cover all the exposed mesh and to ensure this reinforcement layer sits in the final third of this build-up. The fibreglass mesh needs to sit close to the surface to be able to handle the building undulations.
The applicator may use a spatula trowel to achieve a nice and smooth finish.
Allow for the basecoat layer to fully dry out before attempting to install any brick slips.
Step 7 – Brick Slip Adhesive
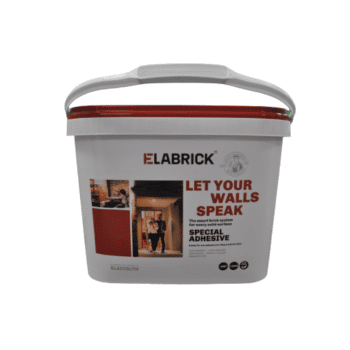
The Brick Slip Adhesive comes as a powder and is prepared by adding water to it. Once it has been mixed according to the instructions on the back of the bag, then it should be extremely easy to apply.
The adhesive should be applied with a notched trowel onto the prepared substrate so that the adhesive sits on the surface ready for the brick slips to stick to it (2-3mm build-up). Depending on the weather conditions, it should not be applied to large surfaces in one pass to prevent a film from forming.
Whilst the adhesive is wet on the substrate, the back of the brick slip should also be covered with adhesive using a toothed trowel, and then stuck on the surface adding some force so it is embedded into the build-up. The adhesive at the joints should be smoothed off with a slightly damp brush.
-
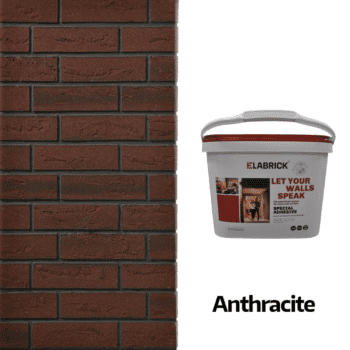
Elabrick Special Adhesive (15kg Tub)
From £71.99 Incl. VATFrom £50.39 Incl. VATFrom £41.99 Excl. VAT
Step 8 – Applying Brick Slips
The base layer of adhesive should be approximately 2-3mm thick which is then used to embed the Brick Slips fully. We also recommend covering the back of the Brick Slips with adhesive to ensure total adhesion across the whole area of the product. If you have any reservations about the coverage, remove one of the Brick Slips and examine the coverage on the back of it. If there are any gaps, use more adhesive to fill them in.
The Brick Slips are fixed to the wall in a staggered formation, much like traditional brickwork, with a 10mm gap between vertical and horizontal bricks.
-
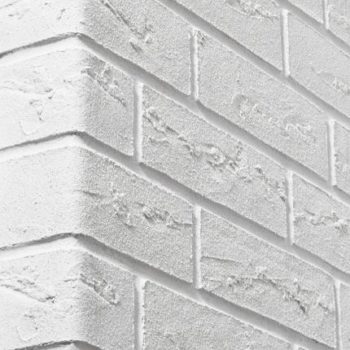
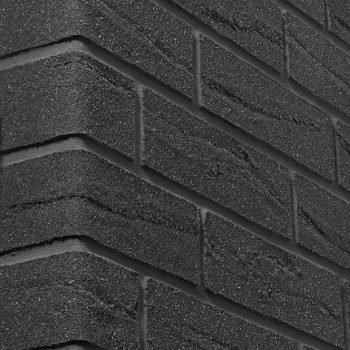
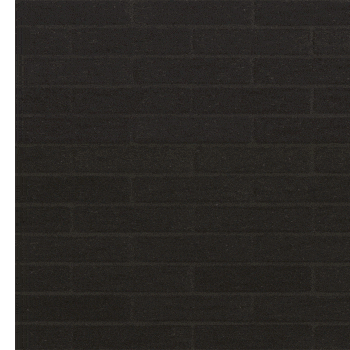
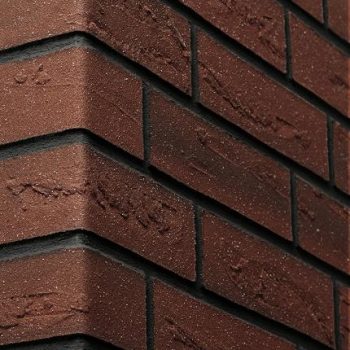
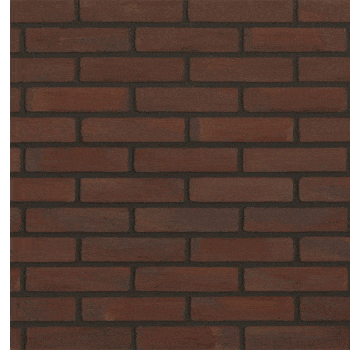
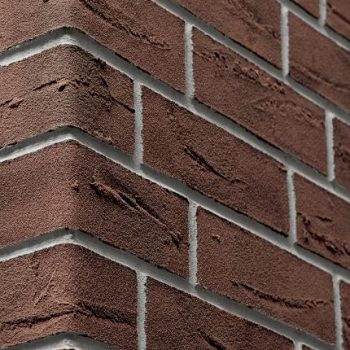
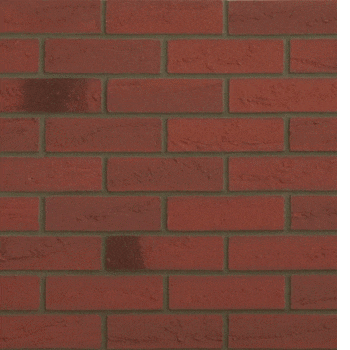
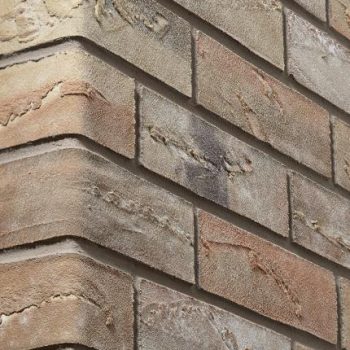
Elabrick Brick Slips – Alaska
From £35.39 Incl. VATFrom £29.49 Excl. VAT -
Elabrick Brick Slips – Blackpool
From £35.39 Incl. VATFrom £29.49 Excl. VAT -
Elabrick Brick Slips – Colorado
From £35.39 Incl. VATFrom £29.49 Excl. VAT -
Elabrick Brick Slips – Cordoba
From £35.39 Incl. VATFrom £29.49 Excl. VAT -
Elabrick Brick Slips – Corsica
Rated 4.00 out of 5From £35.39 Incl. VATFrom £29.49 Excl. VAT -
Elabrick Brick Slips – Nebraska
Rated 5.00 out of 5From £35.39 Incl. VATFrom £29.49 Excl. VAT
Step 9 – Spacing and corners
Setting out the gap of 10mm between Brick Slips is crucial and can be achieved with a 10mm UPVC edge profile. Utilising this ensures that the finished façade looks consistent.
The Flexibricks name suggests precisely the benefit of Brick Slips. They can be shaped and bent around corners with minimal fuss. They can also be cut with scissors, reinforcing their ease of use.
Step 10 – Grouting & Finishing
For the last step, you will require the Brick Slip Grout. Coming in four different colours (white, creme, grey, graphite), the grout is ideally suited to deliver the aesthetic appearance of your facade.
The grout itself comes in a powder format and is made ready by adding water to it. Follow the instructions on the back of the bag to achieve an even and consistent mix.
Press the grout evenly and with slight pressure with a jointing trowel, then smooth it out evenly. Vertical joints can be finished with a short jointing trowel.
Note: Do not smooth the grout several times as it can result in a glazing gloss. Once set, remove any residue with a brush. During work and up to 48 hours after application, the wall must be protected against sunlight, rain and wind.
Explore our other solutions...
Your cart
Trade Account Login

We use cookies on our website to give you the most relevant experience by remembering your preferences and repeat visits. By clicking “Accept All”, you consent to the use of ALL the cookies. However, you may visit "Cookie Settings" to provide personalised consent.
Manage consent
Privacy Overview
This website uses cookies to improve your experience while you navigate through the website. Out of these, the cookies that are categorized as necessary are stored on your browser as they are essential for the working of basic functionalities of the website. We also use third-party cookies that help us analyze and understand how you use this website. These cookies will be stored in your browser only with your consent. You also have the option to opt-out of these cookies. But opting out of some of these cookies may affect your browsing experience.
Necessary cookies are absolutely essential for the website to function properly. These cookies ensure basic functionalities and security features of the website, anonymously.
| Cookie | Duration | Description |
|---|---|---|
| __stripe_mid | 1 year | This cookie is set by Stripe payment gateway. This cookie is used to enable payment on the website without storing any patment information on a server. |
| __stripe_sid | 30 minutes | This cookie is set by Stripe payment gateway. This cookie is used to enable payment on the website without storing any patment information on a server. |
| _GRECAPTCHA | 5 months 27 days | This cookie is set by the Google recaptcha service to identify bots to protect the website against malicious spam attacks. |
| apbct_cookies_test | session | CleanTalk sets this cookie to prevent spam on comments and forms and act as a complete anti-spam solution and firewall for the site. |
| apbct_page_hits | session | CleanTalk sets this cookie to prevent spam on comments and forms and act as a complete anti-spam solution and firewall for the site. |
| apbct_prev_referer | session | Functional cookie placed by CleanTalk Spam Protect to store referring IDs and prevent unauthorized spam from being sent from the website. |
| apbct_site_landing_ts | session | CleanTalk sets this cookie to prevent spam on comments and forms and act as a complete anti-spam solution and firewall for the site. |
| apbct_site_referer | 3 days | This cookie is placed by CleanTalk Spam Protect to prevent spam and to store the referrer page address which led the user to the website. |
| apbct_timestamp | session | CleanTalk sets this cookie to prevent spam on comments and forms and act as a complete anti-spam solution and firewall for the site. |
| apbct_urls | 3 days | This cookie is placed by CleanTalk Spam Protect to prevent spam and to store the addresses (urls) visited on the website. |
| AWSALBCORS | 7 days | This cookie is managed by Amazon Web Services and is used for load balancing. |
| cookielawinfo-checkbox-advertisement | 1 year | Set by the GDPR Cookie Consent plugin, this cookie is used to record the user consent for the cookies in the "Advertisement" category . |
| cookielawinfo-checkbox-analytics | 11 months | This cookie is set by GDPR Cookie Consent plugin. The cookie is used to store the user consent for the cookies in the category "Analytics". |
| cookielawinfo-checkbox-functional | 11 months | The cookie is set by GDPR cookie consent to record the user consent for the cookies in the category "Functional". |
| cookielawinfo-checkbox-necessary | 11 months | This cookie is set by GDPR Cookie Consent plugin. The cookies is used to store the user consent for the cookies in the category "Necessary". |
| cookielawinfo-checkbox-others | 11 months | This cookie is set by GDPR Cookie Consent plugin. The cookie is used to store the user consent for the cookies in the category "Other. |
| cookielawinfo-checkbox-performance | 11 months | This cookie is set by GDPR Cookie Consent plugin. The cookie is used to store the user consent for the cookies in the category "Performance". |
| ct_checkjs | session | CleanTalk–Used to prevent spam on our comments and forms and acts as a complete anti-spam solution and firewall for this site. |
| ct_fkp_timestamp | session | CleanTalk sets this cookie to prevent spam on the site's comments/forms, and to act as a complete anti-spam solution and firewall for the site. |
| ct_pointer_data | session | CleanTalk sets this cookie to prevent spam on the site's comments/forms, and to act as a complete anti-spam solution and firewall for the site. |
| ct_ps_timestamp | session | CleanTalk sets this cookie to prevent spam on the site's comments/forms, and to act as a complete anti-spam solution and firewall for the site. |
| ct_sfw_pass_key | 1 month | CleanTalk sets this cookie to prevent spam on comments and forms and act as a complete anti-spam solution and firewall for the site. |
| ct_timezone | session | CleanTalk–Used to prevent spam on our comments and forms and acts as a complete anti-spam solution and firewall for this site. |
| elementor | never | This cookie is used by the website's WordPress theme. It allows the website owner to implement or change the website's content in real-time. |
| viewed_cookie_policy | 11 months | The cookie is set by the GDPR Cookie Consent plugin and is used to store whether or not user has consented to the use of cookies. It does not store any personal data. |
Functional cookies help to perform certain functionalities like sharing the content of the website on social media platforms, collect feedbacks, and other third-party features.
| Cookie | Duration | Description |
|---|---|---|
| __zlcmid | 1 year | This cookie is used by Zendesk live chat and is used to store the live chat ID. |
| bcookie | 2 years | LinkedIn sets this cookie from LinkedIn share buttons and ad tags to recognize browser ID. |
| bscookie | 2 years | LinkedIn sets this cookie to store performed actions on the website. |
| lang | session | LinkedIn sets this cookie to remember a user's language setting. |
| lidc | 1 day | LinkedIn sets the lidc cookie to facilitate data center selection. |
| UserMatchHistory | 1 month | LinkedIn sets this cookie for LinkedIn Ads ID syncing. |
Performance cookies are used to understand and analyze the key performance indexes of the website which helps in delivering a better user experience for the visitors.
| Cookie | Duration | Description |
|---|---|---|
| __utma | 2 years | This cookie is set by Google Analytics and is used to distinguish users and sessions. The cookie is created when the JavaScript library executes and there are no existing __utma cookies. The cookie is updated every time data is sent to Google Analytics. |
| __utmb | 30 minutes | Google Analytics sets this cookie, to determine new sessions/visits. __utmb cookie is created when the JavaScript library executes and there are no existing __utma cookies. It is updated every time data is sent to Google Analytics. |
| __utmc | session | The cookie is set by Google Analytics and is deleted when the user closes the browser. It is used to enable interoperability with urchin.js, which is an older version of Google Analytics and is used in conjunction with the __utmb cookie to determine new sessions/visits. |
| __utmt | 10 minutes | Google Analytics sets this cookie to inhibit request rate. |
| __utmv | 2 years | The __utmv cookie is set on the user's device, to enable Google Analytics to classify the visitor. |
| __utmz | 6 months | Google Analytics sets this cookie to store the traffic source or campaign by which the visitor reached the site. |
| sib_cuid | 6 months | Purechat uses this cookie to send data to purechat.com, to connect visitors to the reservation team and track visitors to stay on portal. |
| SRM_B | 1 year 24 days | Used by Microsoft Advertising as a unique ID for visitors. |
Analytical cookies are used to understand how visitors interact with the website. These cookies help provide information on metrics the number of visitors, bounce rate, traffic source, etc.
| Cookie | Duration | Description |
|---|---|---|
| _ga | 2 years | The _ga cookie, installed by Google Analytics, calculates visitor, session and campaign data and also keeps track of site usage for the site's analytics report. The cookie stores information anonymously and assigns a randomly generated number to recognize unique visitors. |
| _gat_gtag_UA_61069204_2 | 1 minute | Set by Google to distinguish users. |
| _gat_UA-61069204-2 | 1 minute | A variation of the _gat cookie set by Google Analytics and Google Tag Manager to allow website owners to track visitor behaviour and measure site performance. The pattern element in the name contains the unique identity number of the account or website it relates to. |
| _gcl_au | 3 months | Provided by Google Tag Manager to experiment advertisement efficiency of websites using their services. |
| _gid | 1 day | Installed by Google Analytics, _gid cookie stores information on how visitors use a website, while also creating an analytics report of the website's performance. Some of the data that are collected include the number of visitors, their source, and the pages they visit anonymously. |
| _uetsid | 1 day | This cookies are used to collect analytical information about how visitors use the website. This information is used to compile report and improve site. |
| CONSENT | 2 years | YouTube sets this cookie via embedded youtube-videos and registers anonymous statistical data. |
Advertisement cookies are used to provide visitors with relevant ads and marketing campaigns. These cookies track visitors across websites and collect information to provide customized ads.
| Cookie | Duration | Description |
|---|---|---|
| _fbp | 3 months | This cookie is set by Facebook to display advertisements when either on Facebook or on a digital platform powered by Facebook advertising, after visiting the website. |
| ANONCHK | 10 minutes | The ANONCHK cookie, set by Bing, is used to store a user's session ID and also verify the clicks from ads on the Bing search engine. The cookie helps in reporting and personalization as well. |
| fr | 3 months | Facebook sets this cookie to show relevant advertisements to users by tracking user behaviour across the web, on sites that have Facebook pixel or Facebook social plugin. |
| MUID | 1 year 24 days | Bing sets this cookie to recognize unique web browsers visiting Microsoft sites. This cookie is used for advertising, site analytics, and other operations. |
| NID | 6 months | NID cookie, set by Google, is used for advertising purposes; to limit the number of times the user sees an ad, to mute unwanted ads, and to measure the effectiveness of ads. |
| test_cookie | 15 minutes | The test_cookie is set by doubleclick.net and is used to determine if the user's browser supports cookies. |
| uuid | 6 months | MediaMath sets this cookie to avoid the same ads from being shown repeatedly and for relevant advertising. |
| VISITOR_INFO1_LIVE | 5 months 27 days | A cookie set by YouTube to measure bandwidth that determines whether the user gets the new or old player interface. |
| YSC | session | YSC cookie is set by Youtube and is used to track the views of embedded videos on Youtube pages. |
| yt-remote-connected-devices | never | YouTube sets this cookie to store the video preferences of the user using embedded YouTube video. |
| yt-remote-device-id | never | YouTube sets this cookie to store the video preferences of the user using embedded YouTube video. |
| yt.innertube::nextId | never | This cookie, set by YouTube, registers a unique ID to store data on what videos from YouTube the user has seen. |
| yt.innertube::requests | never | This cookie, set by YouTube, registers a unique ID to store data on what videos from YouTube the user has seen. |
Other uncategorized cookies are those that are being analyzed and have not been classified into a category as yet.
| Cookie | Duration | Description |
|---|---|---|
| _clck | 1 year | No description |
| _clsk | 1 day | No description |
| _uetvid | 1 year 24 days | No description available. |
| AnalyticsSyncHistory | 1 month | No description |
| apbct_pixel_url | session | No description |
| apbct_visible_fields_0 | session | No description |
| apbct_visible_fields_1 | session | No description |
| apbct_visible_fields_10 | session | No description |
| apbct_visible_fields_2 | session | No description |
| apbct_visible_fields_3 | session | No description |
| apbct_visible_fields_4 | session | No description |
| apbct_visible_fields_5 | session | No description |
| apbct_visible_fields_6 | session | No description |
| apbct_visible_fields_7 | session | No description |
| apbct_visible_fields_8 | session | No description |
| apbct_visible_fields_9 | session | No description |
| ct_checked_emails | session | No description |
| ct_has_scrolled | session | No description |
| ct_mouse_moved | session | No description |
| ct_screen_info | session | No description |
| ictf_master | never | No description available. |
| li_gc | 2 years | No description |
| m | 2 years | No description available. |
| SM | session | No description available. |
| testinfinitycookie | session | No description |
| woocommerce_show_tax | 7 days | No description available. |
| wp_woocommerce_session_c5ac76b408021294cb56bcc27eddf8a1 | 2 days | No description |





4 thoughts on “Brick Slips Onto Any Substrate”
Hi I was wondering if it was possible to apply solid brick slips on to EPS and not the acrylic brick slips?
As I would prefer a proper brick than an acrylic if possible.
Thanks Matt
Hi Matt, you can apply solid brick slips, they’re significantly lighter as they’re just an off cut of a full brick
Hi Adam
Just following on from matts comment I am looking to do exactly the same with traditional brick slips just curious is the fixing/prep method the same as for the foam slips?
Hi James, thanks for getting in touch! Traditional brick slips are heavier than foam slips, so the fixing method is slightly different.
If you’re applying them over an external wall insulation (EWI) system, you’ll need mechanically fixed insulation boards like high-density EPS or Mineral Wool for support. A basecoat with fibreglass mesh should be applied first, followed by a strong tile adhesive or mortar to fix the brick slips. Once set, the joints can be pointed with mortar for a traditional finish.
For solid walls, the process is similar, but using the right primer and adhesive for the surface is key. If you require any technical support give us a call on 0800 133 7072, we’d be happy to help!