Applying render onto brick is a relatively straightforward process. However, you will require a specific set of materials to ensure it is completed properly and that you maximise the long-lasting effect.
At EWI Store, we have created a complete guide to help you navigate your available brick render options to complete this project.
1. Priming the Substrate
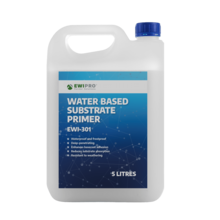
One of the most effective ways to ensure your thin coat render system lasts is to properly prime it. When installing a render system onto a brickwork substrate, we highly recommend using the EWI-301 Water Based Primer. This should be applied using either a roller or a brush. EWI-301’s coverage rate is 20kg/50m2, with a drying time of 4 hours per coat.
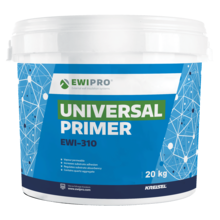
By contrast, when rendering a very smooth substrate, we suggest using the EWI-310 Universal Primer. This formula contains aggregates to create a rough surface for adhesion. EWI-310’s coverage is 5L/20m2, with a drying time of 4 hours per coat.
2. Applying a Parge Coat
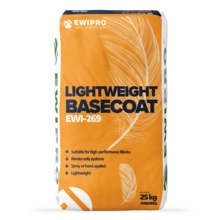
If the substrate you are rendering onto is uneven, a simple fix is to apply a parge coat layer. Our EWI-269 Lightweight Basecoat is ideal for this as it is strong, breathable, and heritage-friendly.
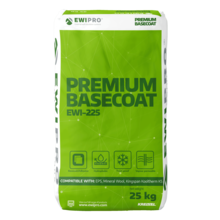
When it comes to new builds, the walls are generally completely level or the depth of the mortar joint is less than 10mm. For new build applications, we recommend applying 2mm of EWI-225 for the parge coat.
3. Applying the Beading
Another key component of the rendering onto brick process is beading. Beading works to reinforce certain areas on the external wall that are more prone to damage.
The beads you will require will depend on the areas that need reinforcing. For example, around windows, doors and corners.
Our selection of render beads allows you to choose the perfect beading for your property. They are made from uPVC and are designed to be embedded in the basecoat layer.
4. Preparing the Basecoat
Rendering onto Brick requires the use of EWI’s strongest adhesive. In this instance, we recommend the EWI-225 Premium Basecoat.
This product is dual-purpose. This means it can be used as both an adhesive and in the basecoat layer. Simply use a paddle mix to mix the contents of the bag with 5.9L of water.
1 bag of EWI-225 covers 3.5m2 and has a drying time of 24-48 hours.
5. Applying the Basecoat Layer and Embedding the Mesh
When applying the EWI-225 Basecoat layer when rendering onto brickwork, use an 10mm notched trowel. From there, embed fibreglass mesh to create the reinforced flexible basecoat layer. This layer reinforces the system with a strong, flexible and waterproof base.
At EWI store, we offer two high strength meshes to suit your project’s needs. Both meshes are coated with acrylic acid copolymer liquid for a long-lasting effect. Below is a breakdown of each mesh’s capabilities:
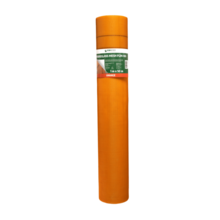
1) Orange Fibreglass Mesh: For guaranteed strength and flexibility. This mesh is water resistant
and protects against alkali damage and aging. 1 x 50m2 roll covers 42.5m2 when overlapped.
2) Panzer Fibreglass Mesh: Our strongest mesh available guarantees a premium level of impact
and crack resistance. Provides excellent protection against the elements. One 25m2 roll covers 22.5 m2 when overlapped.
6. Priming the Basecoat Before Rendering
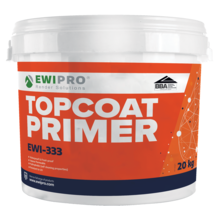
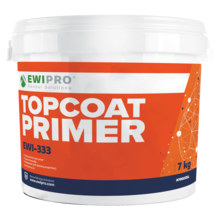
Following application of the mesh, and before rendering, your next port of call should be to prime the basecoat. Priming the basecoat aids adhesion between the basecoat and render. It also limits absorption to the basecoat, allowing the render to cure correctly. Our EWI-333 Topcoat Primer is designed specifically for this purpose and can be tinted to match the colour of your silicone render.
EWI-333 has a drying time of 12-24 hours, depending on the coverage. Its coverage rates are listed below:
- 7kg = 20m2
- 20kg = 60m2
7. Applying Silicone Render
The final step in applying render onto brick is to apply the render once the Topcoat Primer has dried.
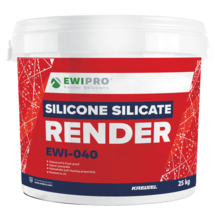
Since most of our renders are thin coat renders, the thickness of the topcoat depends on the grain size of the render. Our most popular render is our EWI-075 silicone render, which is available with a grain size of 1mm, 1.5mm, 2mm and 3mm. If you were to purchase the 2mm Silicone Render, your topcoat should be applied no thicker than 2mm.
Render should be applied using a trowel. Any excess render should always be removed. Use a plastic float to apply the render in a circular motion for your desired finish.
Below are the various coverage rates you can expect from different grain sizes:
- 1.0mm = 12m2 - 13m2
- 1.5mm = 9m2 - 10m2
- 2.0mm = 7m2 - 8m2
- 3.0mm = 5m2 - 6m2
Download our Complete Guides
All products mentioned are available in the EWI Store. If you have any further questions, our Sales team will be happy to assist on 0203 034 00 22.
You can download a copy of our complete guide below.

