

While sand and cement render is still commonplace on many properties throughout the UK, it has one major issue: it is prone to cracking.
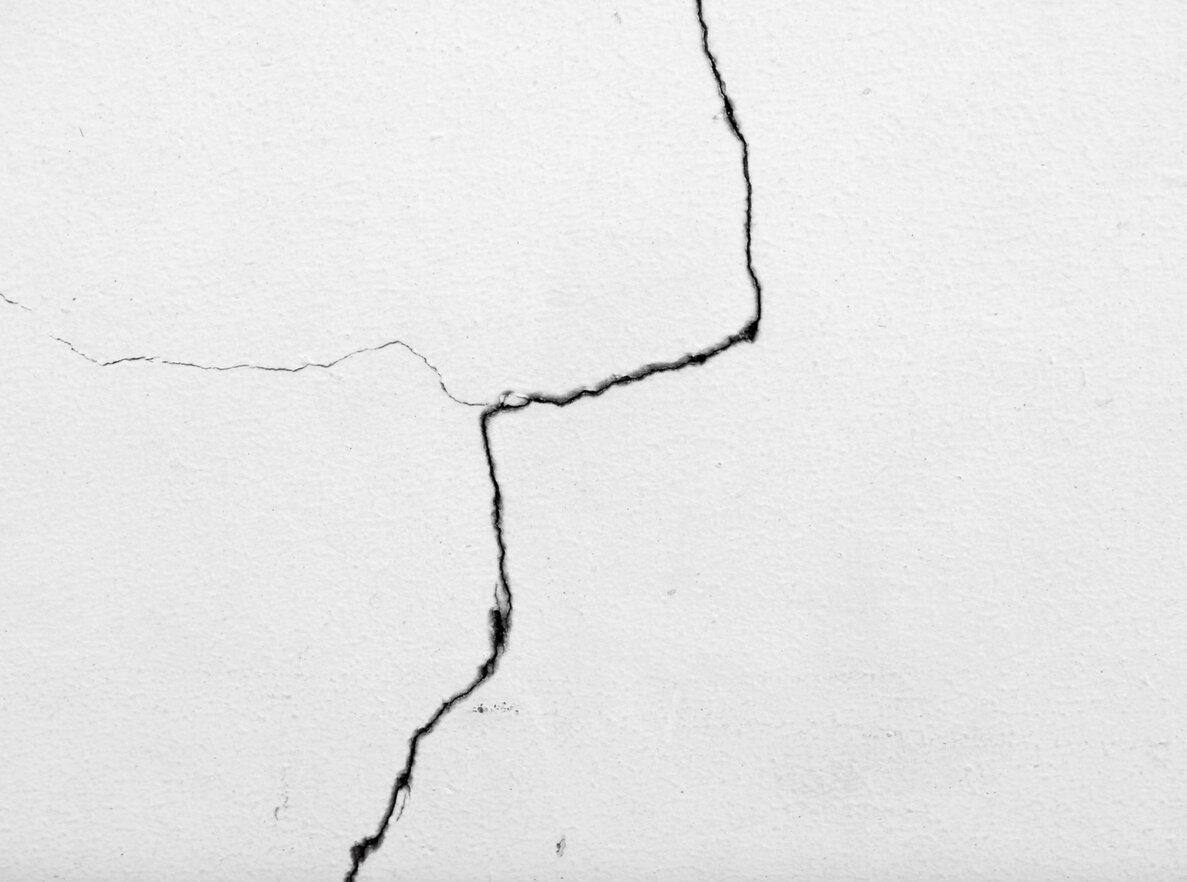
Traditionally six parts sand and one part lime, sand and cement render is typically applied at a thickness of around 20mm and coated with masonry paint to complete the look. While lime can enhance flexibility, this render is still not flexible enough to withstand natural movements of a building (namely, expanding in the summer and shrinking in the winter), therefore causing ‘hairline’ cracks.
Such cracks can not only impact the overall aesthetic of a property but also lead to water ingress, causing further issues down the line, including dampness, heat loss and mould. If you’ve noticed cracks of any kind on the façade of your property, you’ve come to the right place as we’re going to explain how to fix cracked render.
If you’ve read our blog comparing sand and cement and thin-coat render systems, you’ll know that thin-coat renders are extremely flexible and therefore far less likely to crack than sand and cement render. As mentioned, sand and cement render is typically applied at a thickness of around 20mm; in contrast, thin-coat renders are exactly that: thin-coat, meaning that they range from 6-7mm in thickness depending on the grain size chosen.
What’s more, our thin-coat render systems are comprised of a flexible basecoat, embedded with fibreglass mesh for extra strength and crack resistance, then finished with a thin-coat render for a smooth, aesthetically pleasing finish. Going forward, we highly recommend choosing a thin-coat render system as their flexibility, durability and crack resistance is second to none.
Depending on the size, severity and stage of development of the crack(s) on your property, there are several options for fixing cracked render.
1. Fixing completely damaged render
If the render is damaged all over (namely, full of cracks or peeling away), you have three options:
Start again - remove the existing render!
The best solution for fixing cracked render is to start again! While this might not be what you wanted to hear, putting any other materials on top of cracked render is akin to using glue: it is only a temporary fix and, over time, the cracks will only continue to expand and worsen. Therefore, we always recommend stripping the existing render back to the brickwork, but we appreciate this may not be an option due to the time and cost implications.
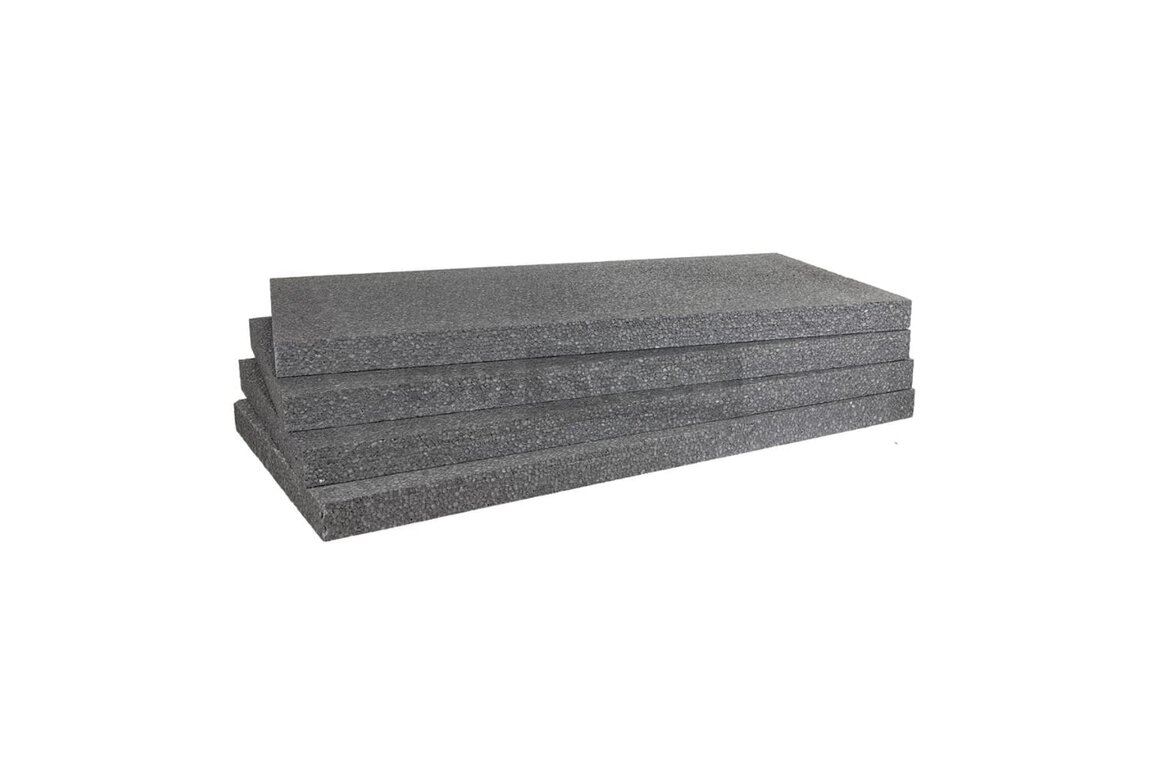
Add a thin layer of EPS insulation
The next best solution is to add a thin layer of EPS insulation (20mm or 30mm) to the wall; this first needs to be attached with adhesive, then anchored using mechanical fixings. Before adding the insulation board, try to remove any very loose render and make good the surface with a Levelling Mortar. Then, once the insulation boards are in place and the adhesive has set, you need to use mechancial fixings. The fixings need to be of a sufficient length to go through the insulation, through the existing render and go about 40mm into the underlying substrate (typically brick or block). This system is a great solution because the The EPS is anchored in place by the mechancial fixings - which ties the existing render to the wall, even if it were to fail in the years to come.
Once the insulation boards are in place, apply a 6mm-thick basecoat layer with embedded reinforcing fibreglass mesh followed by a thin-coat render topcoat to provide a decorative finish. For more information on how much this render system typically costs, be sure to check out this blog on the cost of coloured render per square metre.
Essentially, applying a thin layer of EPS means that you are creating a new, stable substrate onto which you can apply the thin-coat render system. Also, it means that you will boost the thermal performance of your home, albeit this is relative to the thickness of the layer of insulation.
Use Scrim and Pin Fixings
Scrim and pin fixings are used to anchor the basecoat to the existing render. Once the basecoat is applied to the existing render surface, then mechanical fixings are hammered into placce through the fibreglass mesh. The fixing holes need to be drilled in to the wall while the basecoat is still wet. Once the fixings have been hammered in to place (we recommend 1 fixing for each m2), 300mm x 300mm patches of mesh need to be basecoated over the fixing.
2. Fixing cracked render on just one panel
If only one panel – that is, one side of the house – is cracked, we recommend first filling the crack with our Levelling Mortar, then applying a fresh layer of EWI-225 Premium Basecoat and a topcoat render to that one panel. Hopefully, the panel in which the crack has occurred doesn’t comprise the whole side of the house caused naturally by, for instance, a downpipe, which can disguise where the new render meets the old render. The breathability of the basecoat, combined with the flexibility of the render topcoat, should provide a crack-free solution.
3. Fixing small cracks
There are some cases where a very small crack has occurred that needs fixing; for example, when a car has ‘gently’ hit the wall. In this situation, you have a couple of options. Firstly, you can remove a square of render around the affected area and apply a basecoat and render topcoat to this area. This involves taking an angle grinder and cutting a clean square around the impacted area. The downside to this option, however, is that scarring where the new render meets the old render is inevitable as a consequence of the thinness of the new render. The square, marked out using rendering tape, ensures that the scar looks neat regardless. The other solution for fixing a small crack is to apply a basecoat to the whole panel and re-render the property; again, this requires a bit more work, but you won’t be able to see where the original crack in the render was. This provides a nicer finish than marking out the square (as above). We often see customers order additional buckets of render to make repairs on cracked or damaged render to simply ‘touch up’ the affected area but, 99% of the time, this will result in unsightly, visible scarring. That’s why we always recommend following one of the methods described in this blog depending on your circumstances. At EWI Store, we are very happy to provide help with cracked render. The best way to resolve this is to send photos to info@ewistore.co.uk so that we can provide bespoke, expert advice on how to best fix the cracked render! If you need a quote for materials to repair damaged render, please email us on sales@ewistore.co.uk