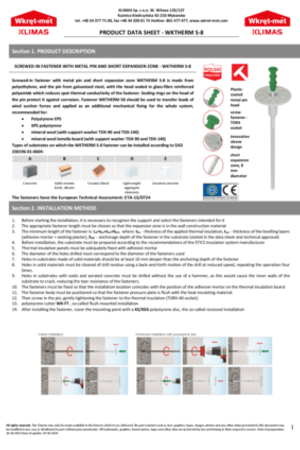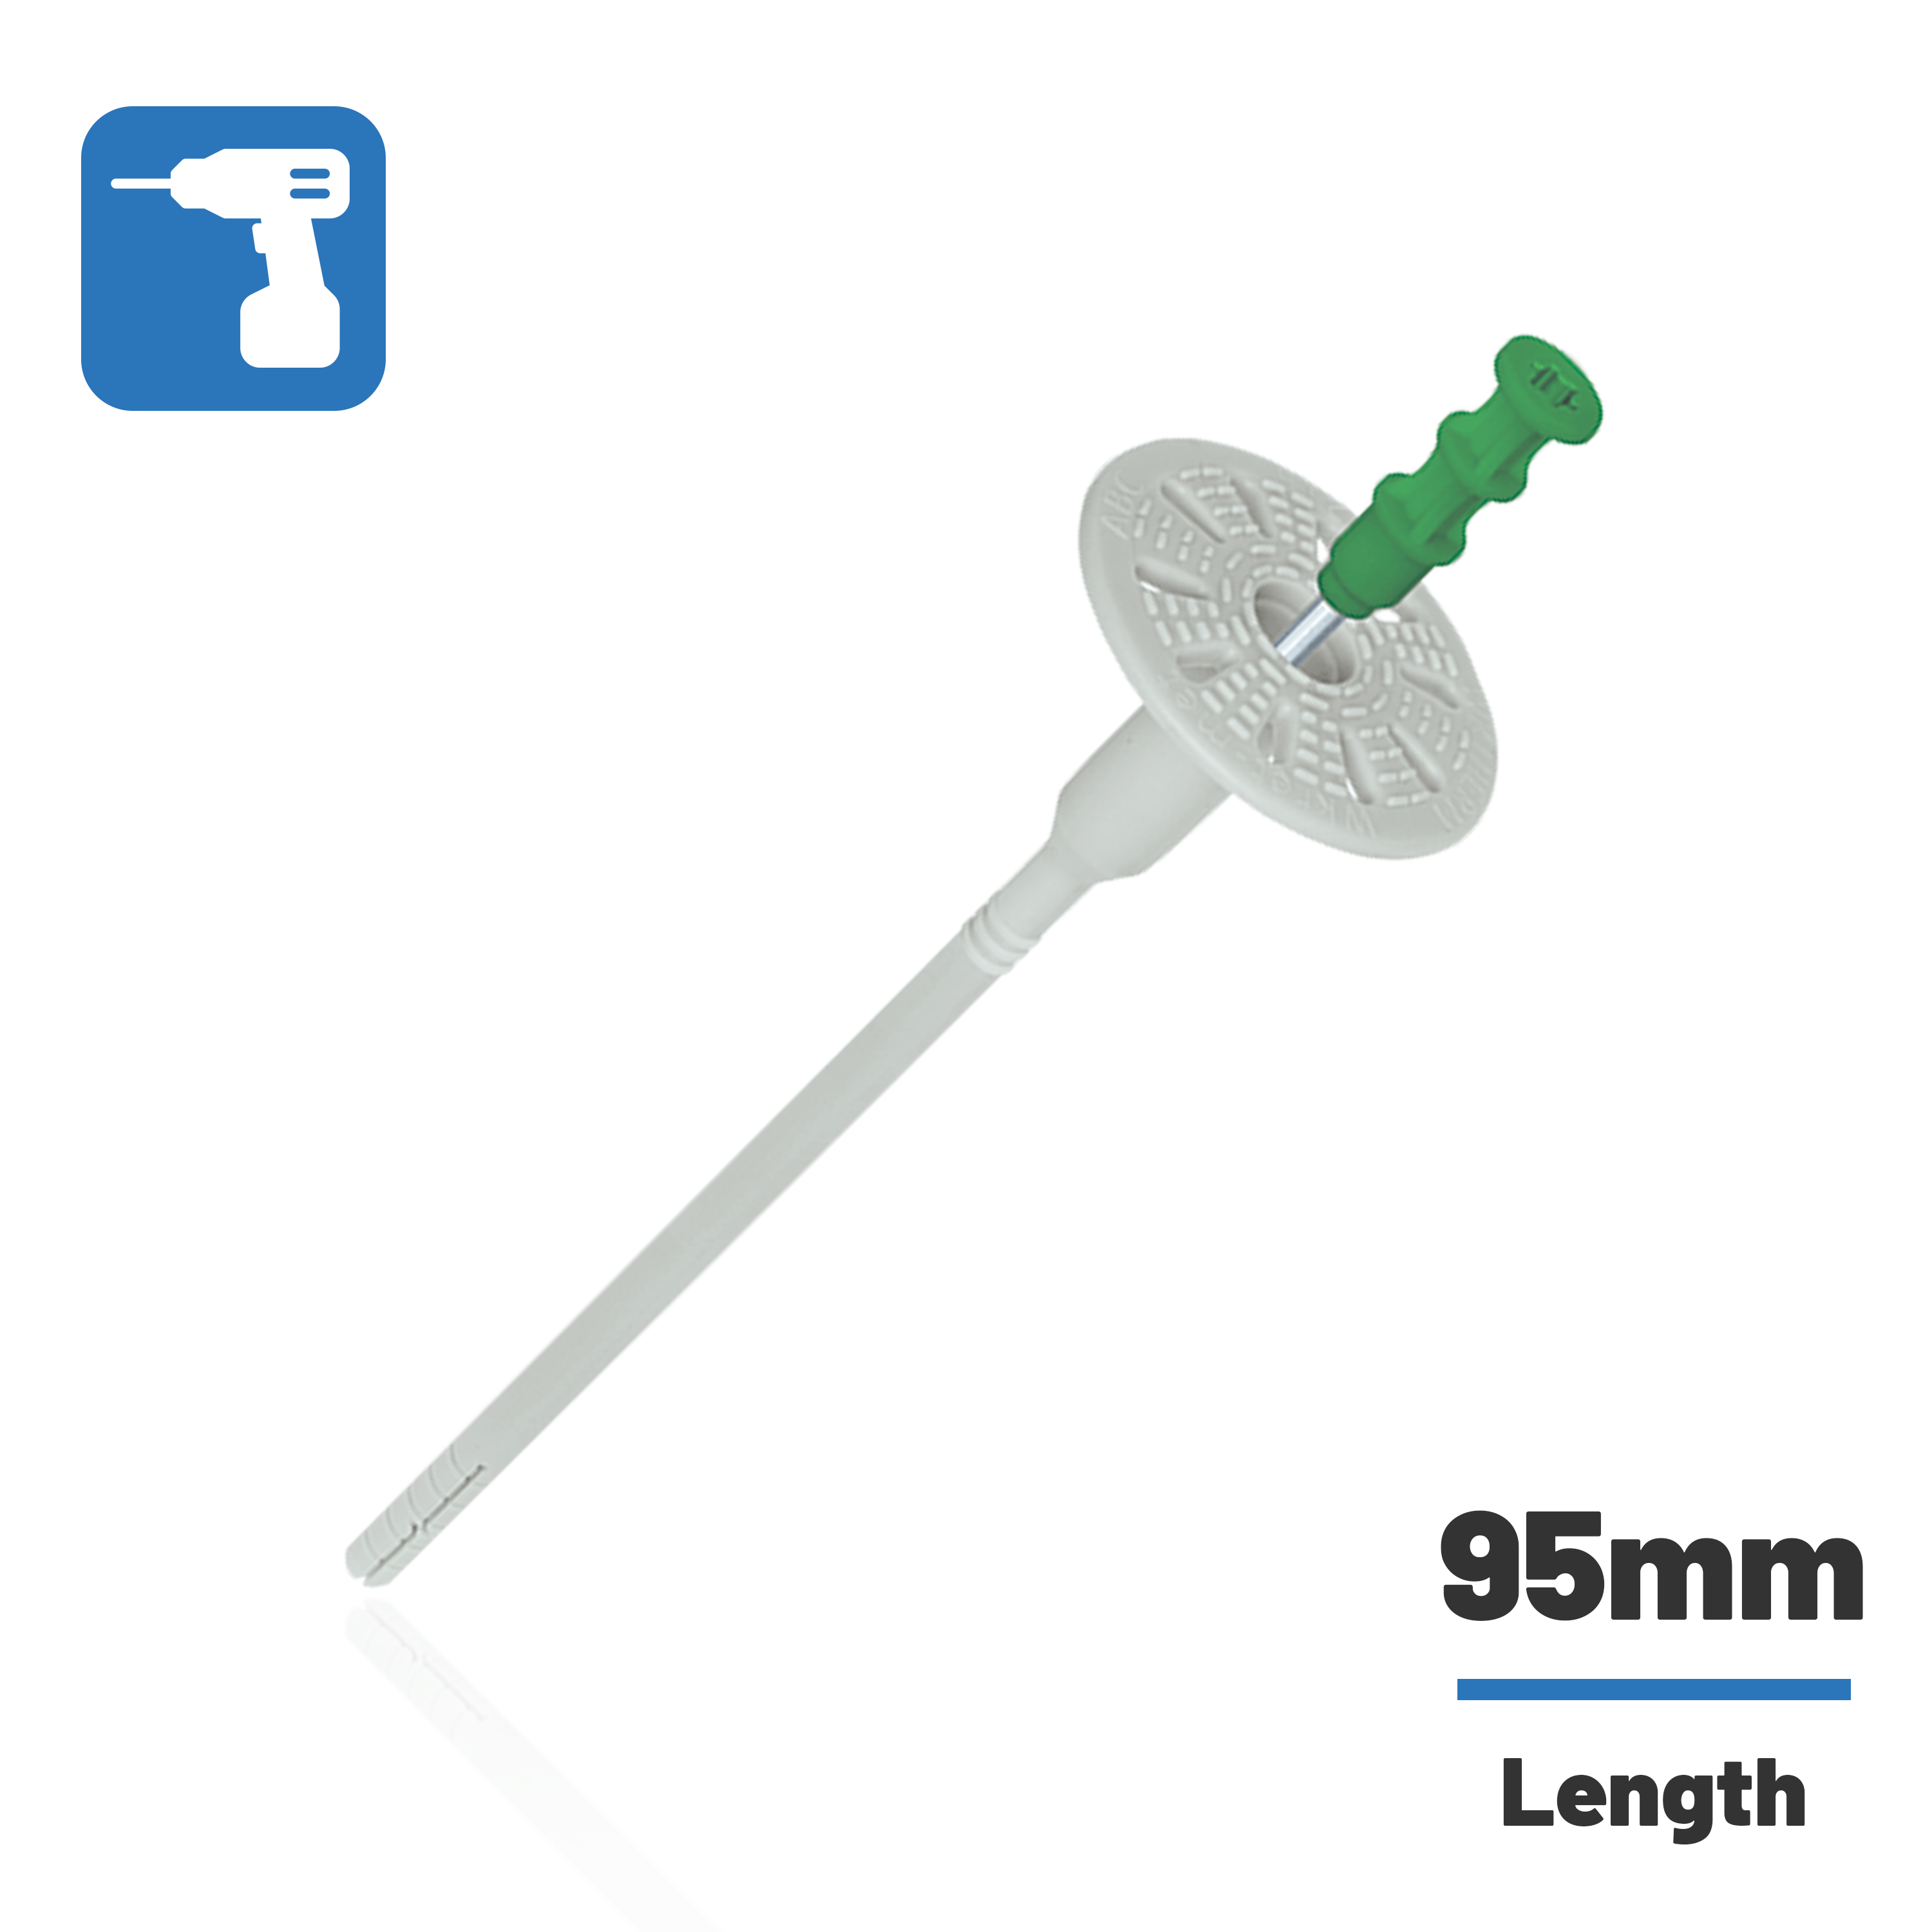
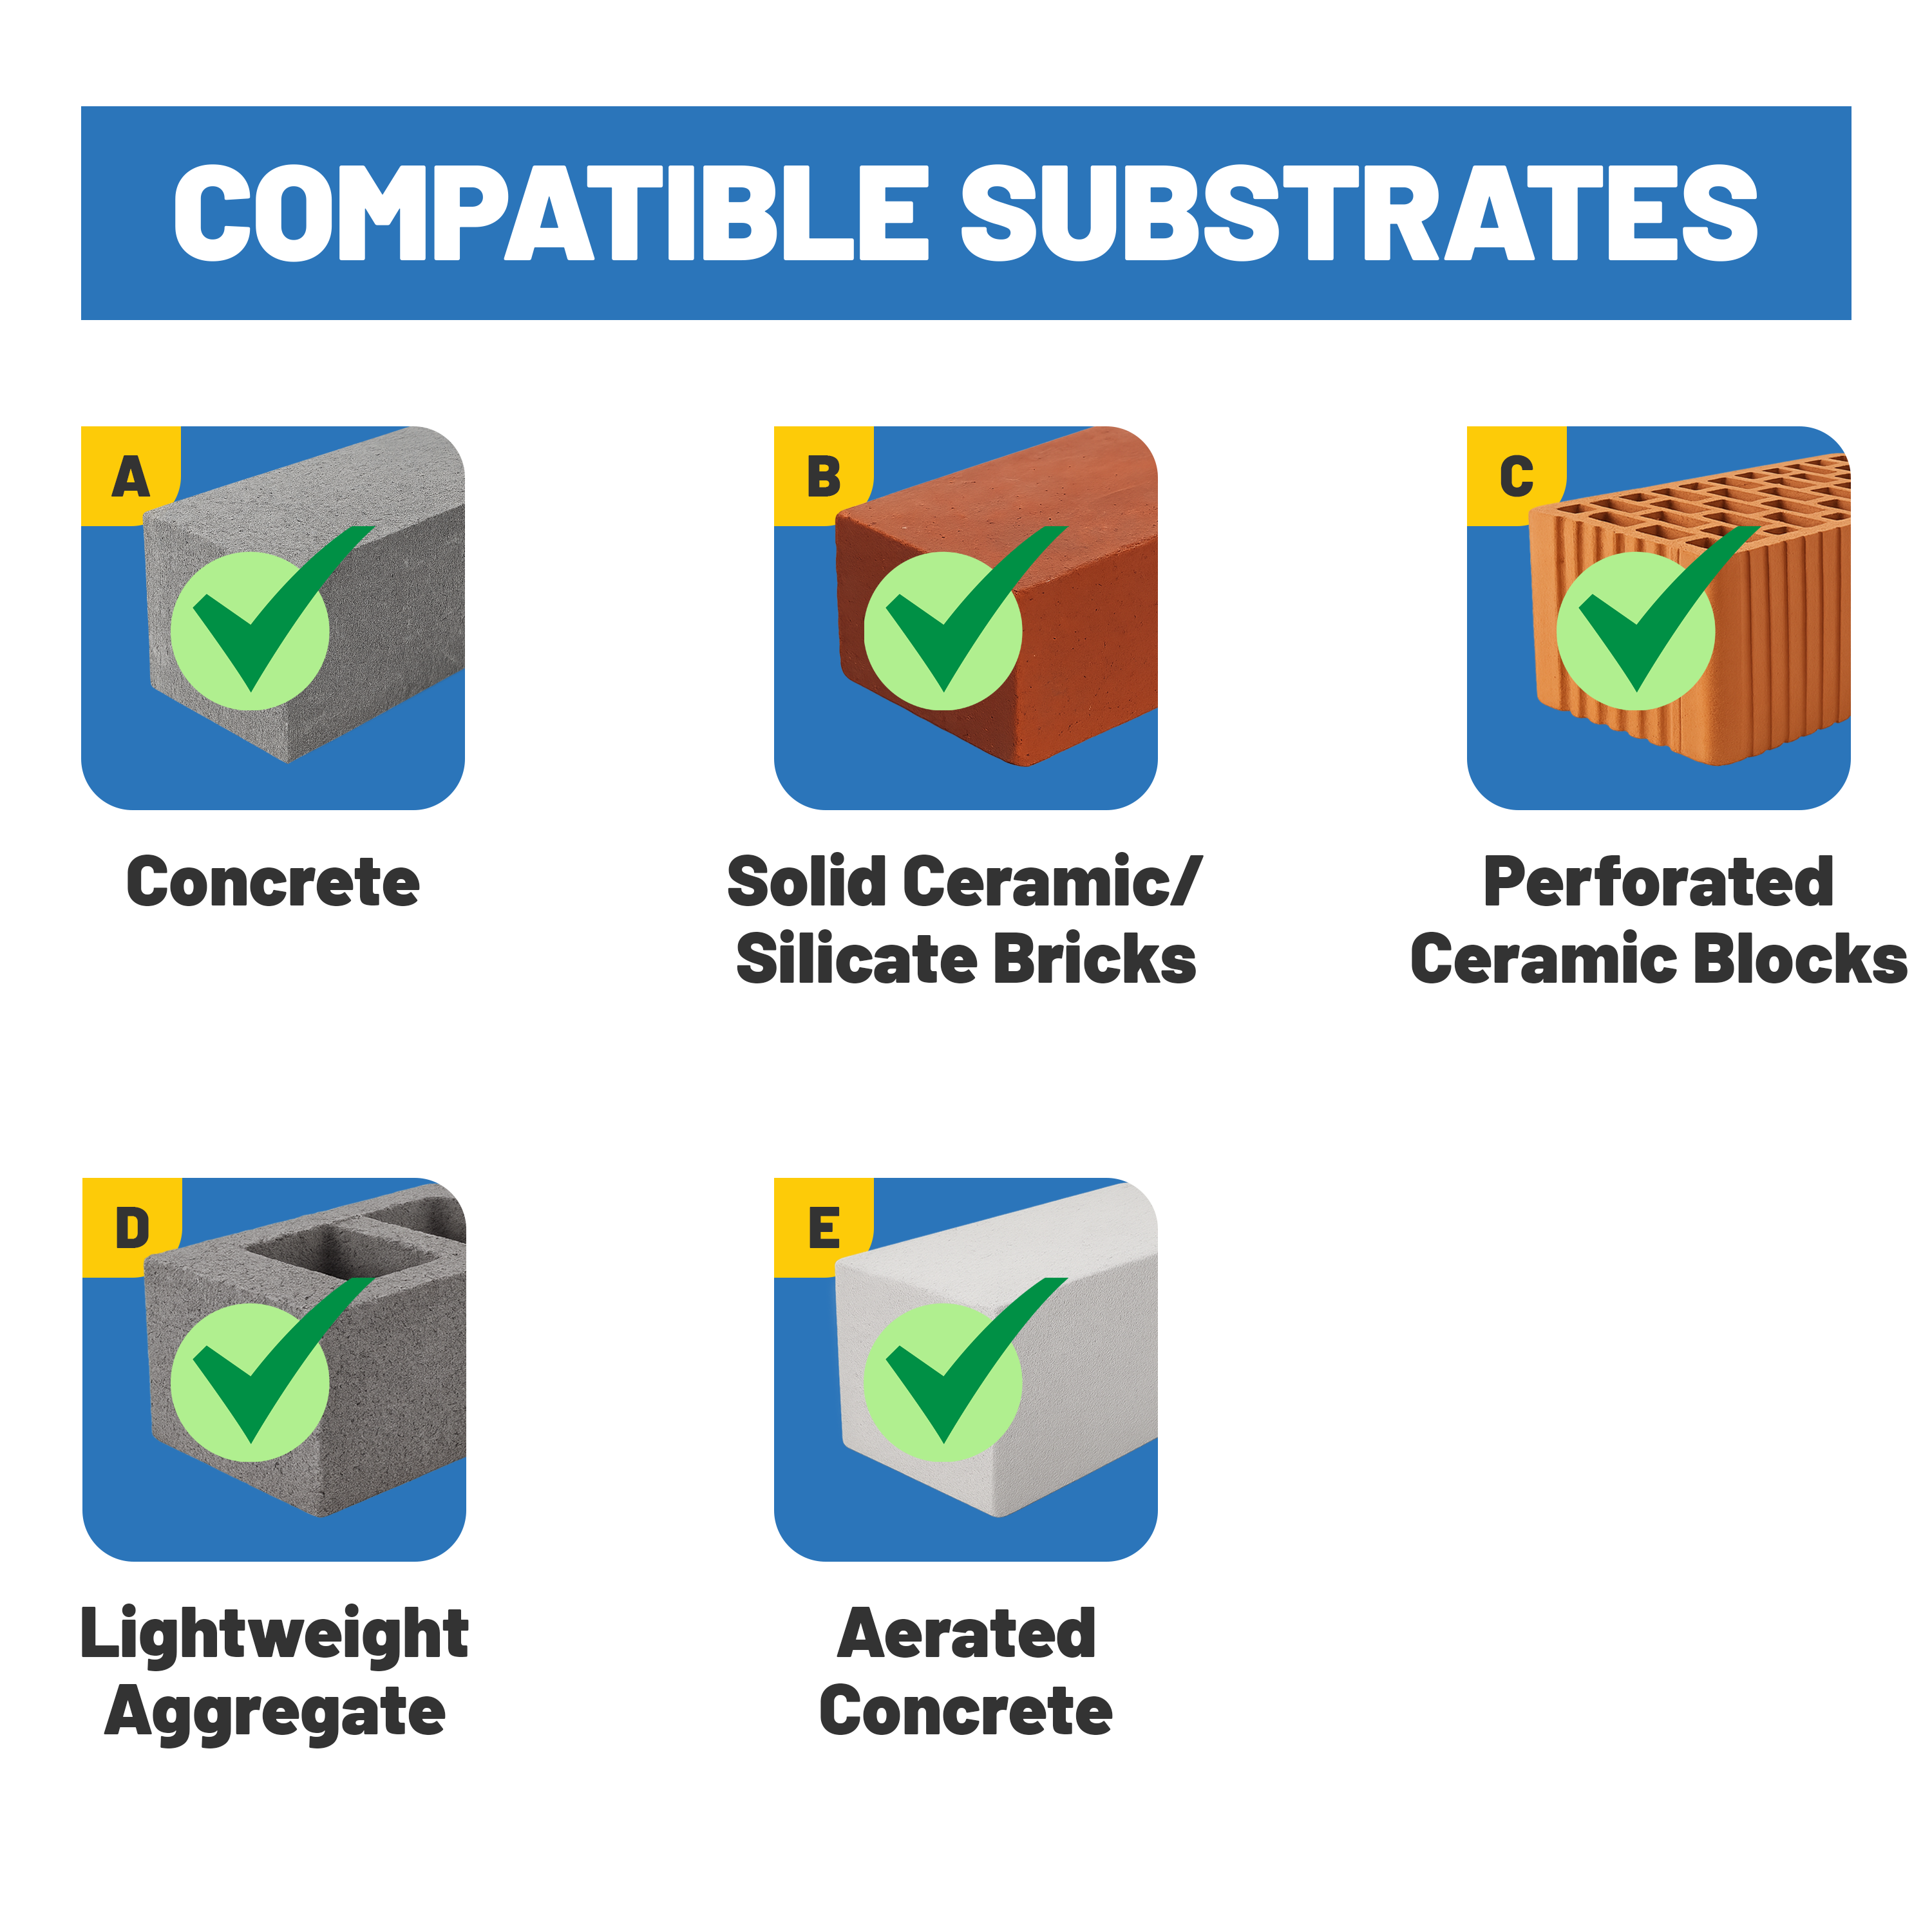
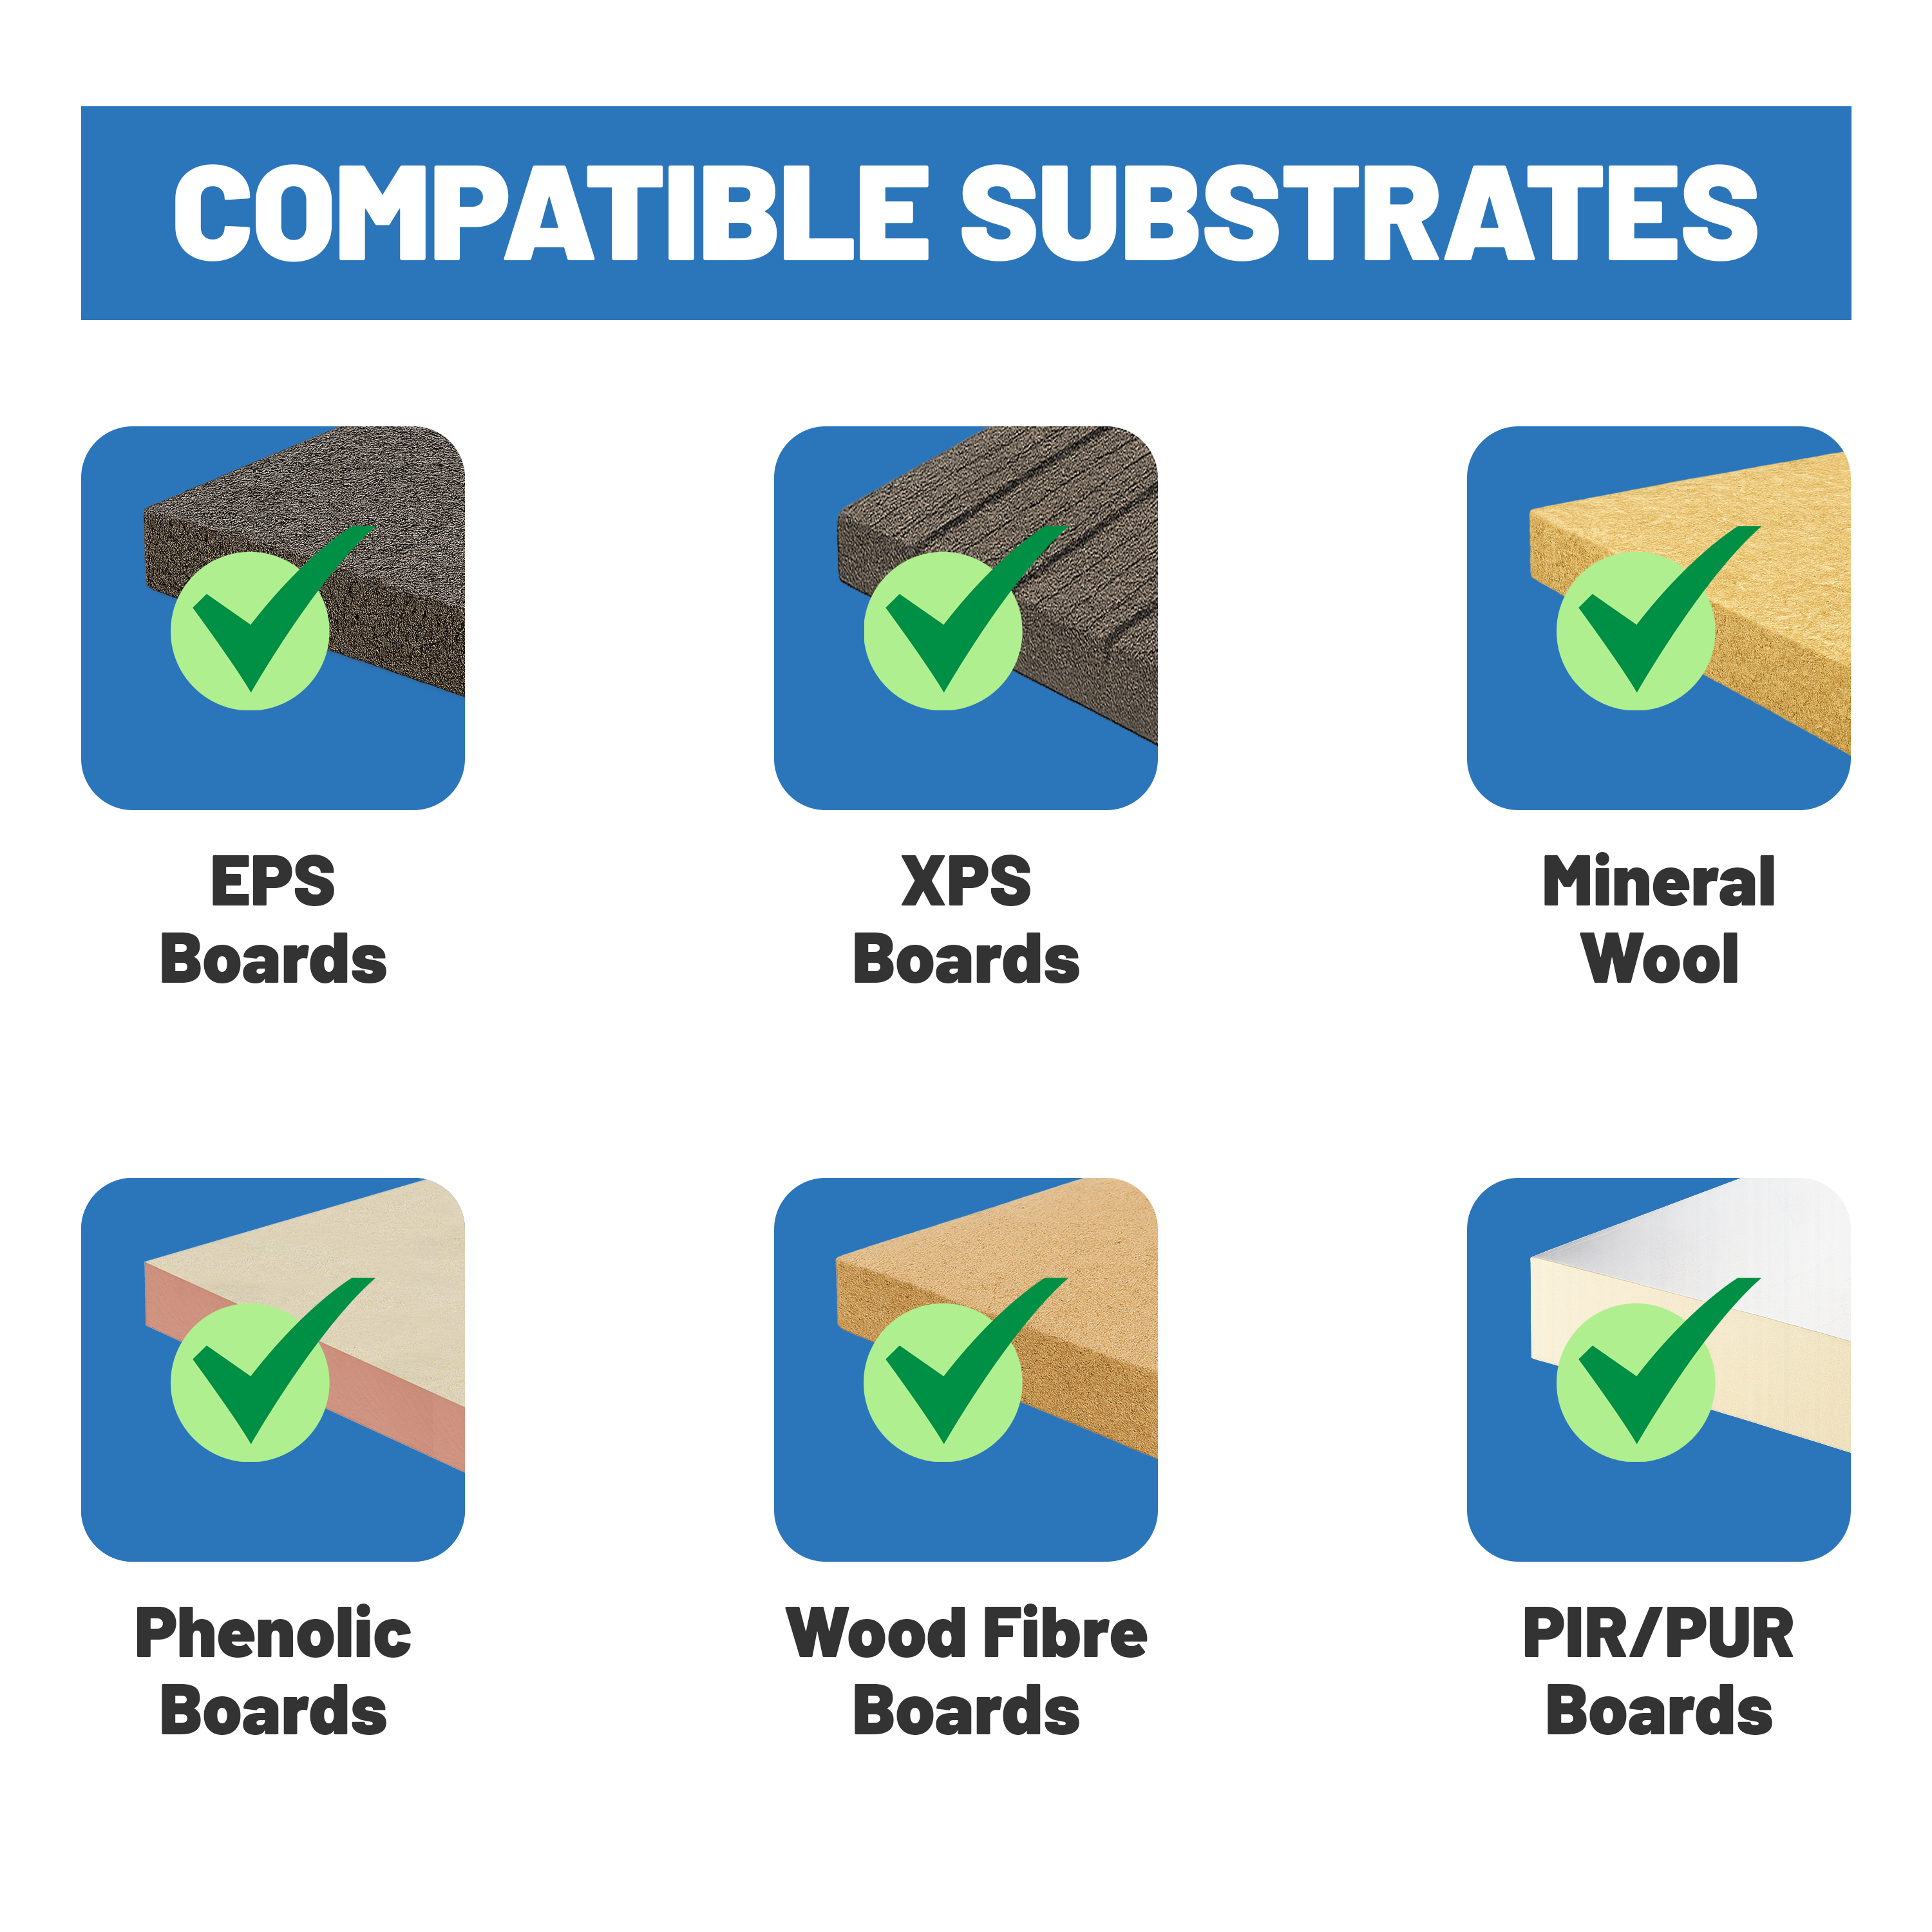


8mm Screw Fixing with Metal Pin & Short Expansion Zone
Pack of 200 Fixings
£61.14
Incl. VAT
£61.14
Incl. VAT (regular price)
Please note: This product has a slightly longer lead time. Our team will notify you with an estimated delivery date.

Reviews & Ratings
Cliff
23.03.2025
TX-40 drive made fitment a doddle. Brill.
Georgi
16.12.2024
Sorted my 150mm insul boards properly. Very solid hold. Just a bit of a faff crewing into the hard brickwork.
artur
22.07.2023
Porper quick fit anchor is spot on.
Tim
04.06.2022
TX-40 is proper fast. Rock solid in the AAC block!
Chris
24.01.2022
Brill kit, fast TX-40 drive.
Matthew
27.06.2021
Held strong in the dense concrete. TX-40 screw-in meant a nice flush finish every time. Lost a star cause I can't use 'em on the spare PIR I had kicking aronud. Massive faff.
Mark
06.06.2021
Brill. 200-pack makes life easier and it holds fast. Sorted.
Chris
12.01.2021
first off the customer sevice line was a complete joke they fobbed me off for hours then the fixings showed up damaged anyway. worst part? these 8mm screw fixings are absolute rubbish. i needed these for concrete but the first 4 i tried setting down wih the tx-40 stgripped or bent the supposed xteel pin. i only tapped them gently just seating the collar and the osft scrap metal bent rite over useless. proper miffed, i've got boards fixed with pins i litedally cant trust now. this stuffs a proper liability avoid avoid avoid.
Amir
30.12.2020
Great stuff.
Simon
29.07.2019
Cracking hold on the concrete substrate passed the pull-out test no drama so they're solid. Chuffed with the sealed steel pin
estoreduces bridging worries massively. Sit flush don't dish the boards. Only four stars 'cos the pace was slower than I'd expected. Needed grunt on the TX-40 and AAC depth adjustment was a real faff. Plus, they aren't wood fibre compatible, which is a letdown for my next job. Decent value for the compliance though.
ollie
24.01.2019
Decent fixing tho felt a bit expensive compared to rivals. Coating looked scratched too.
Jas
12.06.2018
Top kit! Quick, solid anchor.