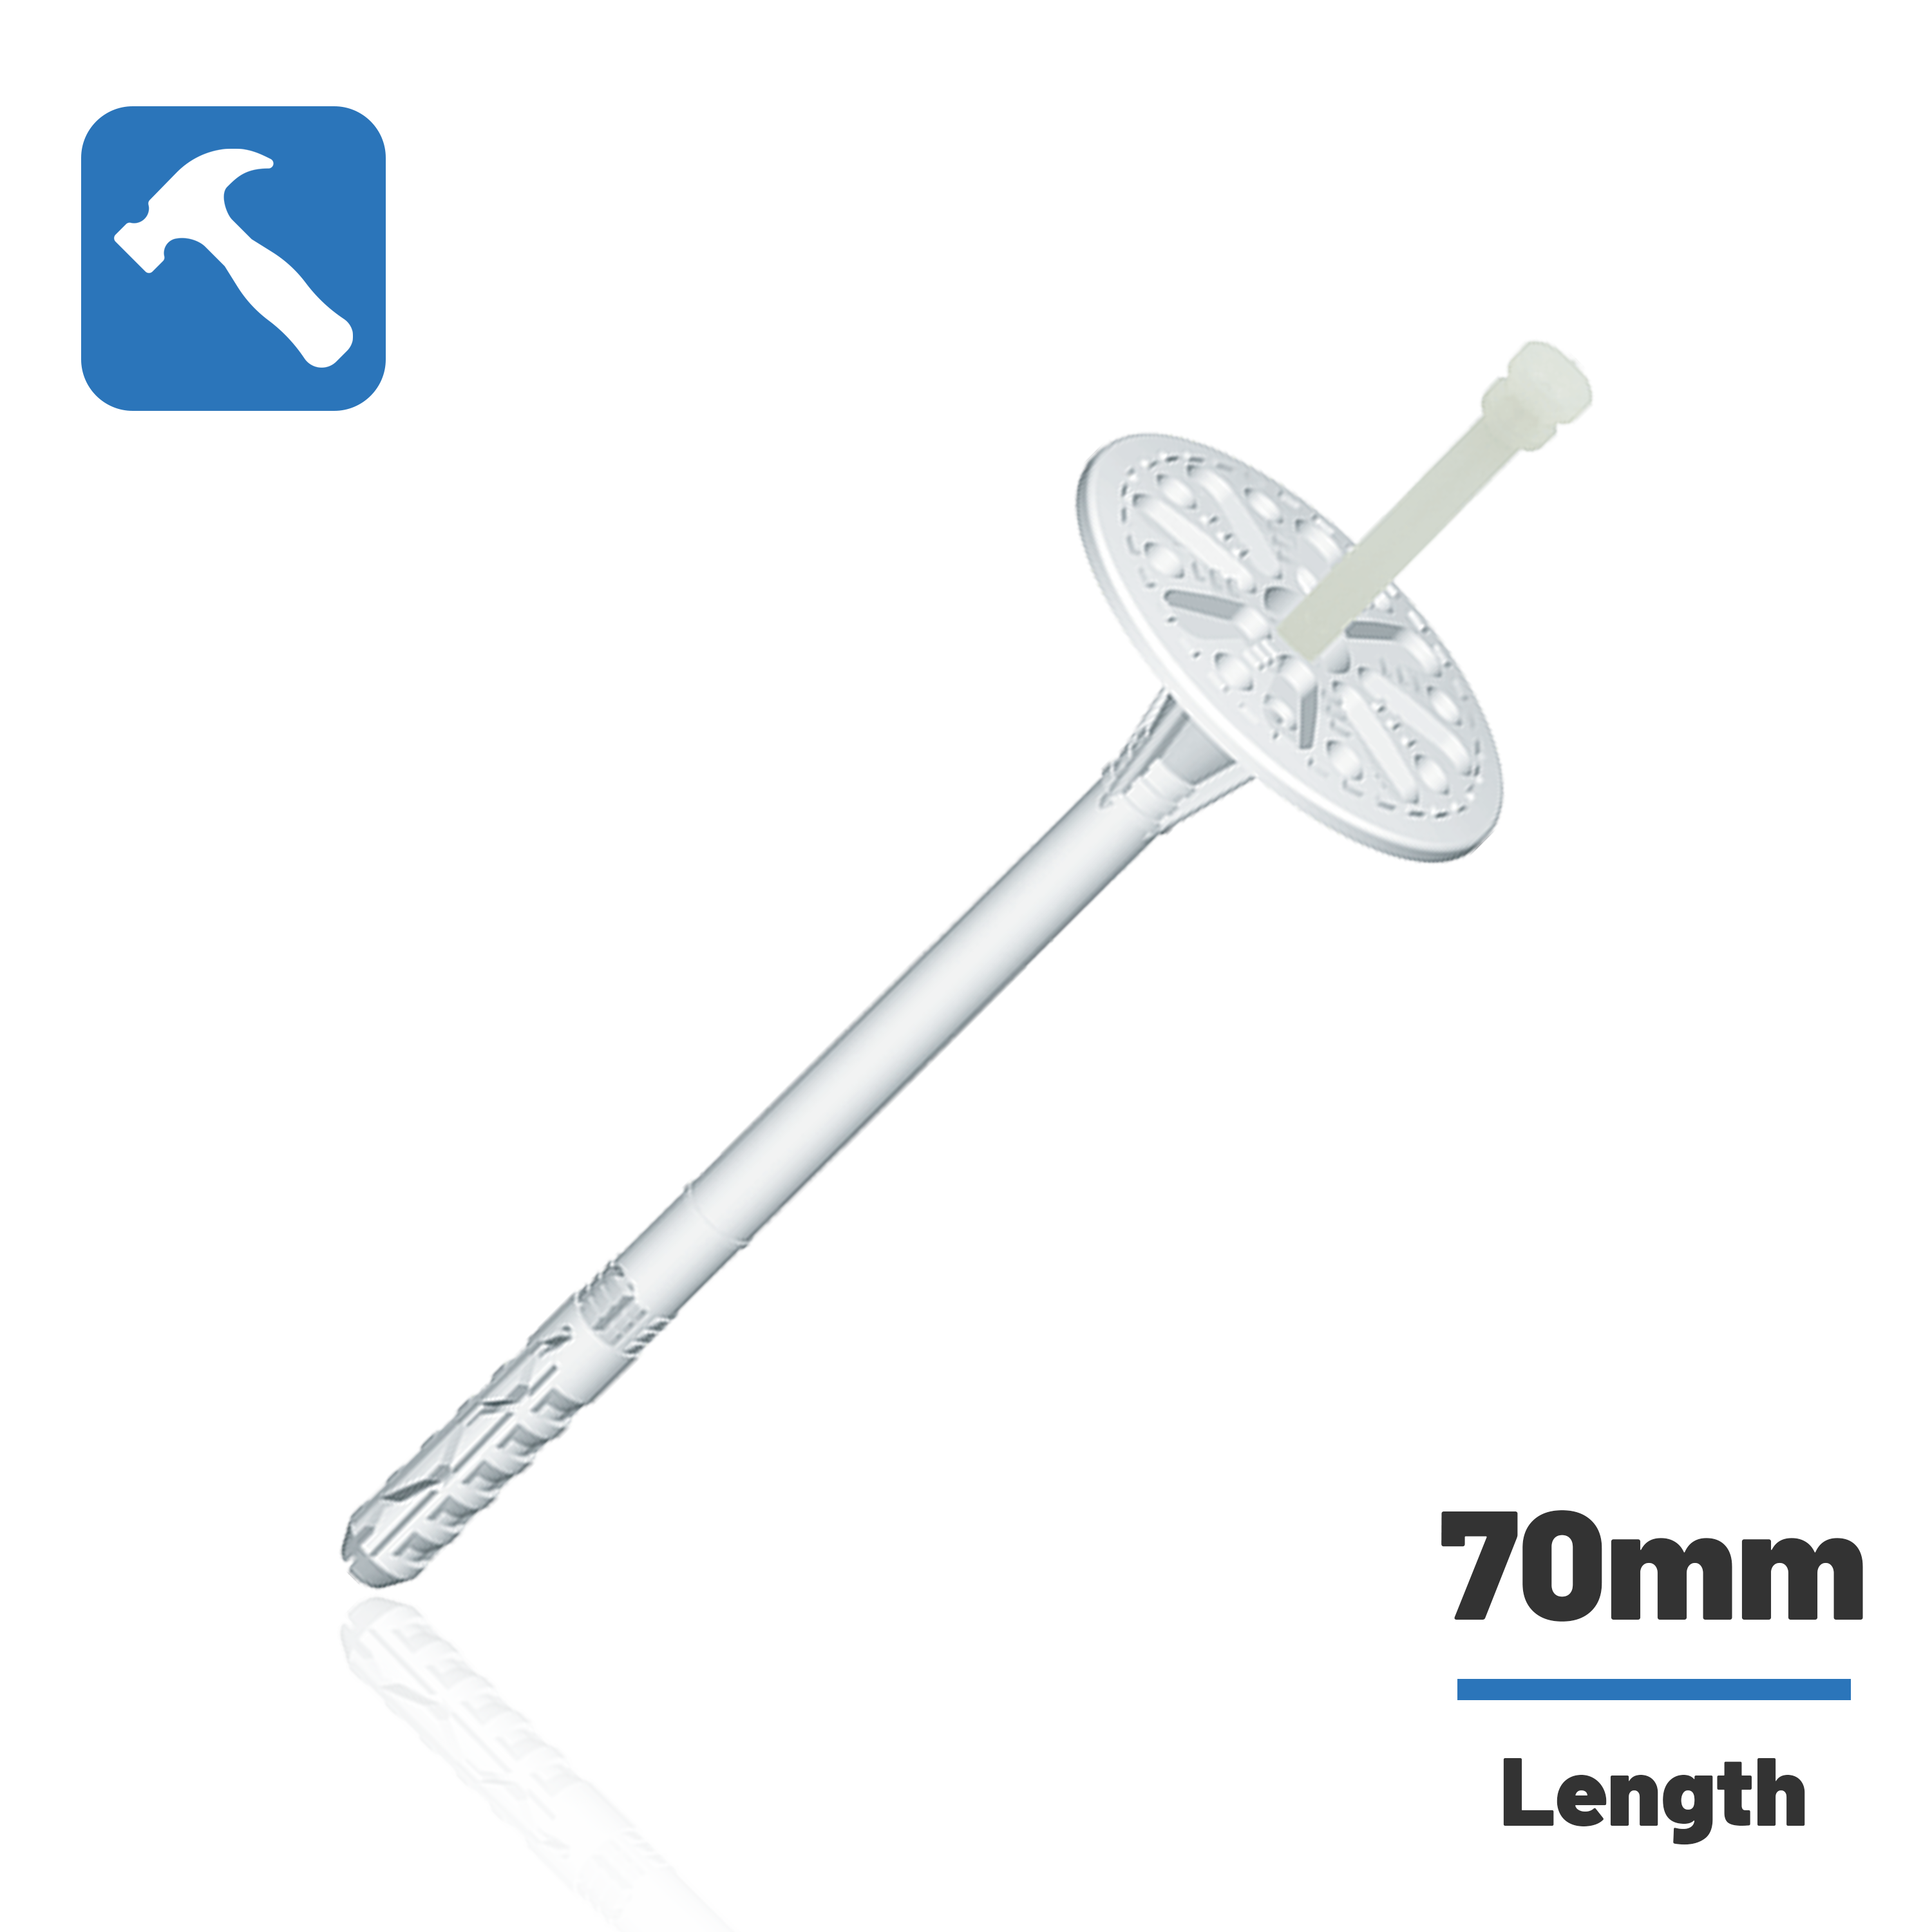
The 10mm Hammer Fixing with Plastic Pin & Short Expansion Zone is a hammer-driven fastener for external wall insulation (EWI) systems. The body is polyethylene and the glass-fibre–reinforced plastic pin delivers high impact resistance during installation while minimising thermal bridging. Its short expansion zone and innovative sleeve help the washer sit flush with the insulation for a stable, long-term fix. Recommended for securing polystyrene insulation in ETICS applications.
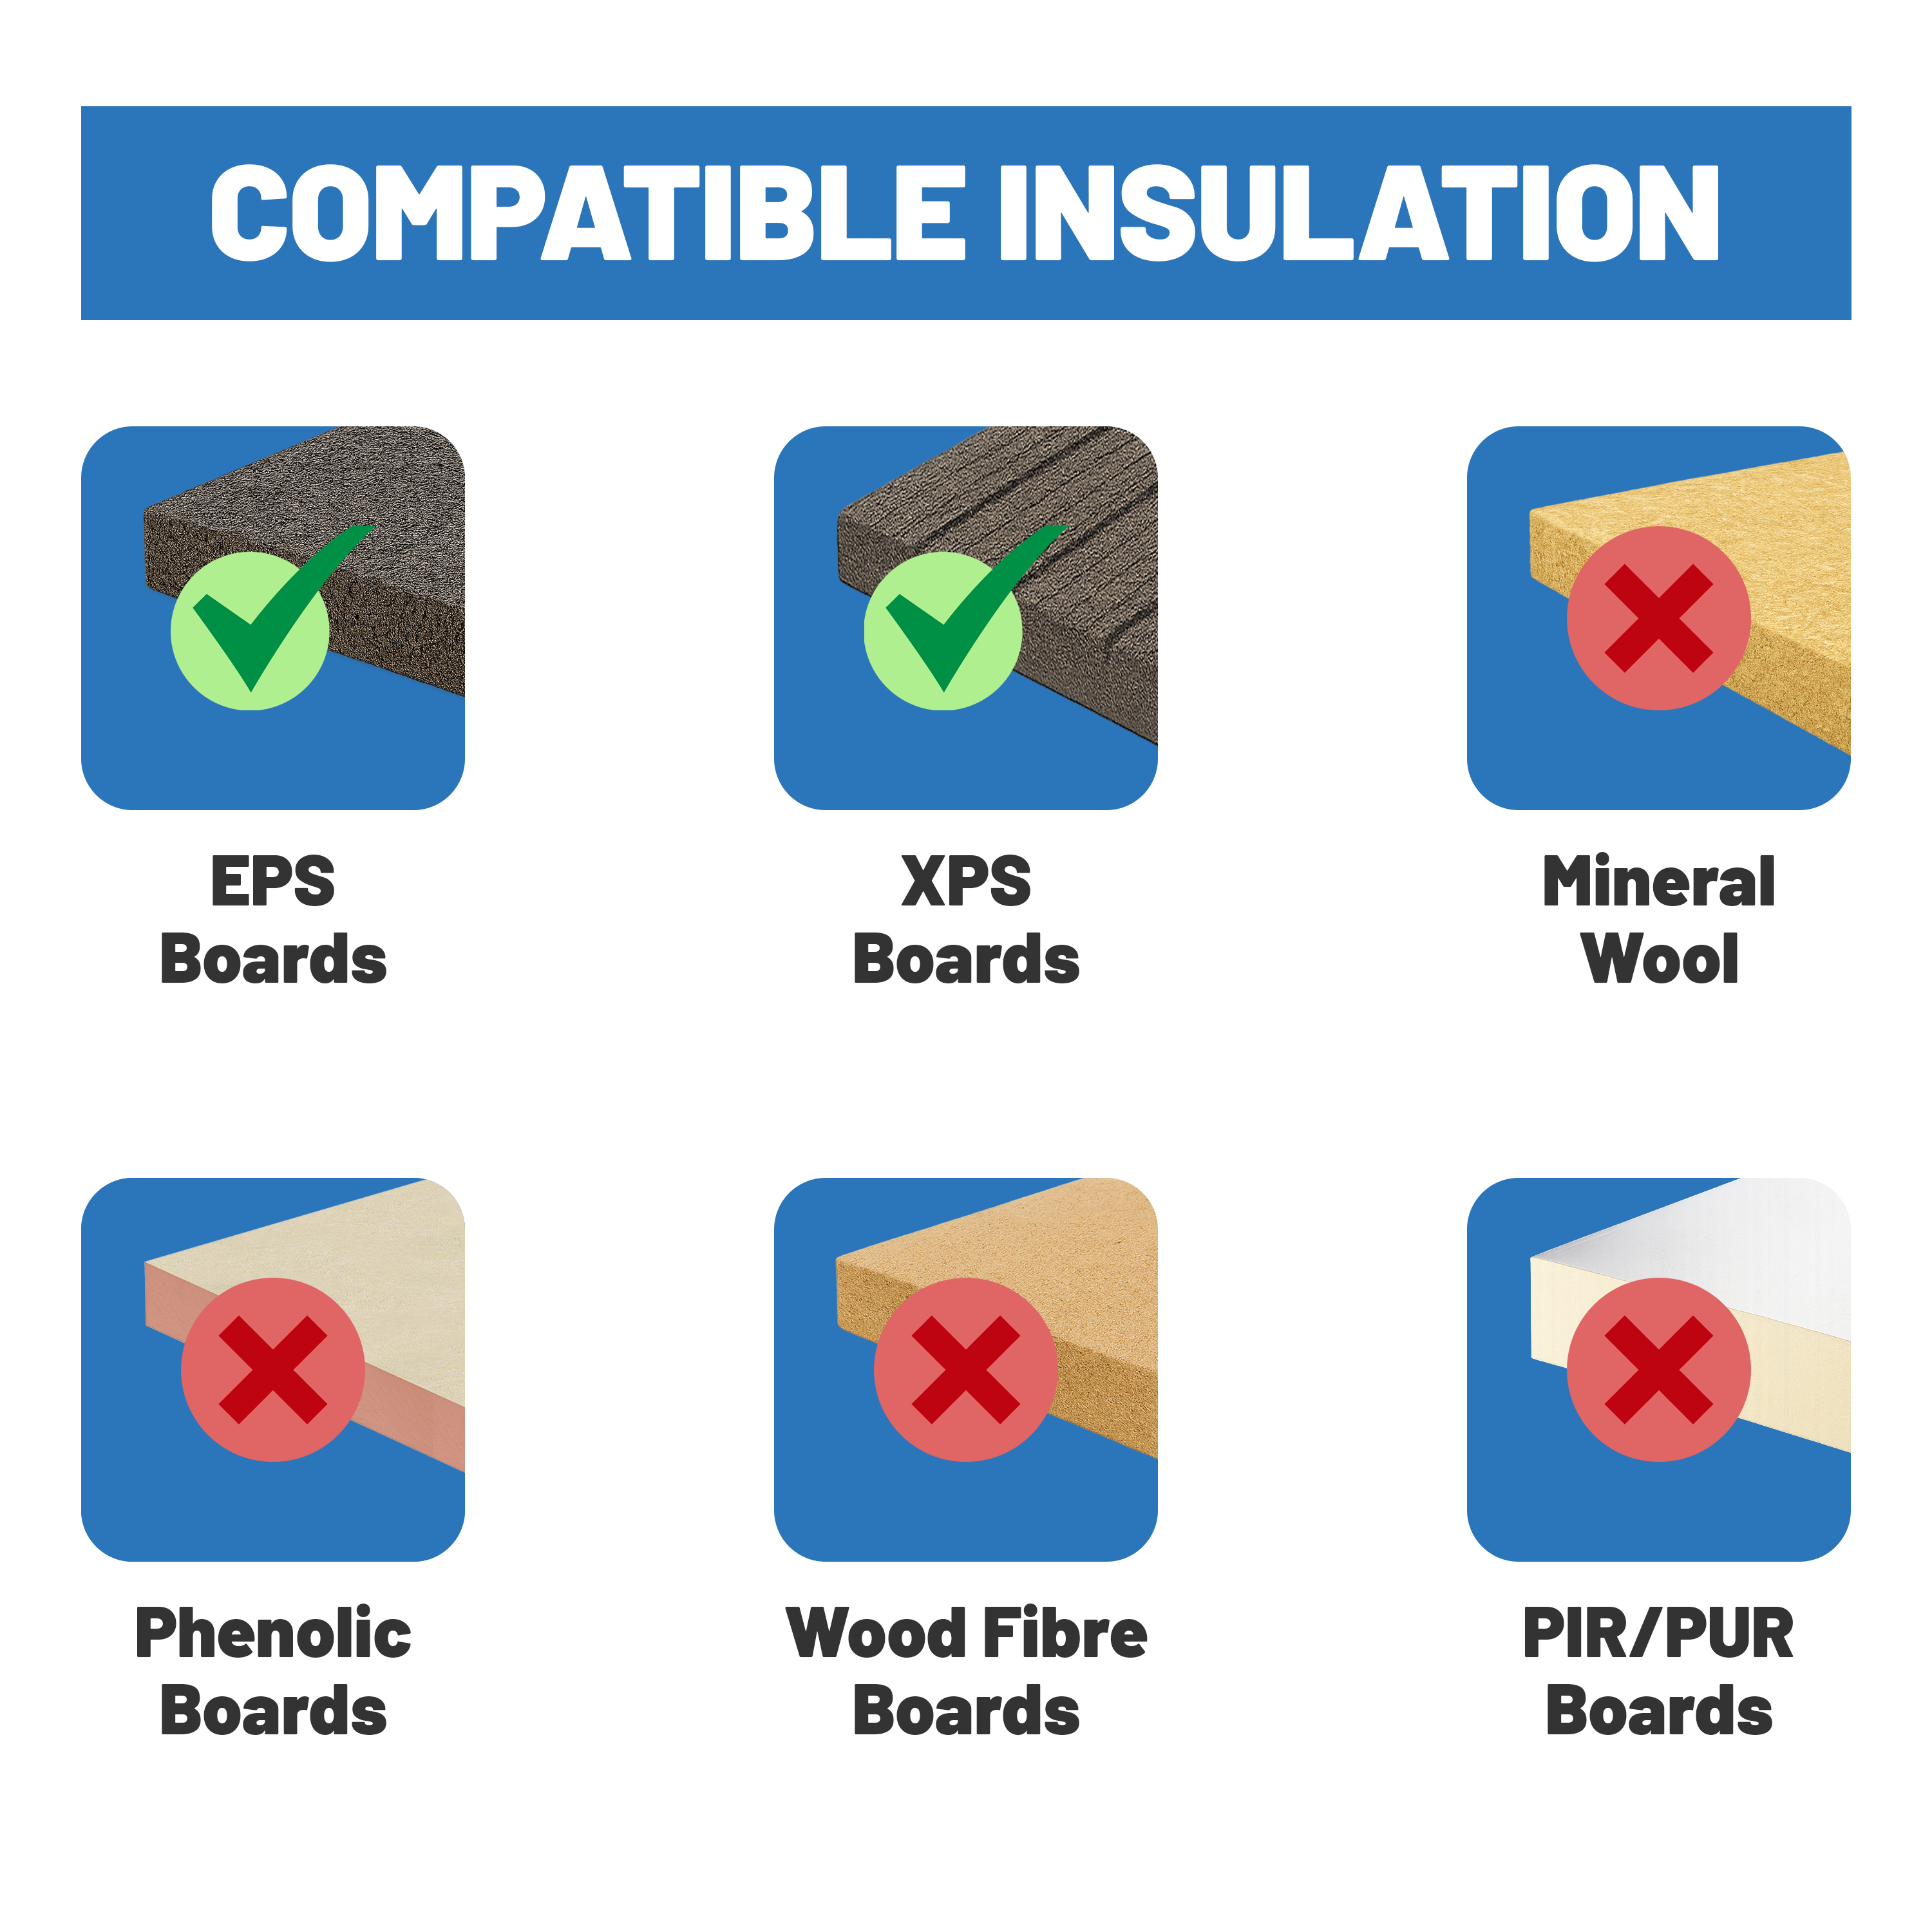
Suitable Insulation Boards
| Insulation Type |
Compatibility |
| EPS (Expanded Polystyrene) |
Compatible |
| XPS (Extruded Polystyrene) |
Compatible |
| Mineral Wool |
Not compatible |
| PIR / Phenolic (e.g., Kingspan) |
Not compatible |
| Wood Fibre |
Not compatible |
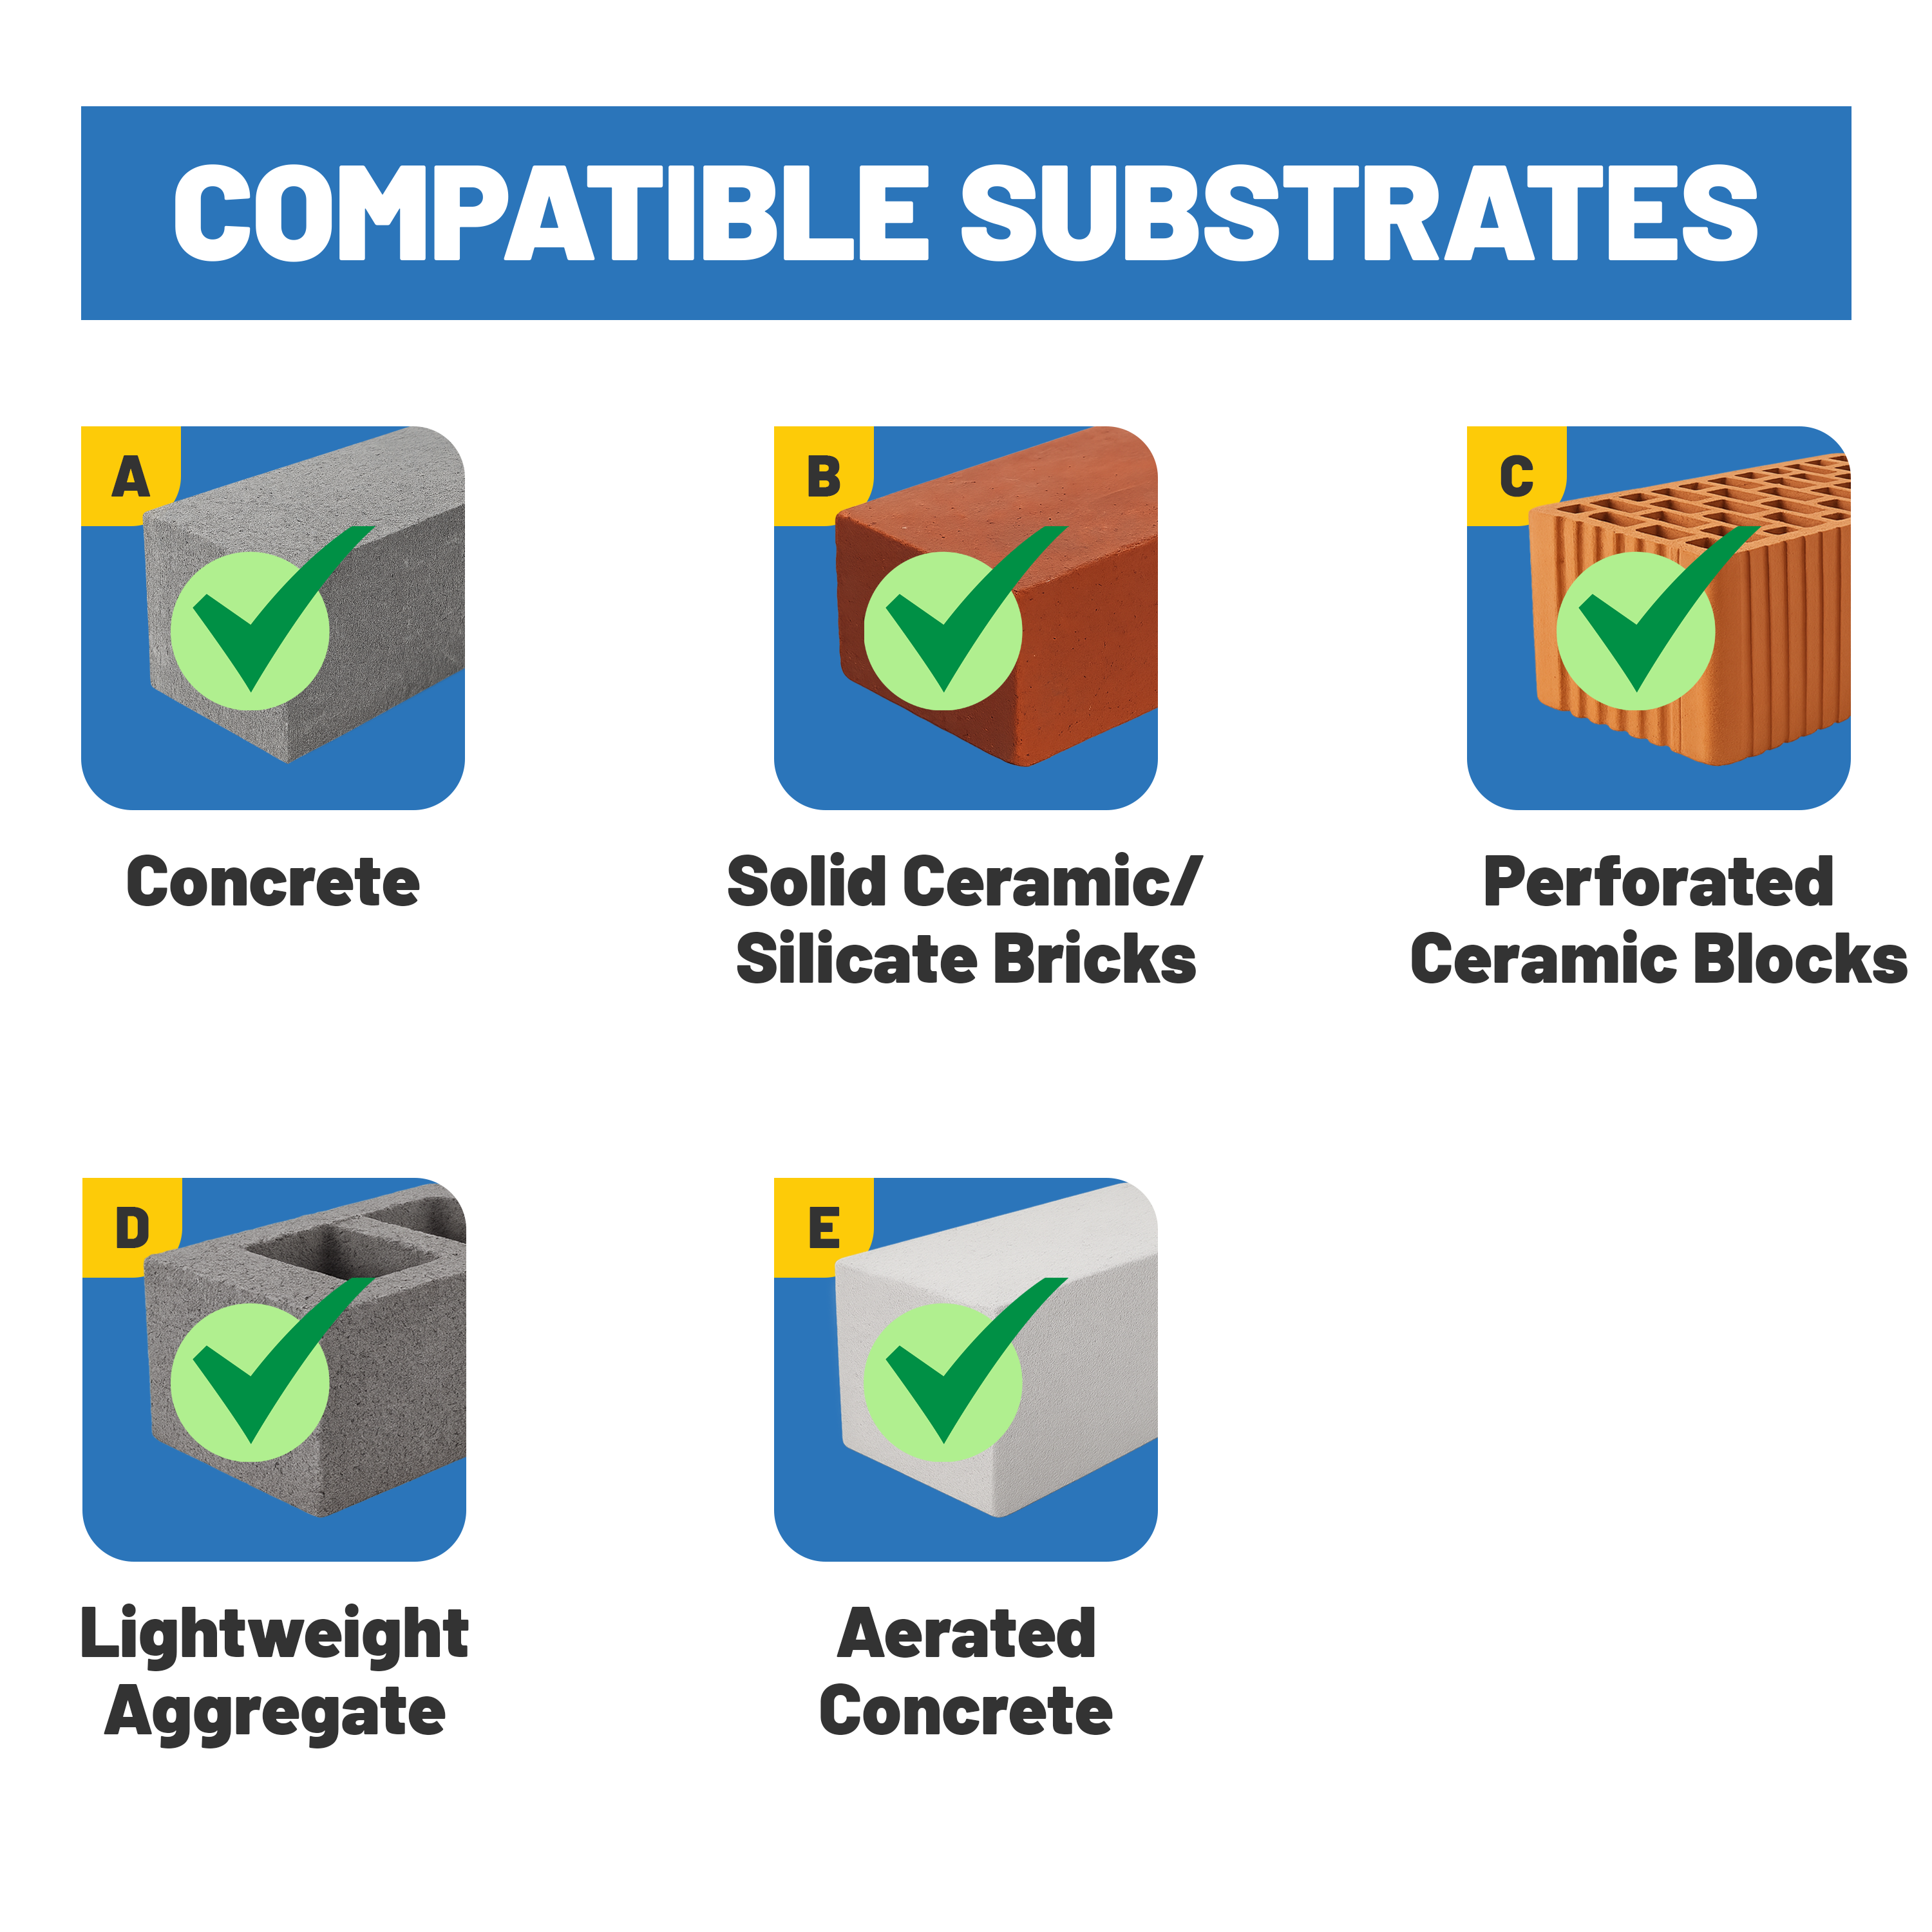
Compatible Substrates (ETA Categories A–E)
| ETA Category |
Substrate |
Compatibility |
| A |
Concrete |
Compatible |
| B |
Solid ceramic brick / silicate |
Compatible |
| C |
Ceramic block |
Compatible |
| D |
Lightweight aggregate elements |
Compatible |
| E |
Aerated concrete (AAC) |
Compatible |
If the substrate condition is uncertain, carry out a pull-out test to confirm suitability.
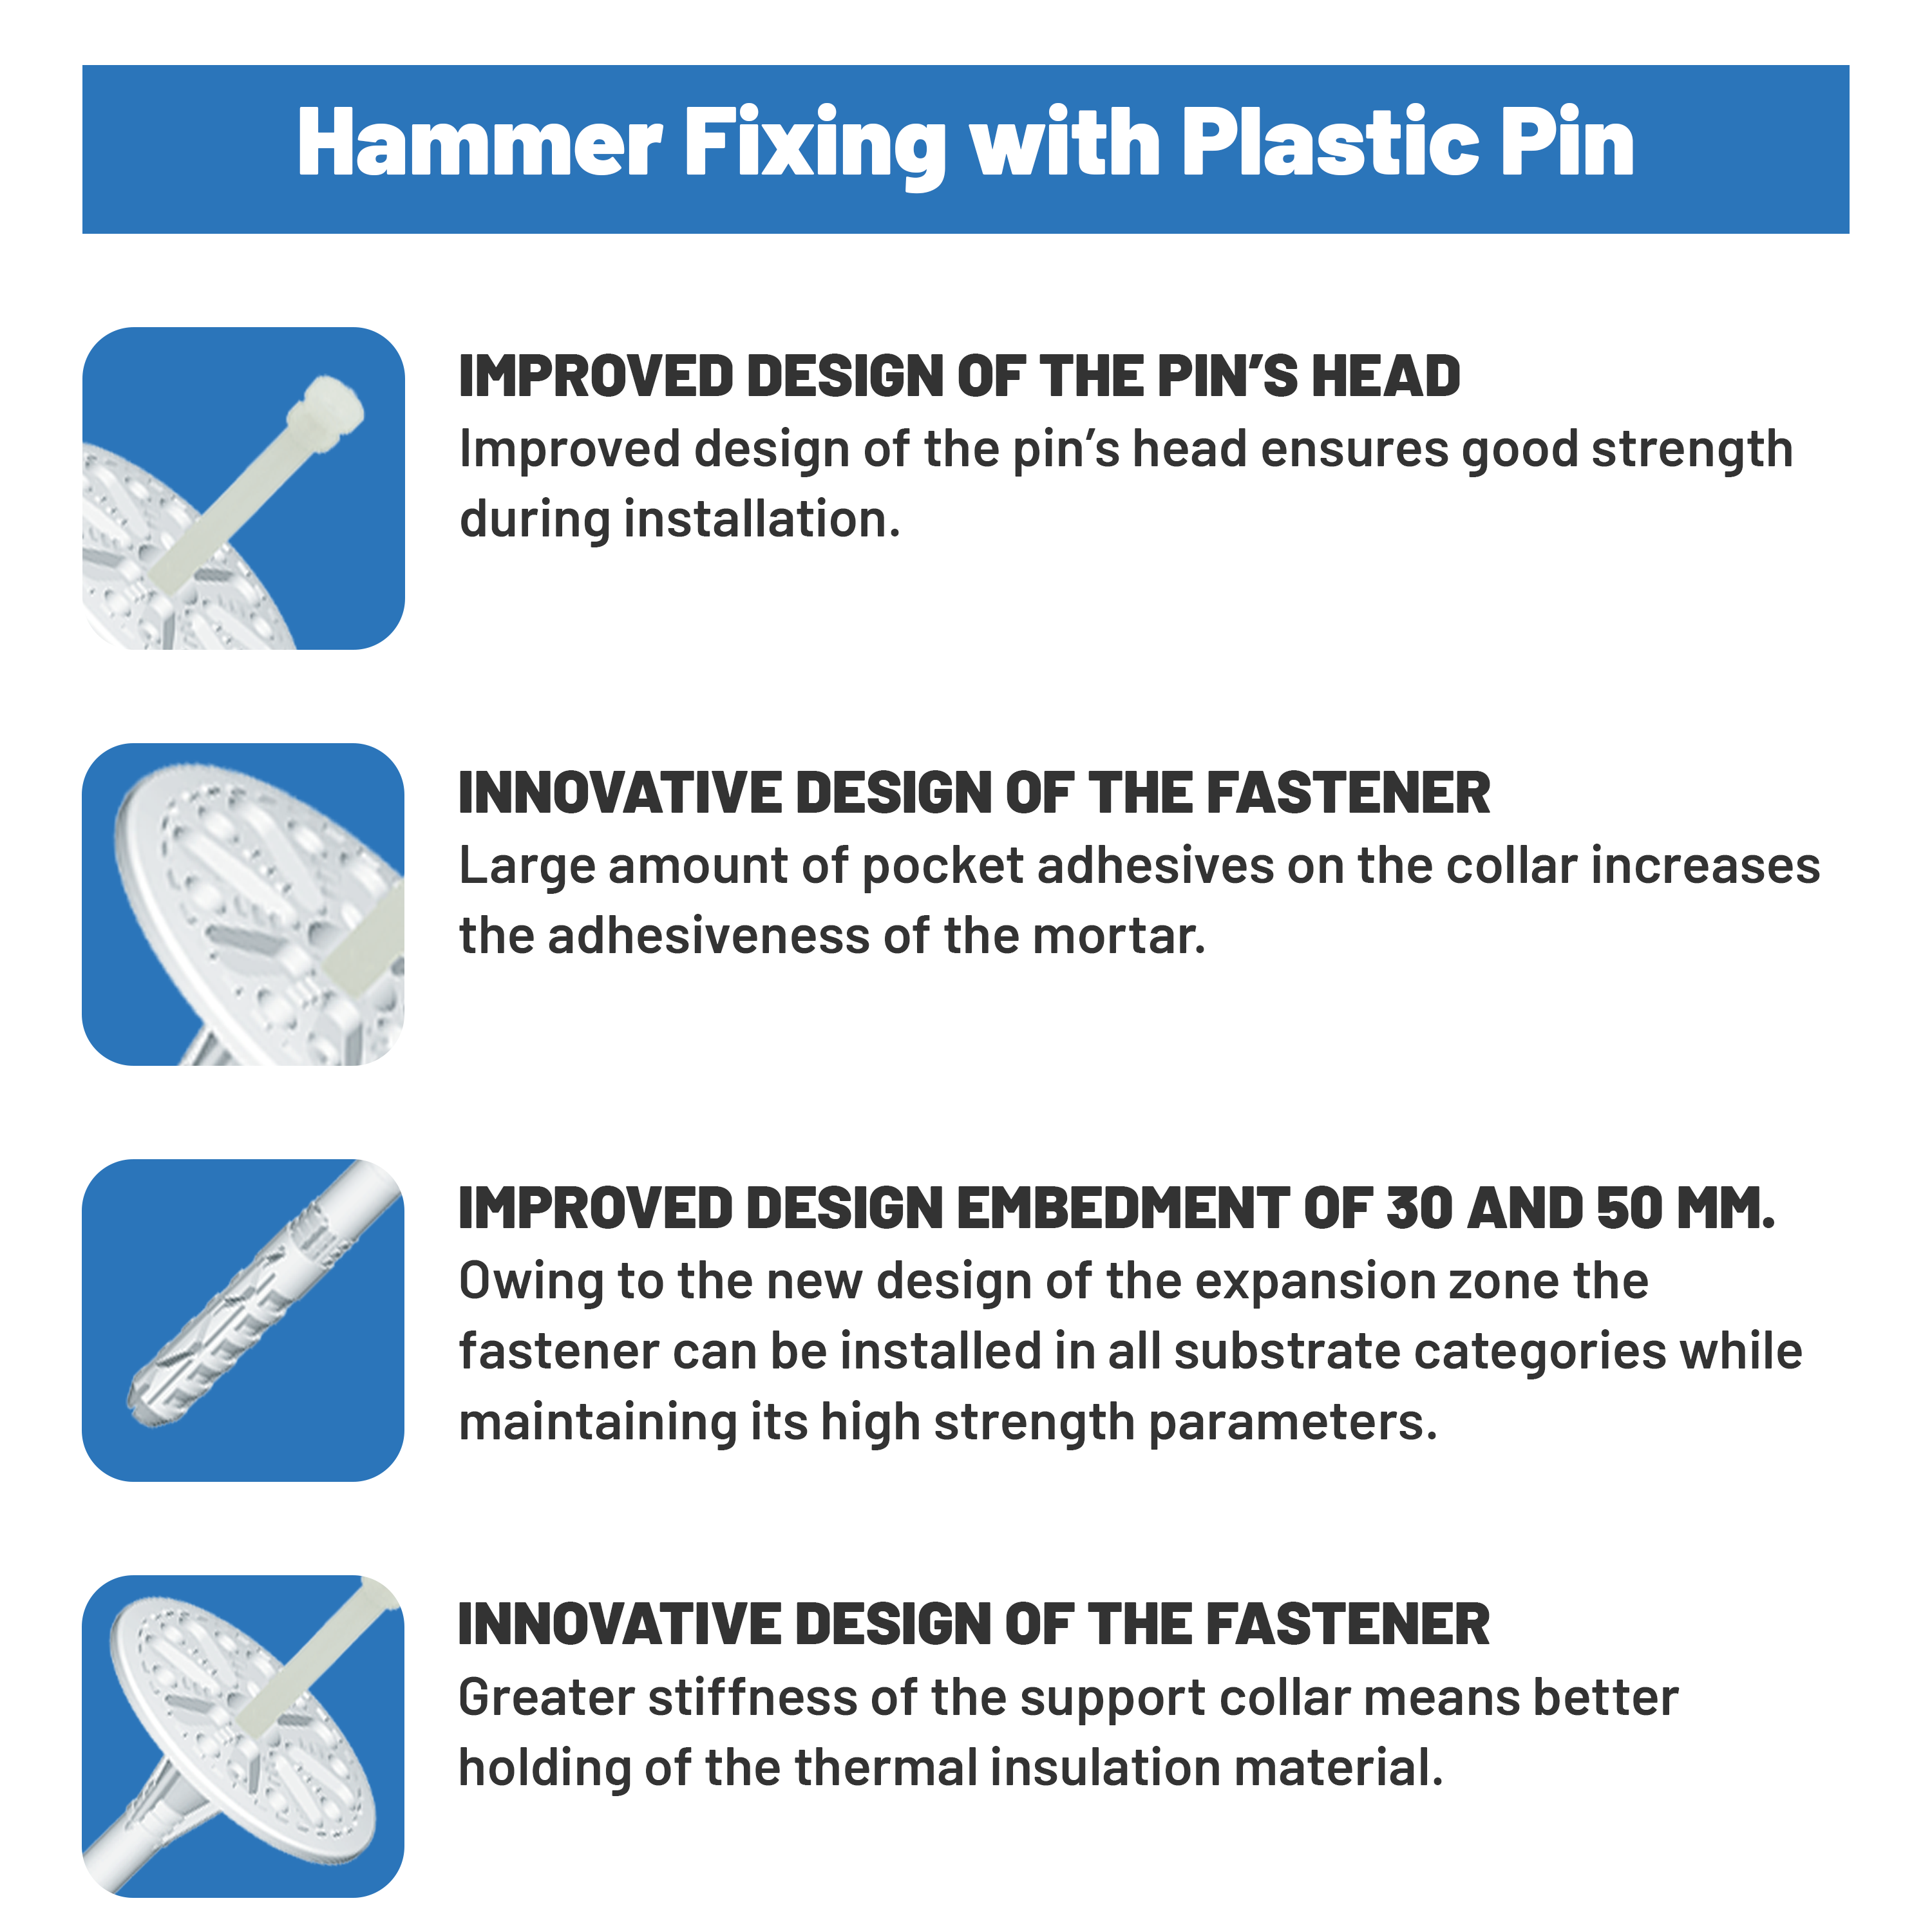
Key Features
- Glass-fibre–reinforced plastic pin resists breakage and limits thermal bridging.
- Short expansion zone for efficient anchorage and reduced drilling effort.
- Innovative sleeve ensures a flush finish to the insulation surface.
- Special connection flange improves stability under wind suction loads.
- ETA-16/0509 assessed for EWI/ETICS applications.
- Fast, reliable hammer-in installation.
Sizes & Box Quantities
| Size (Ø10mm) |
Box Quantity |
| 70 mm |
200 per box |
| 90 mm |
200 per box |
Select length based on insulation thickness + adhesive layer + required embedment depth.
Application
Preparation
- Mark out the fixing grid to suit the system design and wind-load zone.
- Check for hidden services (cables/pipework) before drilling.
- Use rotary-only mode for hollow blocks/AAC; use hammer mode for dense concrete and brick where appropriate.
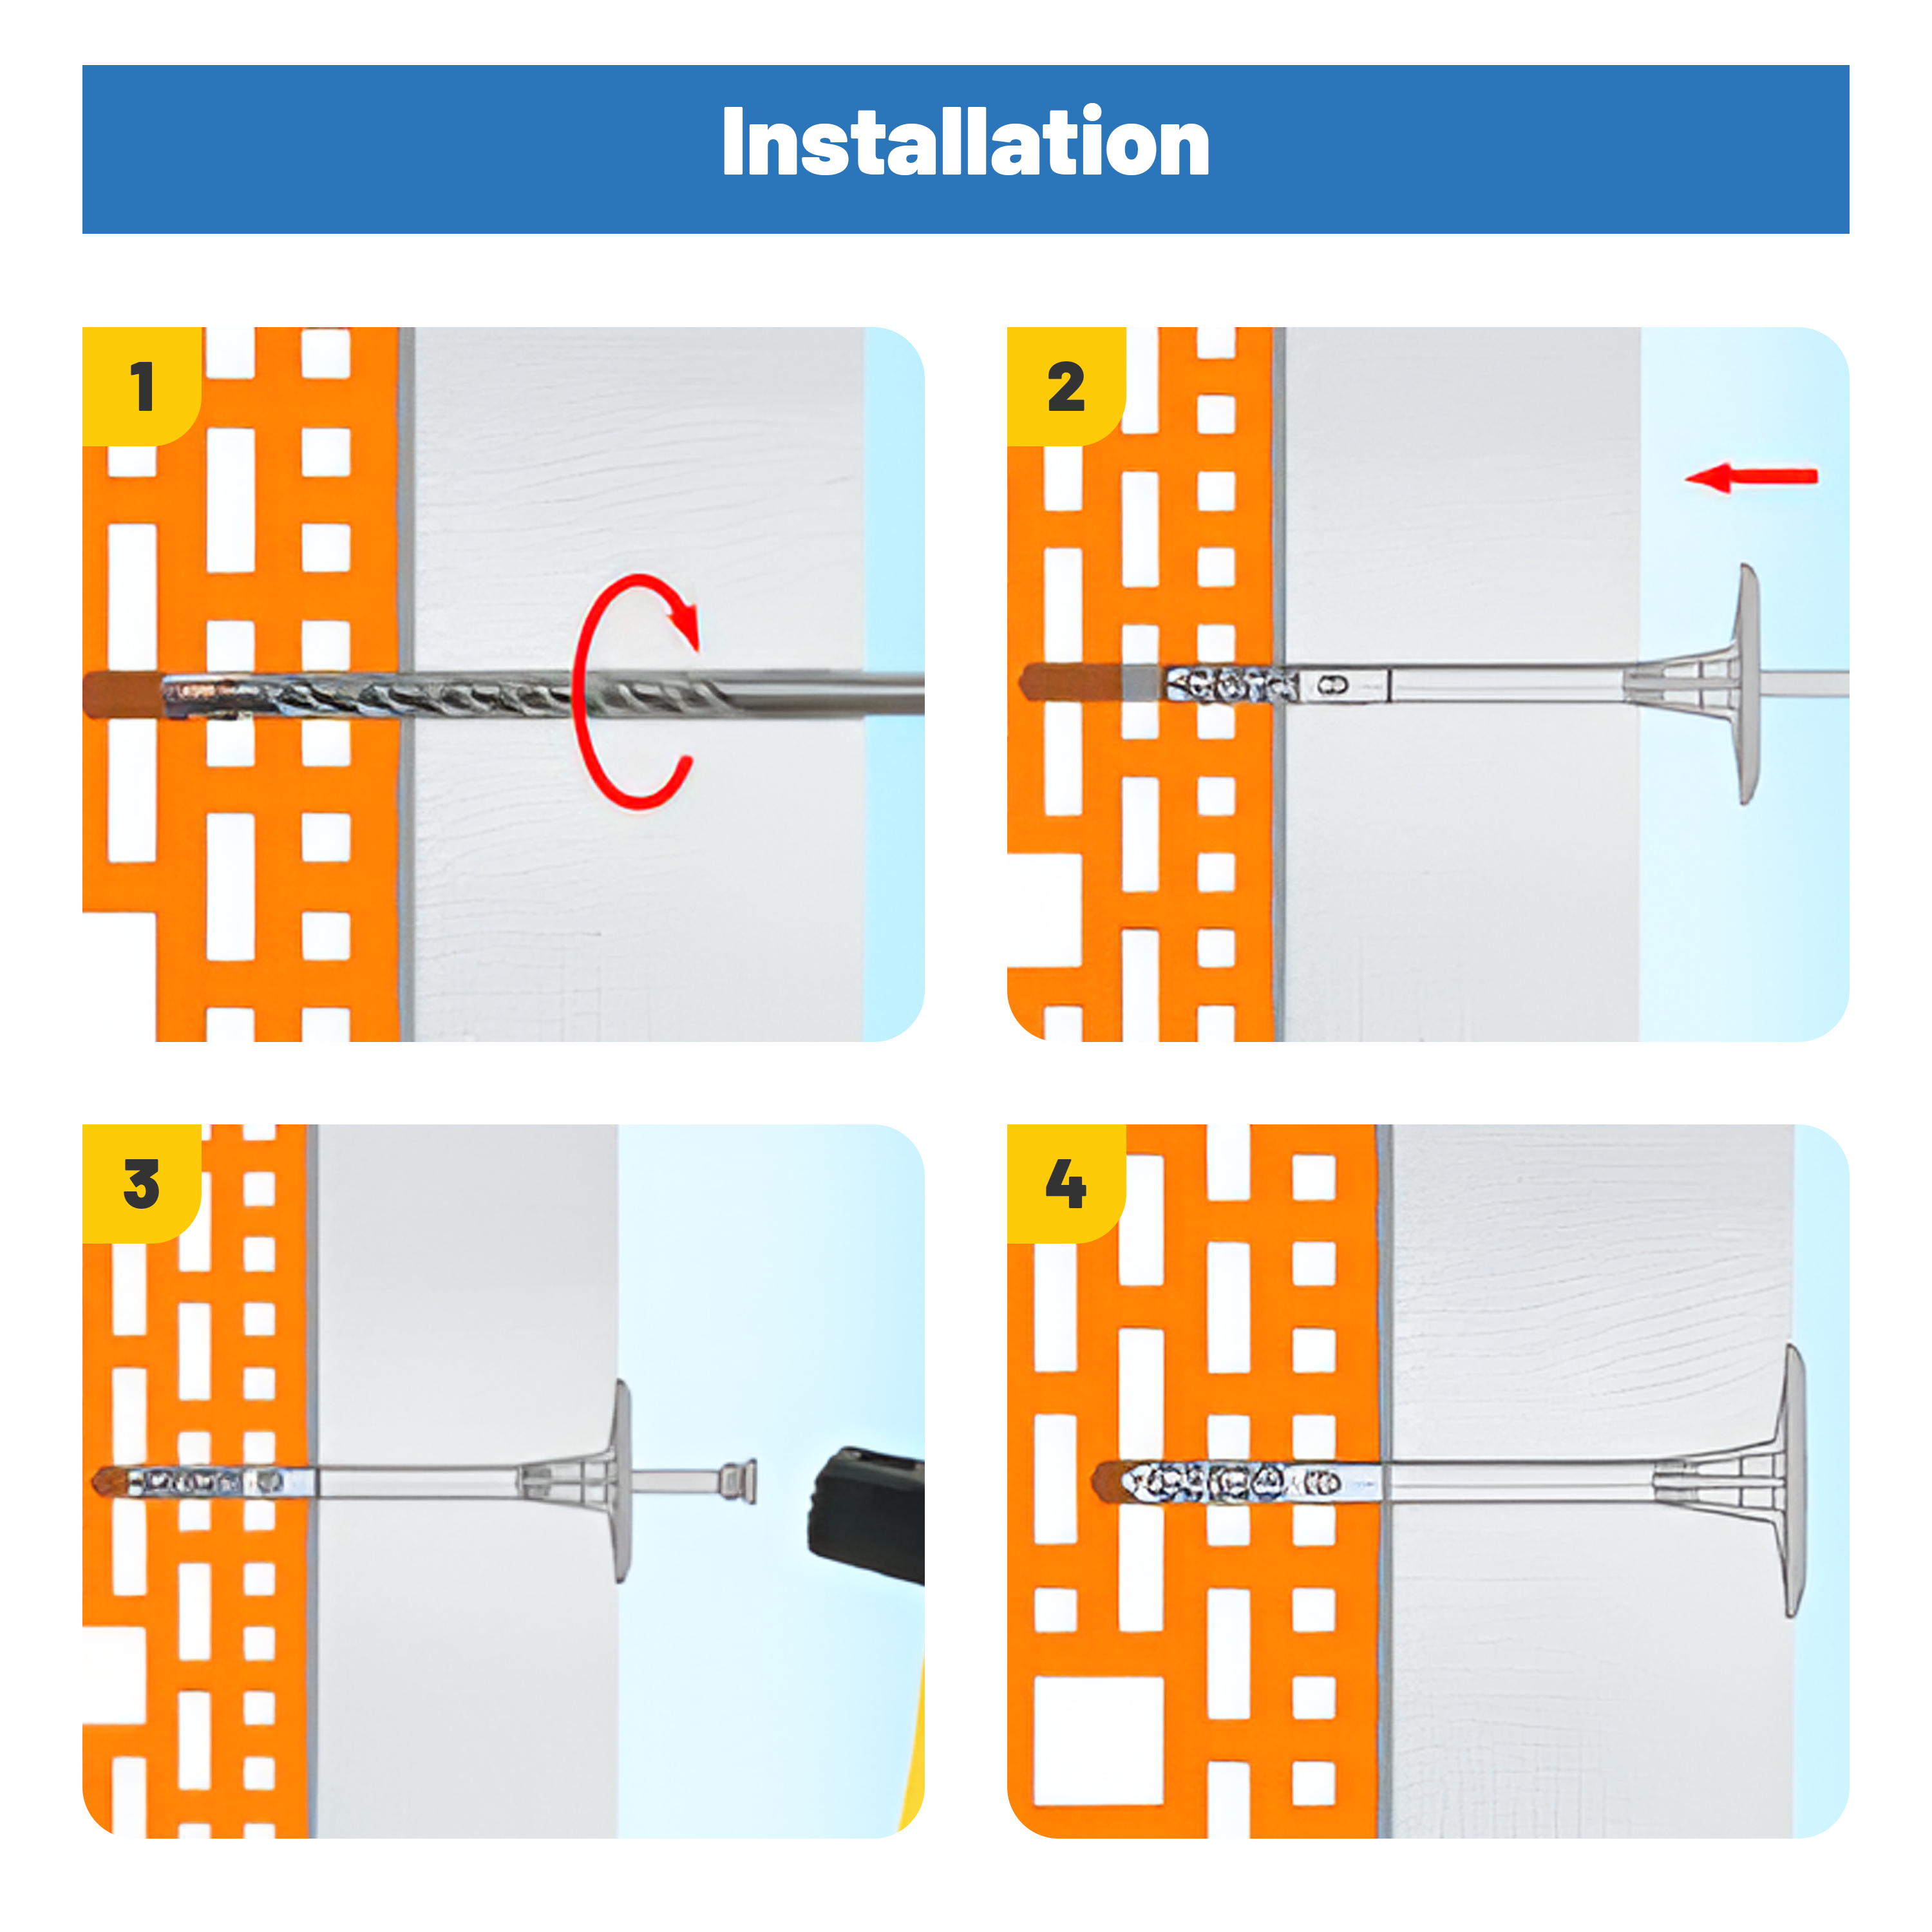
Installation steps
- Apply adhesive to boards per your EWI specification and place boards tightly with staggered joints.
- Drill perpendicular through the insulation into the substrate; clean dust from the hole.
- Insert the fixing body and hammer the plastic pin until the washer seats flush; do not over-drive or dish the surface.
- Install the specified number of fixings per board, adding extras around corners, openings and high-load zones.
- Proceed with basecoat and reinforcement mesh in line with the system specification.
Fixing pattern & density
- Typical guidance: 4–6 fixings per m², with increased density in edge and corner zones.
- Maintain consistent edge distances; avoid placing fixings too close to board edges or through joints unless specified.
Quality checks
- Carry out pull-out tests where substrate variability is suspected.
- Replace any fixing that spins or fails to grip; re-drill if necessary.