Sealant is a crucial component in maintaining the integrity of various areas in your home, particularly in bathrooms and kitchens where it prevents water damage by sealing joints and gaps. However, over time, sealant can become mouldy, discoloured, or lose its effectiveness. Therefore, it's essential to know how to properly remove and replace sealant. This guide will walk you through the process step by step.
What are the different types of sealant?
Silicone sealant is a popular choice, especially for bathrooms, kitchens, and exterior applications. Its waterproof, flexible, and mould-resistant properties make it ideal for areas exposed to water. It comes in clear, white, and coloured varieties, allowing for a seamless match with different decors. Acrylic sealant, on the other hand, is commonly used for filling gaps in woodwork, drywall, and at the junctions of walls and ceilings. It's paintable and easy to clean with water, making it a convenient option for interior use. However, it's less flexible than silicone and not suitable for high-moisture areas. For outdoor applications, such as sealing around windows and doors, Polyurethane sealant is an excellent choice. This type of sealant is extremely durable and flexible, and it can be painted over. It stands up well to various weather conditions but requires mineral spirits for cleanup and is somewhat more challenging to work with compared to silicone or acrylic. In more industrial or heavy-duty settings, Butyl Rubber sealant is often used, particularly for sealing metal joints like gutters or roofing. Its very sticky, highly durable, and waterproof properties make it excellent for bonding dissimilar materials. Lastly, Polysulfide sealants are mainly used in industrial applications, especially in construction and civil engineering. They are waterproof, resistant to chemicals and sunlight, and maintain flexibility over a wide temperature range. These sealants are particularly useful for underwater joints or in sealing fuel tanks.
Preparation for removing and replacing sealant
Tools and materials
Before beginning, ensure you have the following tools and materials:
- Utility knife or sealant remover tool
- Bleach or mould remover (if dealing with mould)
- Clean rags or paper towels
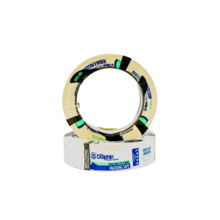
- Masking tape
- Silicone sealant (make sure it’s suitable for the area you’re working on)
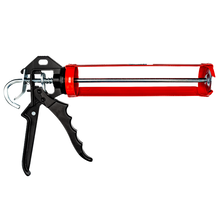
- Caulking gun
- Smooth-back tool or a damp finger
Safety precautions
- Work in a well-ventilated area.
- Wear gloves, especially if dealing with mould.
- Be careful with sharp tools.
1: Removing old sealant
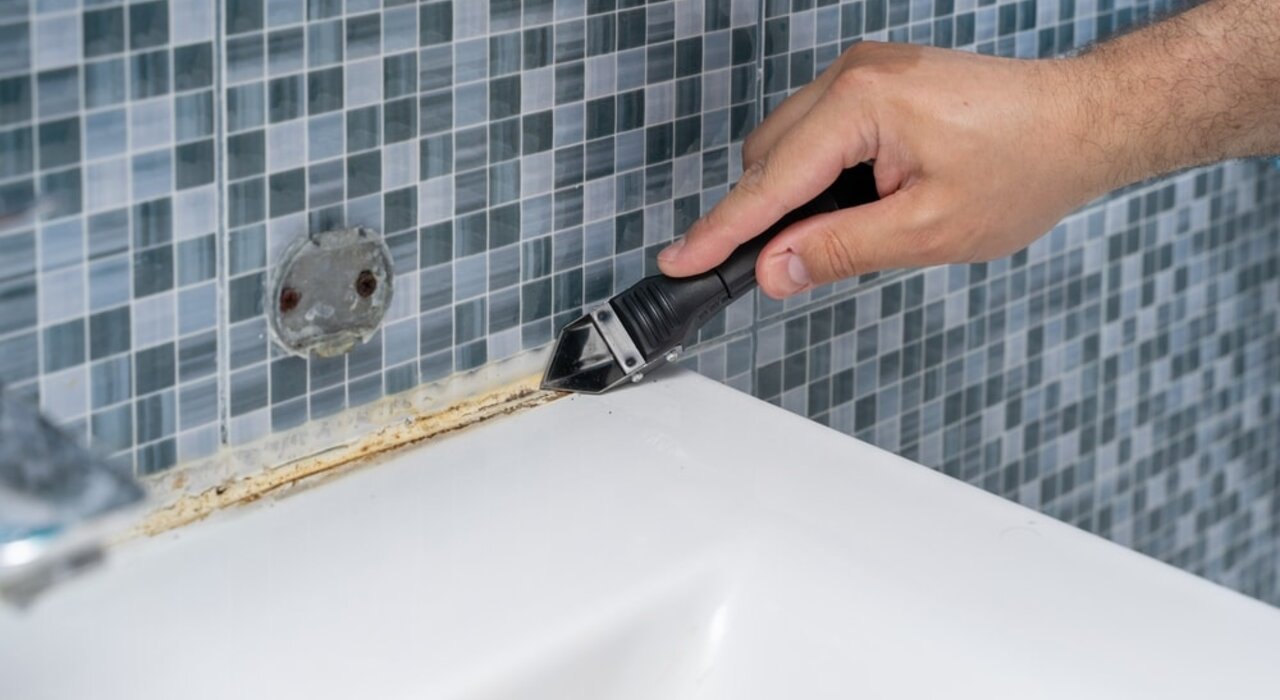
- Cut and Peel: Use your utility knife or sealant remover tool to cut along the edges of the old sealant. Be careful not to damage the surfaces. Once cut, peel away the sealant.
- Clean the Area: Once all the old sealant is removed, clean the area thoroughly with a mould remover or bleach if there’s any mould. Then, wipe down with a damp rag to remove any residue and let it dry completely.
2: Preparing for new sealant
- Tape the Edges: Apply masking tape along both sides of the area where you’ll be applying the new sealant. This helps in achieving a straight and neat line.
- Cut the Sealant Nozzle: Cut the nozzle of the new sealant tube at a 45-degree angle. The size of the cut will determine the bead size, so consider the gap you’re filling.
3: Applying the new sealant
- Load the Caulking Gun: Insert the tube of sealant into the caulking gun.
- Apply the Sealant: Holding the gun at a 45-degree angle, apply the sealant smoothly and steadily, ensuring it gets into the gap.
- Smooth the Sealant: Wet your finger or a smooth-back tool and run it along the wet sealant to smooth it out. This step should be done quickly before the sealant starts to dry.
4: Finishing touches
- Remove the Tape: Carefully remove the masking tape while the sealant is still wet.
- Let it Dry: Follow the manufacturer’s instructions for drying time. Avoid contact with the sealant during this period.
Are there alternatives to removing and replacing sealants?
Whilst sealants are particularly handy for home applications, they come with issues. Silicone sealants degrade fairly easily, therefore, they are not suitable for use in external wall insulation systems. This includes areas like verge trims, wherein new guidance dictates that two waterproof membranes are required. Other alternatives include the following:
- Beading: Beading provides a physical barrier that is often more durable than sealants. It's typically made from materials like metal or PVC, offering superior resistance to weathering and less likelihood of degradation over time.
- Flashing: In roofing and similar applications, metal flashing is a common choice. It's used to direct water away from critical areas, providing a strong, long-lasting solution that is less prone to weathering than many sealants.
- Gaskets: For creating seals around windows, doors, and other joinery elements, gaskets made from rubber or foam can be used. These provide a flexible, watertight seal that can accommodate movement and temperature changes better than some sealants.
- Caulking Compounds: Offer different properties like better paintability, reduced shrinkage, or increased flexibility.
- Expanding Foam: In some insulation applications, expanding foam can be used as an alternative to sealant. It expands to fill gaps, providing both insulation and a moisture barrier. However, it's less precise than sealant and can be harder to control.
- Tapes and Membranes: Waterproof and weather-resistant tapes or membranes can be used in place of liquid sealants in some applications. They are particularly useful for sealing joints and seams in weatherproofing applications.
- Mortar and Cement: In some construction scenarios, particularly in masonry, mortar or cement can be used to seal gaps. They provide a very rigid and durable seal but lack the flexibility of traditional sealants. Mortar, cement, or basecoat is not suitable for filling gaps between insulation boards.


