

In today's eco-conscious era, homeowners and property managers alike are constantly seeking solutions to enhance energy efficiency, reduce carbon footprints, and promote sustainable living. One such solution gaining traction is External Wall Insulation (EWI). While EWI offers a promising avenue to create warmer, more energy-efficient homes, diving into such a project often raises the all-important question: "How long is this going to take?" The process, from inception to completion, is multi-faceted, requiring intricate planning, execution, and monitoring. EWI is not just about slapping on some insulation boards and calling it a day. It's a systematic process, with each step integral to the success and longevity of the project. Moreover, the timeline can vary based on a multitude of factors, from the initial surveying stage to the very last finishing touch. In this guide, we aim to demystify the EWI project timeline. We'll provide you with a comprehensive breakdown, from the foundational surveying and testing phase to the finishing touches that culminate in the transformation of your property. Whether you're a homeowner seeking to understand what lies ahead or a professional wanting a refresher, this guide seeks to offer clarity and insight into the process.
1. Surveying & Testing your EWI project
Thermal Imaging:
- Objective: To pinpoint areas of heat loss which aren’t always visible to the naked eye.
- Procedure: Using a thermal imaging camera, the facade of the building is scanned, and the data is interpreted. Cold areas show up in blue tones, while warmer areas appear in red.
- Importance: This step helps in formulating a targeted approach to insulation, addressing the specific needs of your property.
- Time Estimate: 1 day.
:
- Objective: To ensure walls are free from excessive moisture before the insulation is applied.
- Procedure: A moisture meter, which uses either pin-type or pinless sensors, is used to measure the moisture content of the walls. Areas with high moisture readings might require further investigation.
- Significance: Trapped moisture can lead to mould growth, reduce insulation effectiveness, and degrade the building structure.
- Time Estimate: 1 day.
:
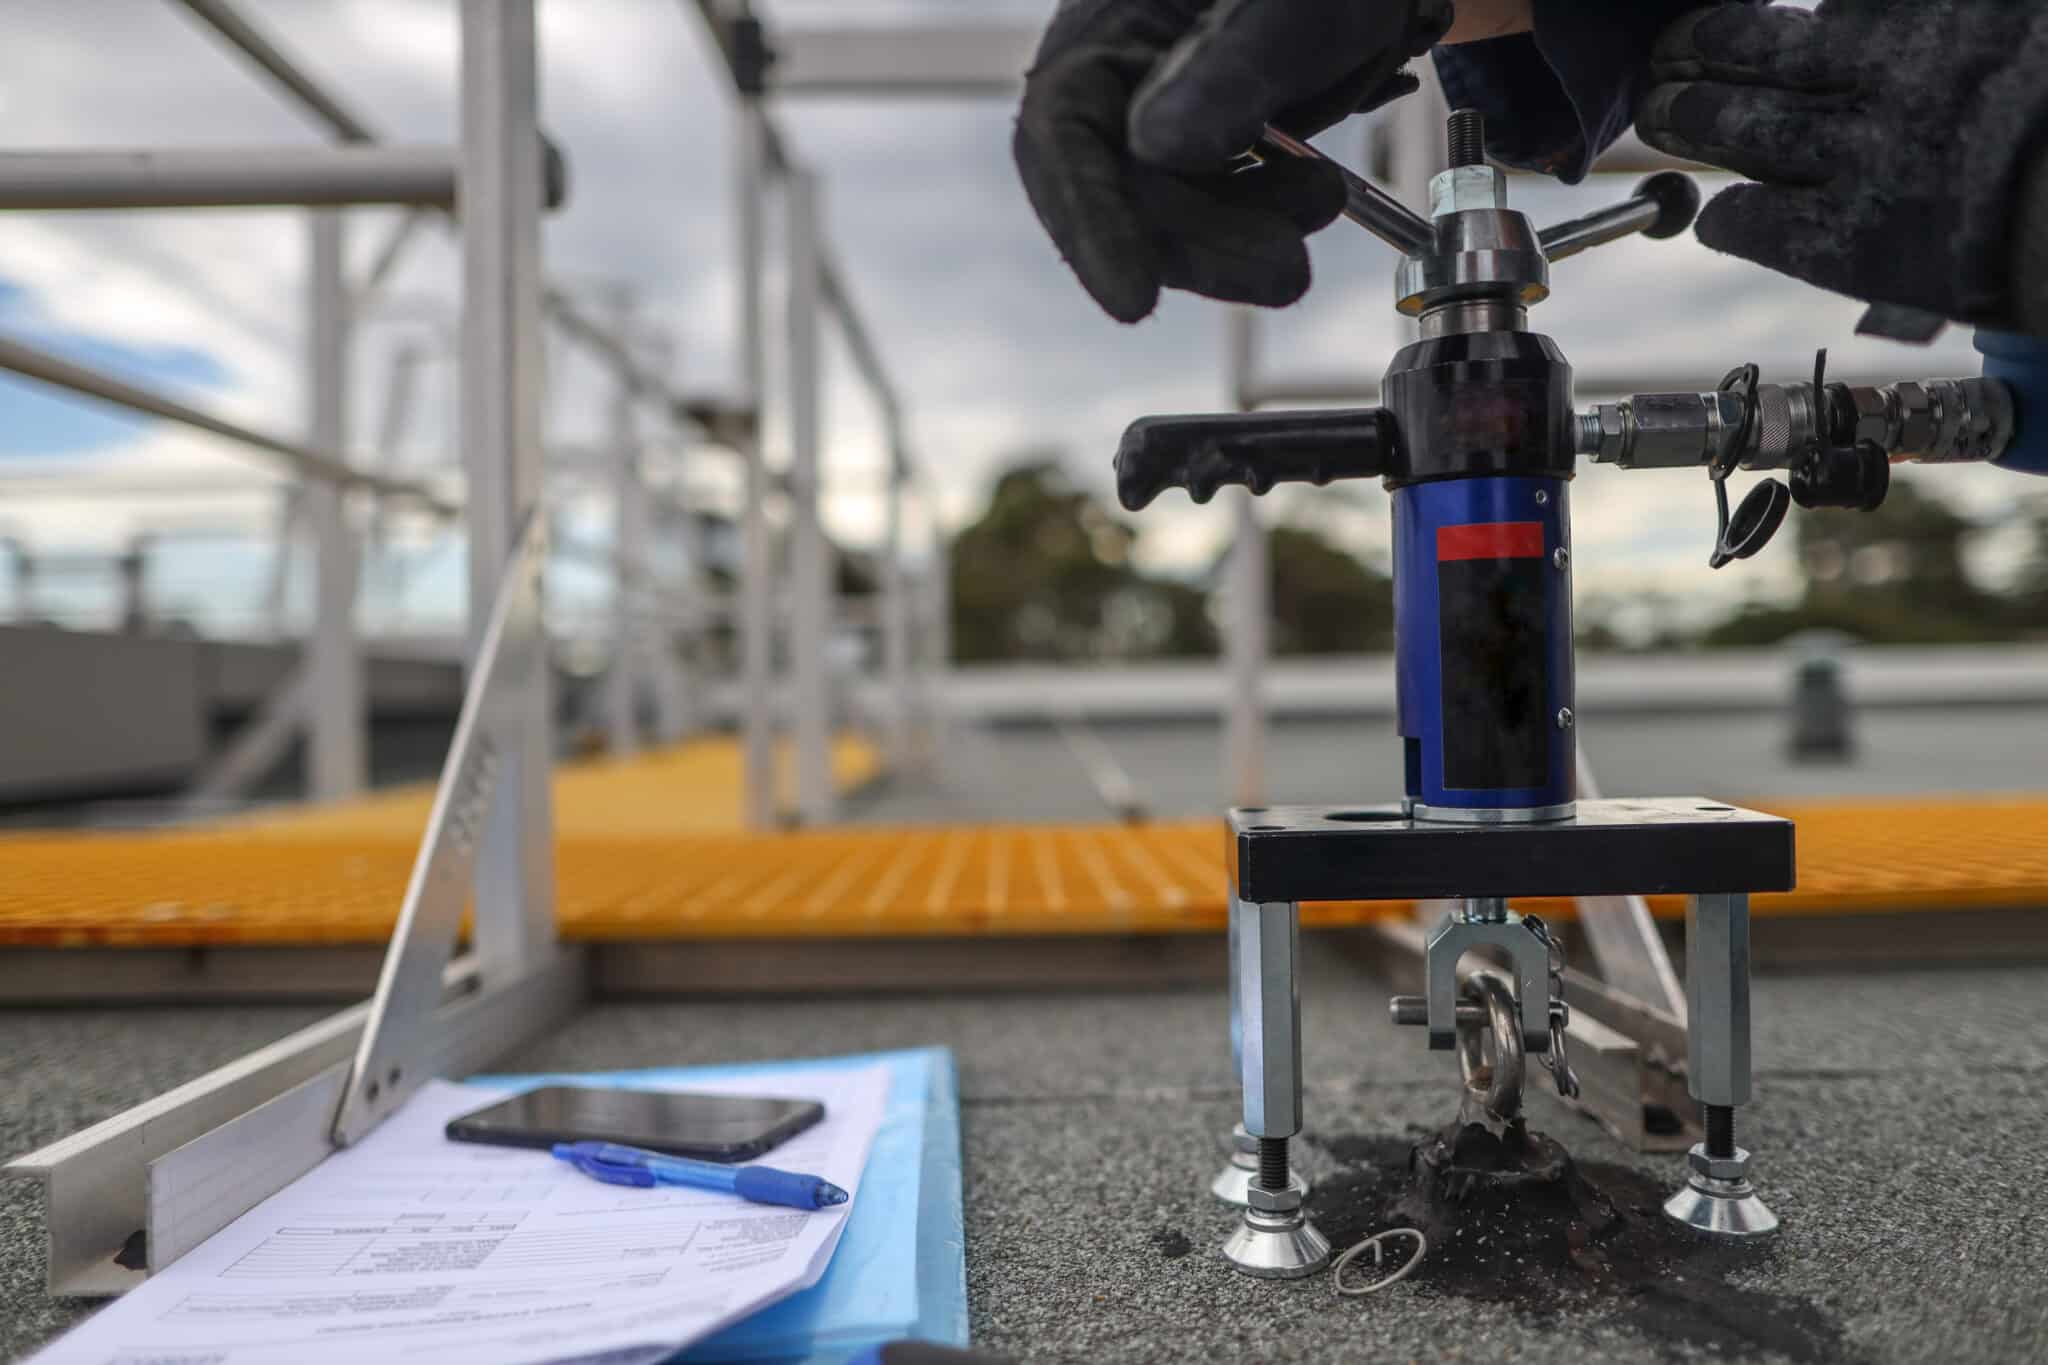
- Objective: To assess the strength and suitability of the existing facade for EWI. The pull-out test measures the amount of force required to pull a fixing (like an anchor or screw) out of the wall, ensuring that the wall can bear the weight of the new insulation system.
- Procedure: A qualified professional chooses various test spots, usually representing different conditions or sections of the wall. This ensures a comprehensive assessment.
- Assessing Results:
-
-
- Strong Bond: If the force values are high, it indicates a strong bond and suitability for EWI without significant additional reinforcement.
- Weak Bond: Lower force values might suggest the need for additional reinforcements or alternative fixing methods. In some cases, it might also point to underlying issues with the facade material that need addressing.
-
- Importance: The pull-out test is critical to ensure that the EWI system remains securely attached to the building. It mitigates the risk of system failure due to detachment or falling insulation boards.
- Time Estimate: A pull-out test typically takes between 2 to 4 hours, but it's wise to allocate half a day for a comprehensive assessment, especially for larger properties.
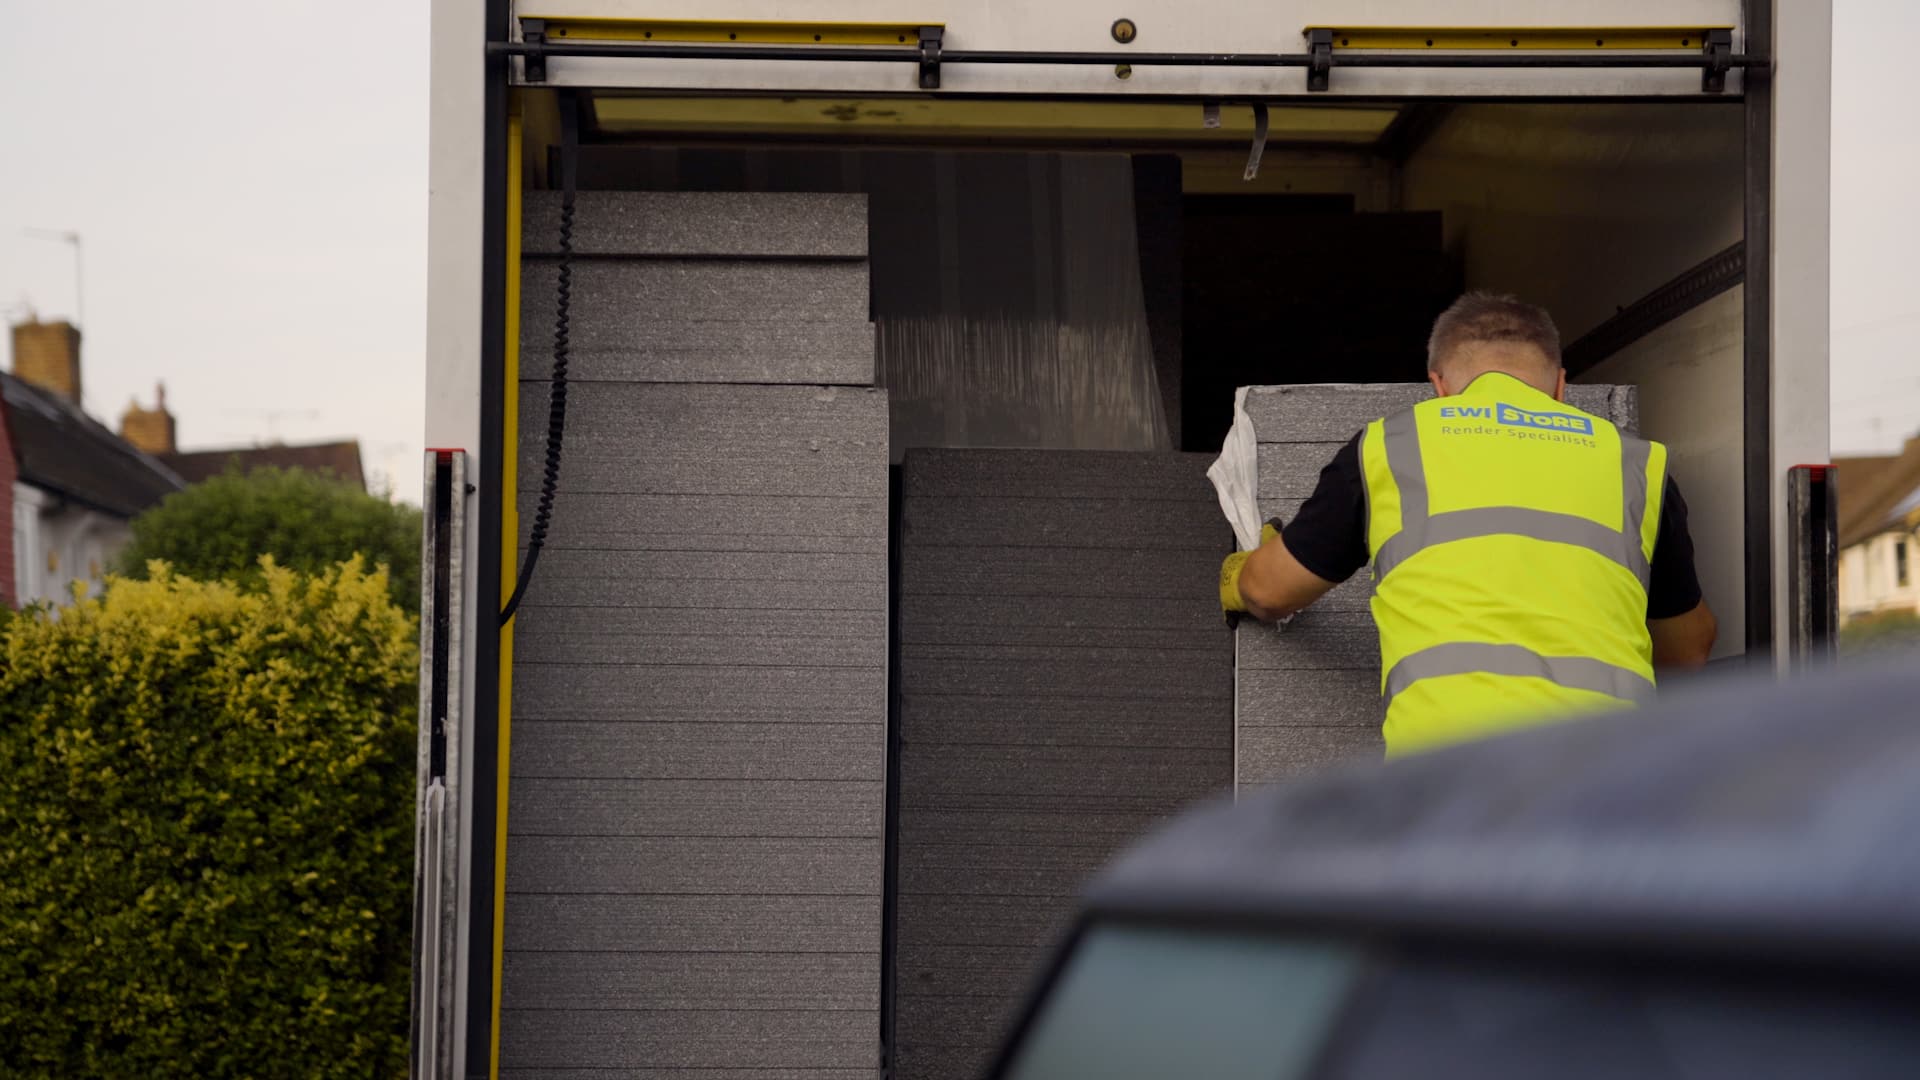
2. Ordering & Delivery Times
Material selection
- EPS (Expanded Polystyrene):
- Description: EPS is a lightweight and versatile insulation, making it a popular choice among many homeowners. It strikes a good balance between cost and performance.
- Fire Resistance: It's worth noting that compared to other insulation types, EPS has lower fire resistance, necessitating special care in its application and the selection of fire-resistant basecoats.
- Associated Basecoat: For EPS, a cement-based adhesive is generally used as a dual adhesive and basecoat system. Our specially designed EWI-220 EPS Basecoat is the perfect option. This not only helps in affixing the EPS boards but also offers a level surface for the next steps.
- Mineral Wool:
- Description: Favoured for its excellent fire resistance and acoustic properties, mineral wool is ideal for projects where these factors are a priority.
- Associated Basecoat: A reinforced basecoat is often used with mineral wool, with added fibres for tensile strength. This ensures good adherence and stability. EWI-225 Premium Basecoat is a great option as it is dual-purpose and strong enough to adhere to Mineral Wool boards.
- Phenolic Foam:
- Description: Though often pricier, phenolic foam offers unparalleled thermal performance per unit thickness, making it a good choice for properties with limited external space.
- Associated Basecoat: A specialised basecoat is recommended for phenolic foam to cater to its unique properties and to ensure a smooth application.
Other Considerations:
- Thickness: The choice of material thickness can vary based on your property’s specific thermal requirements and external space constraints.
- Facade Modifications: Depending on the thickness of the insulation, certain modifications like extending window sills might be necessary.
- Aesthetic Preferences: Options range from brick finishes to smoother contemporary looks. This choice will influence the final render type and finish.
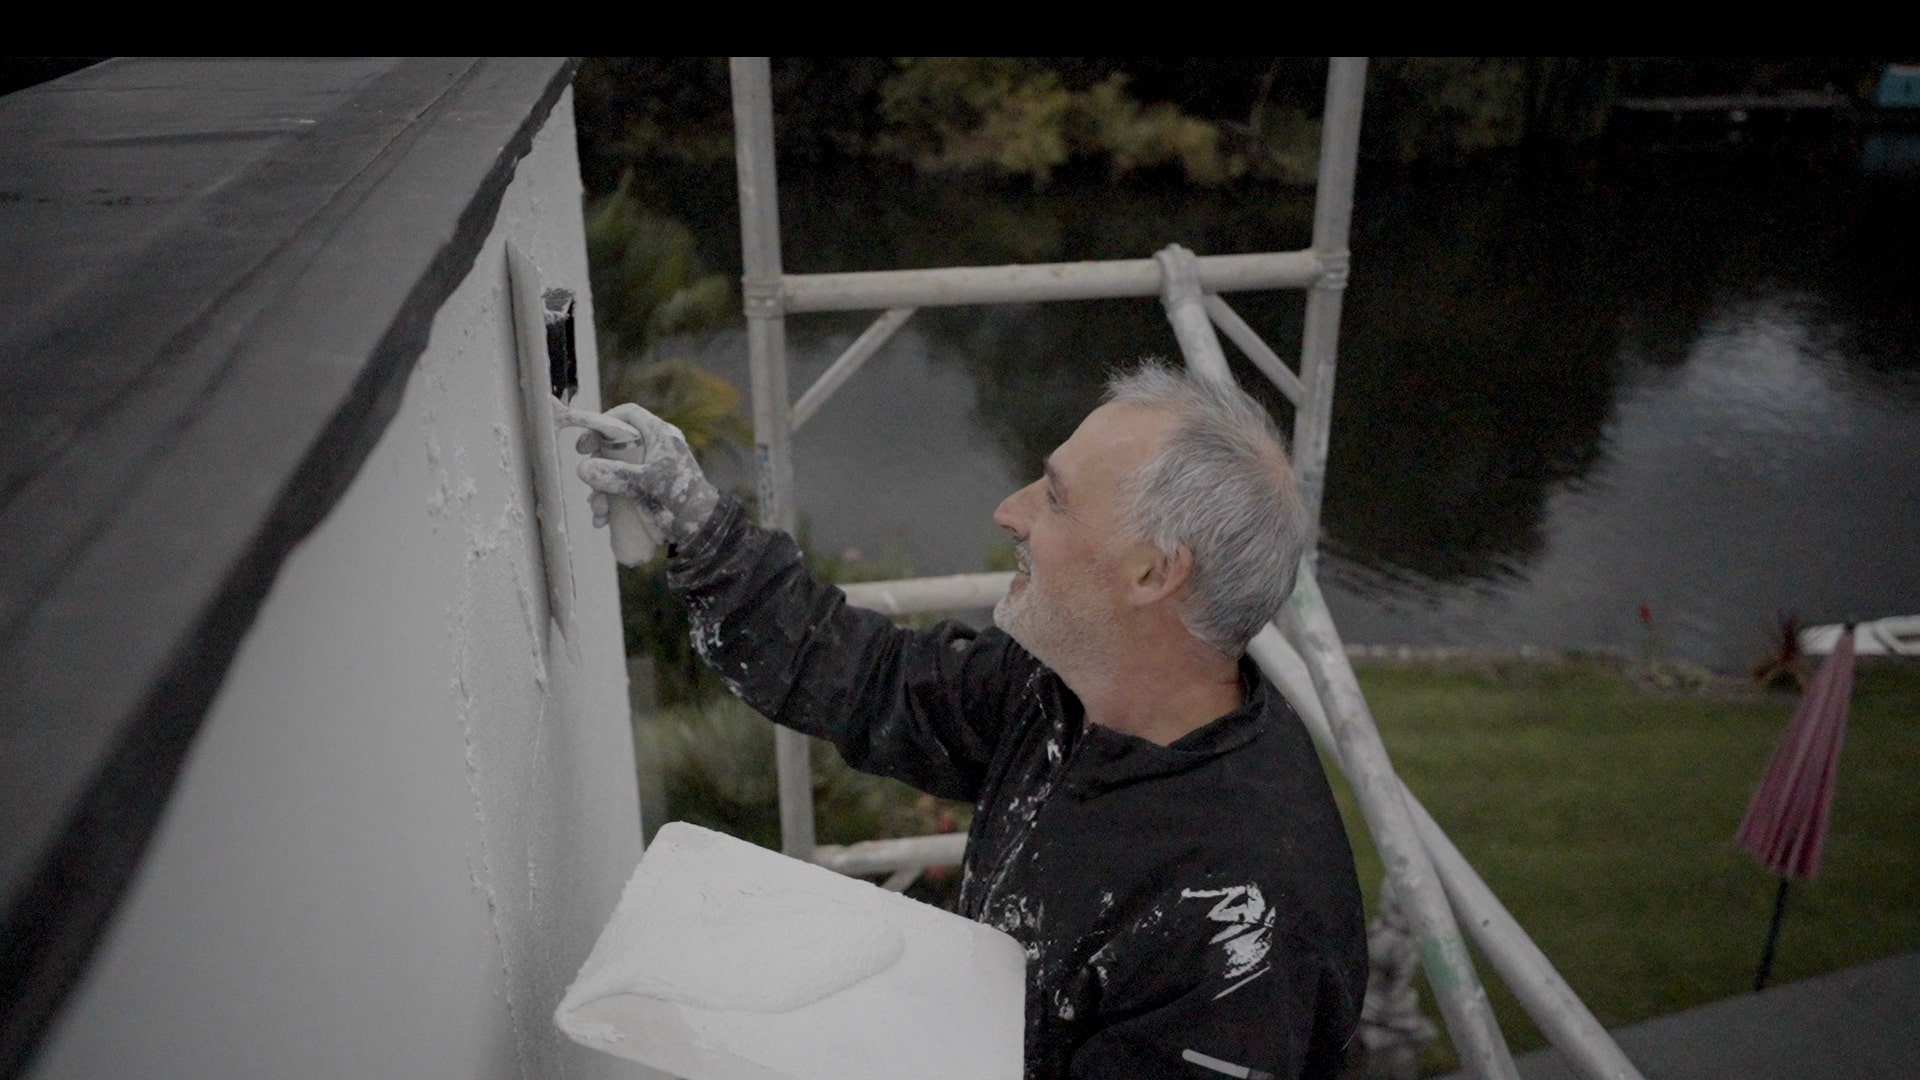
- Final Finish - Silicone Render:
- Description: Silicone render is a top choice for finishing due to its water-repellent properties and vast colour options.
- Benefits: It's highly breathable, ensuring that any moisture within the walls can escape. This helps in preventing mould and dampness. Moreover, its flexibility means it's less prone to cracking over time.
- Application: Depending on the chosen insulation and basecoat, the render might need a primer. Once prepared, it’s applied using trowels and then smoothed out to achieve the desired texture and finish.
- Time Estimate for Ordering & Delivery: 1 week. It's vital to factor in potential delays, especially when working with specialised products or when there are supply chain disruptions.
3. Preparation
- Wall Cleaning: This removes algae, mould, and other foreign elements that could hamper adhesion. A Fungicidal Wash is extremely popular as it easily removes signs of any biological growth. Crucially, it also helps to prevent regrowth for up to 6 months.
- Time Estimate: 1-2 days.
- Wall Repair: Fixing cracks and addressing any issues identified during the survey, such as damp patches or structural concerns. EWI-260 Levelling Mortar is a great option for repairing minor issues with the substrate.
- Time Estimate: 1-7 days, depending on the extent of the damage.
4. Application of Primers, Adhesives, and Basecoats
- Primers: Specific primers, like silicate or acrylic, are chosen based on the render type. They ensure better adhesion and longevity. The choice of primer largely depends on the suction of the surface. EWI-310 Universal Primer performs well on most surfaces whilst EWI-302 Deep Penetrating Primer performs best on new build external walls prior to the application of renders.
- Drying Time: 12-24 hours, depending on the climate.
- Adhesives: These can be cement-based or ready-mixed, ensuring insulation boards stick properly to the walls. We would often recommend a dual-purpose basecoat adhesive as it reduces wastage on site.
- Drying Time: 24 hours typically.
- Basecoats: Reinforcing the adhesive layer, often containing a mesh layer for added resilience.
- Drying Time: 24-48 hours.
5. Insulation Installation
- Mechanical Fixings: After adhesives, some systems require mechanical fixings (like specialised screws) to secure insulation boards. For example, if you are looking to reinforce a fire-resistant Mineral Wool system, Metal Lamella Firebreak Fixings contribute to the overall resistance.
- Time Estimate: 1-5 days, based on property size.
6. Render Application on your EWI project
- Type Selection: Depending on the property and insulation type, you might choose from acrylic, mineral, or silicone renders. This is a crucial stage that requires you to work ahead of the sun and with several people. It is imperative that the render does not dry out too quickly and that you maintain a wet edge. A failure to do so could lead to silicone render drying too fast and cracking, or curing incorrectly.
- Application: This involves skilled workmanship to ensure an even, durable finish.
- Time Estimate: 1-3 days.
- Drying: Factors like render type, weather, and wall orientation can influence drying.
- Drying Time: 24-72 hours.
Ultimately, an EWI project will take anywhere from a couple of weeks to a couple of months, depending on the size of the property. The type of system will also dictate the project timing. Have you had an EWI project occur at your home? Let us know how long it took below!