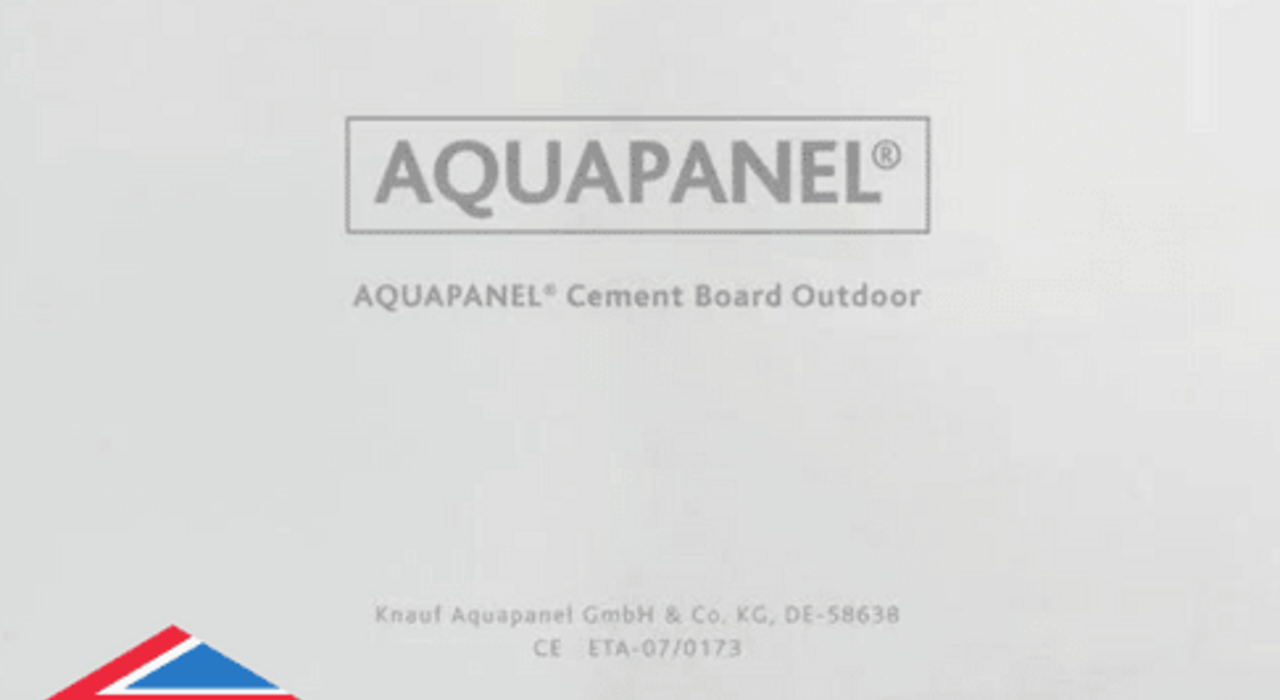
The Knauf Aquapanel is an outdoor cement board, designed for the building and decorating of exterior facades. These render carrier boards are particularly strong and are ideal for withstanding even the most extreme weather conditions. If you’re planning on installing a render system onto the Knauf Aquapanel, then keep reading!
Today’s blog post is an installation and rendering guide for the Knauf Aquapanel, which is now a BBA Approved system. The certificate is available to access here. We’re going to be talking about how to install the boards and then how to apply the EWI Pro thin coat render system onto them.
Installing the Knauf Aquapanel Boards
To start off, Knauf Aquapanel is screwed onto vertical timber battens using 42-60mm self-drilling screws. Use approximately 23 screws per board, and a 3mm gap needs to be left in between each board.
Applying Render
Now that the Knauf Aquapanel boards are prepared and ready to go, you can go straight into applying the thin coat render system.
First, the EWI-225 Premium Basecoat needs to be mixed with 6 litres of clean, cool water using an electric paddle mix until it is a smooth, workable consistency. This is our strongest basecoat-adhesive. Therefore, it is ideal for applications onto render carrier boards as it will help to resist cracking.
Apply the basecoat to a thickness of 6mm. At this stage, you should embed the Fibreglass Mesh into the basecoat. The embedding of the mesh serves to enhance the tensile strength of the system. The overlapping of the mesh is crucial, and must be to a width of 10cm.
Remember that you are applying a thin coat render, and therefore the basecoat needs to be perfectly smooth and flat. This will ensure that any imperfections are not visible through the final render finish. We have compiled a buyer's guide detailing the same installation process here.
Once set, the basecoat will need priming with a render primer. Although optional, we do recommend the use of a render primer if you have chosen an especially bright colour for the topcoat, as the primer can be tinted to match the render and will ensure an even coloured finish.
The final stage in the render system is the topcoat. Whether you’ve chosen the EWI-010 Acrylic Render or EWI-076 Premium Bio Silicone Render, the application is always the same. The application of the render needs to correspond with your chosen grain size. Therefore, a 1.5mm textured finish requires 1.5mm render application. Once the render itself is on the wall, it needs rubbing up using a plastic render float.
The BBA System
The viability of the new BBA approved system stems from the adherence to four distinct factors. Firstly, the strength and stability of the silicone render ensures that the systems adequately resists wind loads, and can withstand any impact resistance that may be encountered in regular service. As it is an external wall system, the fire resistance is of high importance. The Silicone Render system achieved the A2-s1 d0 fire classification, ranking it as non-combustible in Scotland, and of limited combustibility in England and Wales. The weather resistance of the silicone render has also been ratified, as they shed water under observation. Therefore, the system significantly reduces the amount of water penetrating the substrate. Additionally, the BBA ascertains that the durability of the system results in a service life in excess of 30 years.
System components
The Knauf board used is the subject of BBA Certificate 09/4633, and partnered with our materials, forms the new system. The EWI Pro materials used in the system are as follows:
- EWI-225 Premium Basecoat — white Portland cement, mineral fillers, synthetic fibres, polymers and modifying admixtures
- EWI-66645 Fibreglass Mesh — a 1 m wide, woven glass fibre reinforcing mesh with polymer coating, nominal weight of 160 g.m-2
- EWI-333 Topcoat Primer — a water-based primer, containing silicone resin, quartz aggregate, pigments and enhancers
- EWI-076 Premium Bio Silicone Render — a water dispersion of silicone polymer, mineral fillers, refining agents and pigments. Available in 1.0, 1.5, 2.0 and 3.0 mm grain sizes
- EWI-075 Silicone Render — silicone emulsions, nano-particle silicone polymer dispersion, fillers, modifying admixtures and pigments. Available in 1.0, 1.5, 2.0 and 3.0 mm grain sizes
The inclusion of both EWI-075 and EWI-076 in the certificate is a particular rewarding accreditation as they are truly our premier products. They have unrivalled flexibility and crack resistance, whilst also holding excellent hydrophobic qualities. EWI-076 is also resistant to algae and biological growth, as well as being self cleaning.
If you have any other questions about rendering your Knauf Aquapanel, get in touch with our sales team!

