

Our Mineral Wool system is the premier fire resistant solution to external wall insulation. We had the privilege to work with Eugene to create a high performance thermal envelope for his property. This blog will detail the steps he has undertaken to install this system. The whole process is a testament to Eugene and the EWI Pro Training Academy as he attended courses. The courses have furnished him with the skills to know how to install our Mineral Wool system.
What is the Mineral Wool system?
Mineral Wool is a fantastic product in isolation. We stock the Rockwool brand at EWI Store, but all forms have a similar composition. The material is produced by heating the volcanic rock within a large furnace, then spinning it into fibrous strands and compressing it into boards. The dual density batts provide many benefits for the property. The primary benefit is the improved thermal performance. 110mm of Rockwool achieves the desired 0.3W/(m2K). Our Mineral Wool system also offers excellent acoustic insulation, a benefit highly desirable in urban areas due to rising noise pollution. Rockwool is also non-combustible, thanks to its A1 fire rating. If a building is to set on fire, Rockwool will act as a firebreak solution, and not produce any toxic fumes.
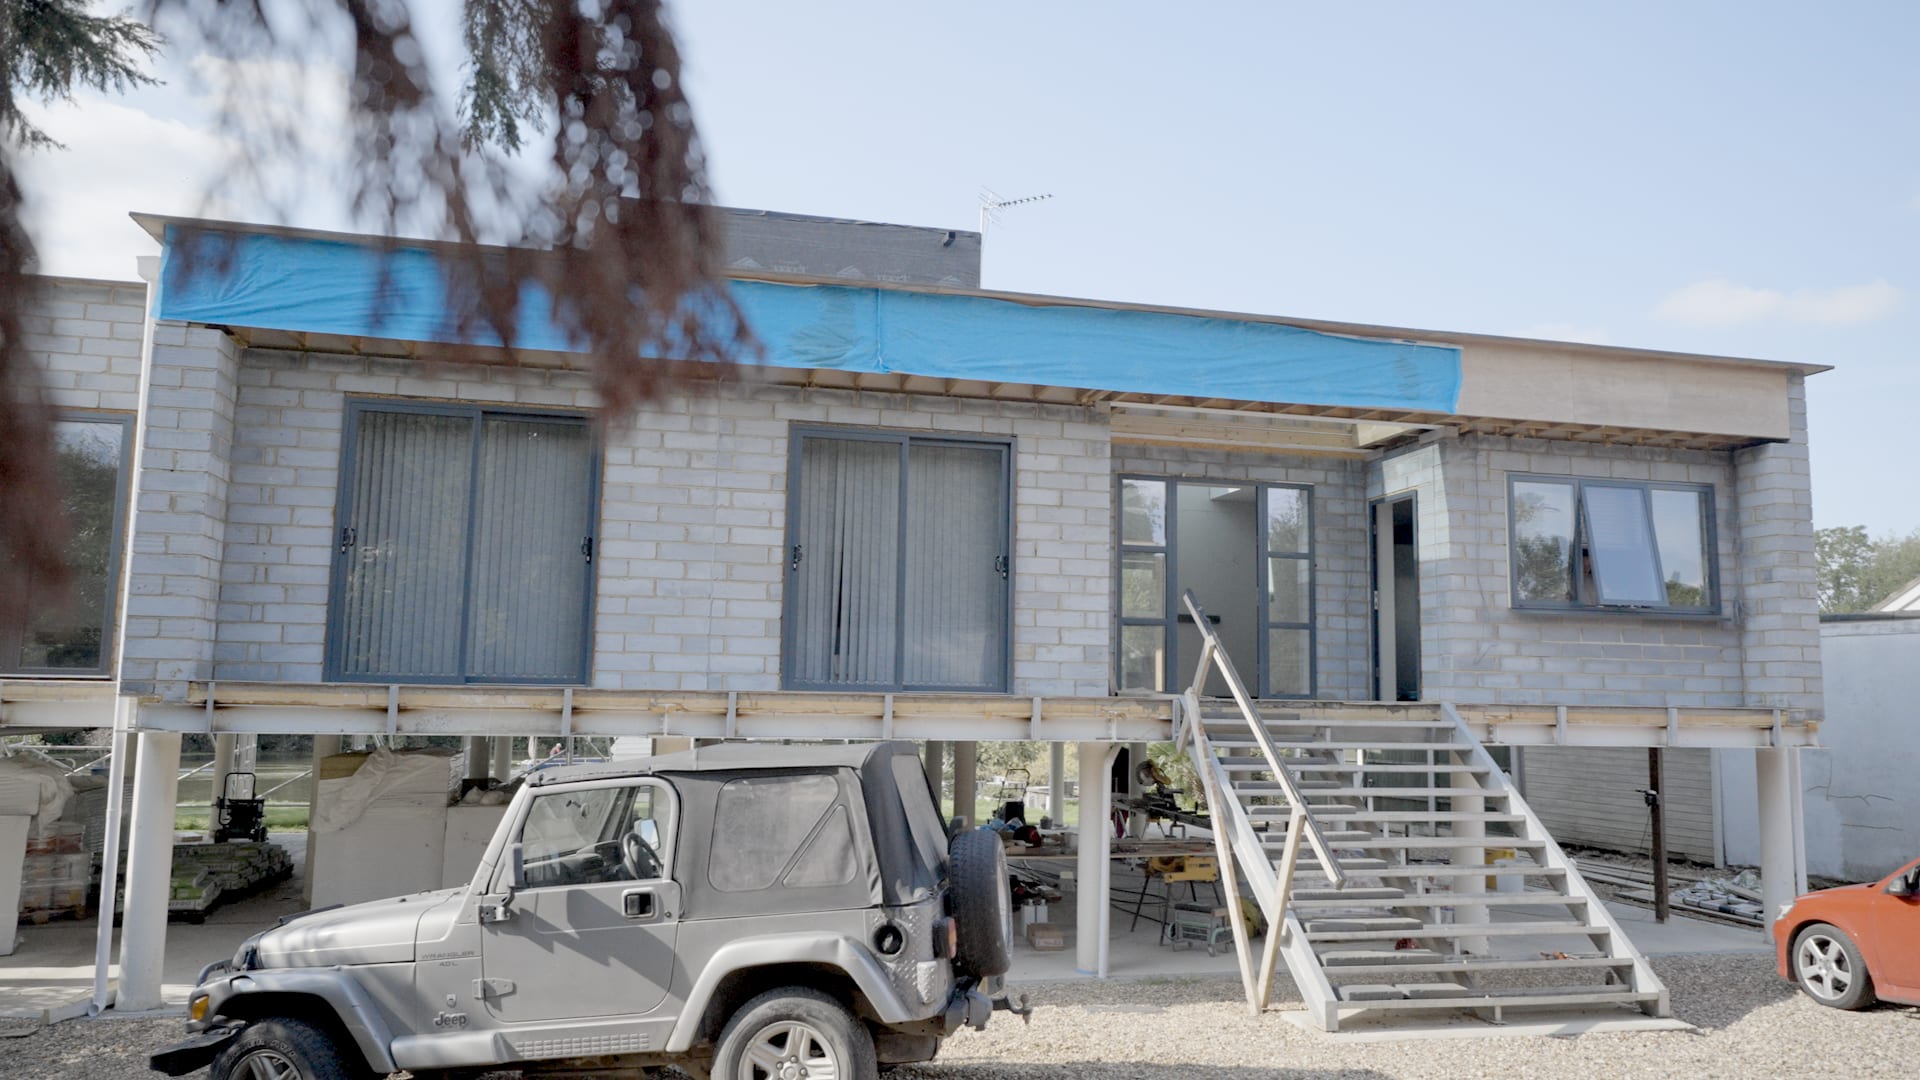
The property is located in Staines and constitutes very intriguing architectural features. Stilts elevate the house as a form of flood prevention; moreover, the aesthetic is striking. Read on below for the 'how' of installing our Mineral Wool.
How to install our Mineral Wool - First step
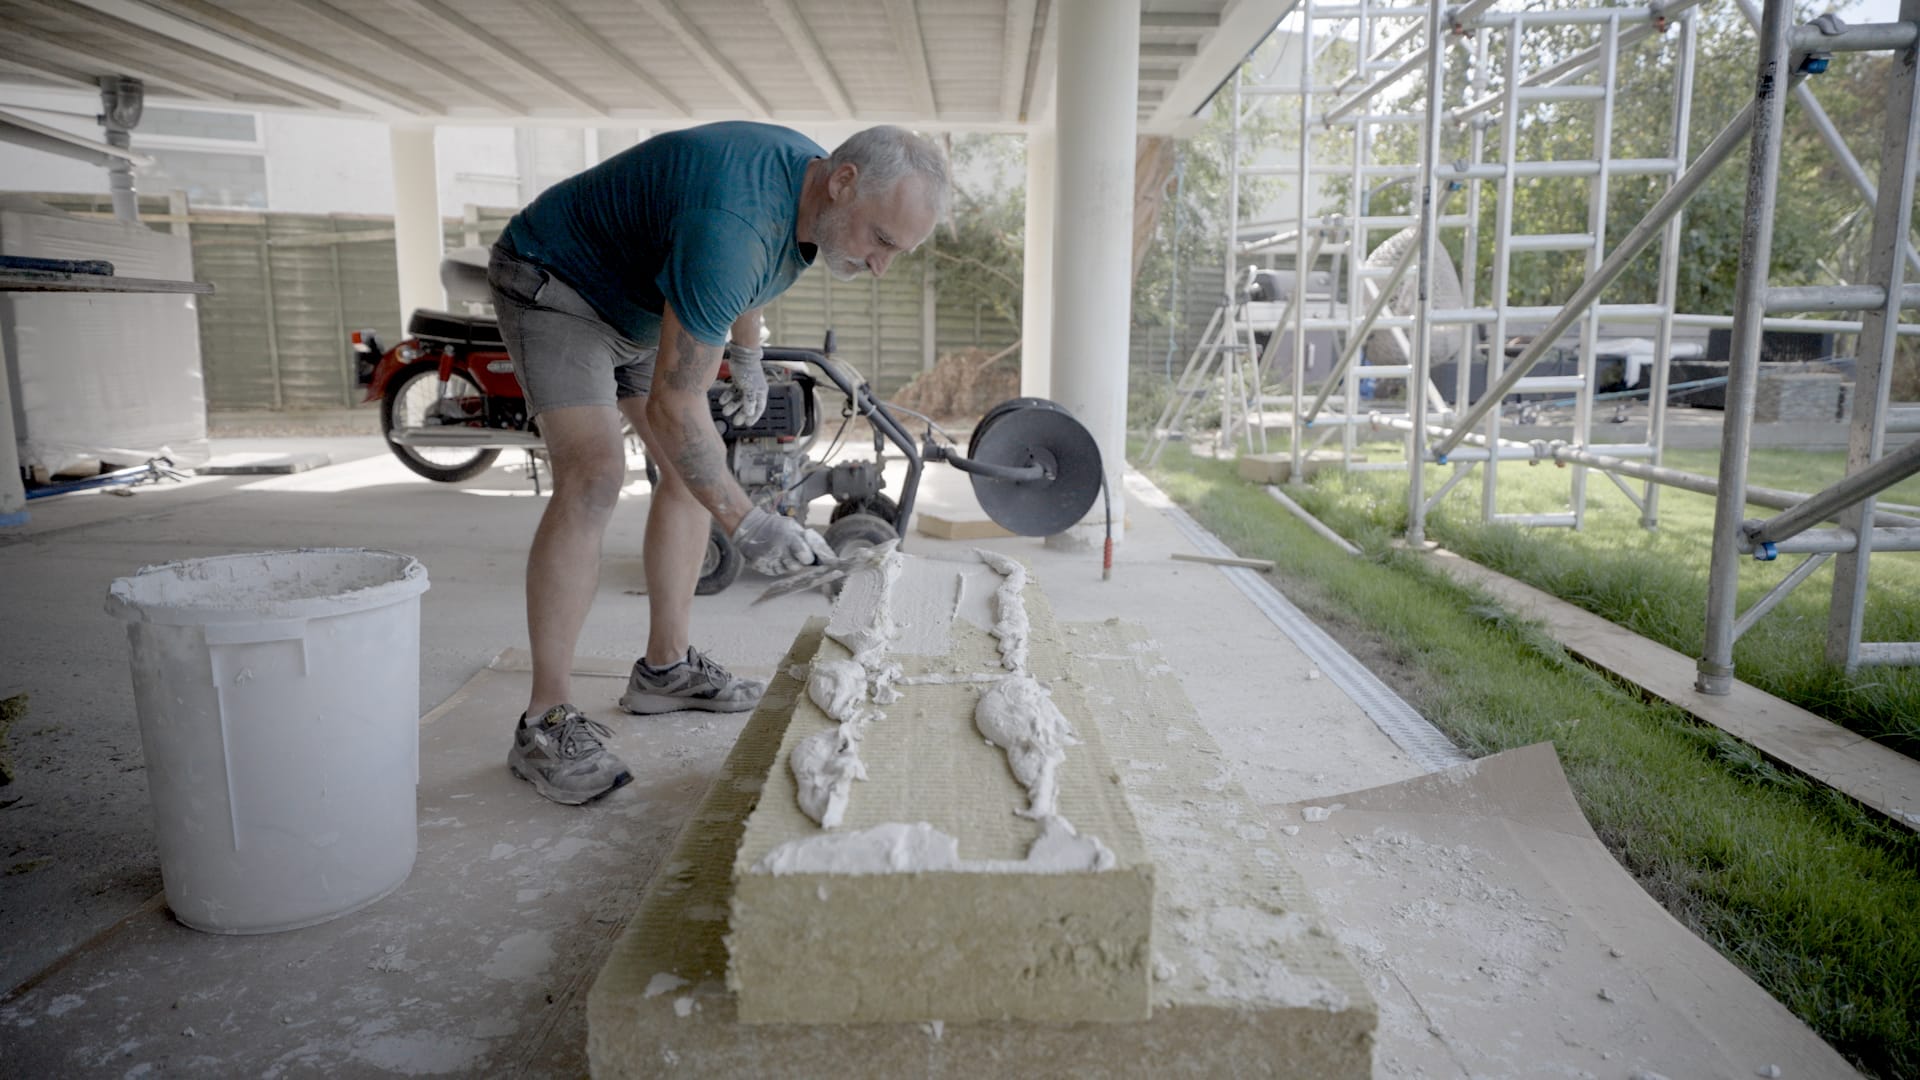
As seen in the photo above, the substrate is new blockwork. The whole building is a new build, with the previous structure knocked down. The first step in installing EWI is the application of a basecoat layer. Eugene chose to use EWI-225 Premium Basecoat, which doubles as an adhesive and basecoat. More importantly, EWI-225 is incredibly strong and can be used as adhesive for Mineral Wool, which is the heaviest of our insulation boards. When using Premium Basecoat for the basecoat layer, apply the basecoat using a 10mm notched trowel to the substrate. Then embed overlapping pieces of Fibreglass Mesh – the mesh should sit within the middle of the basecoat layer. Once embedded the basecoat layer should be 6mm in total.
When using Premium Basecoat for the adhesive, apply to the insulation boards in either a pattern around the edges of the board with three dabs in the middle, or as a solid surface smoothed with a notched trowel. Eugene chose to cover the whole board. Our Mineral Wool boards should then be stuck to the wall in a staggered pattern, promoting strength in the construction. Eugene used 120mm of Rockwool on his property, which would achieve a U-value of under 0.3W/(m2K).
Second step
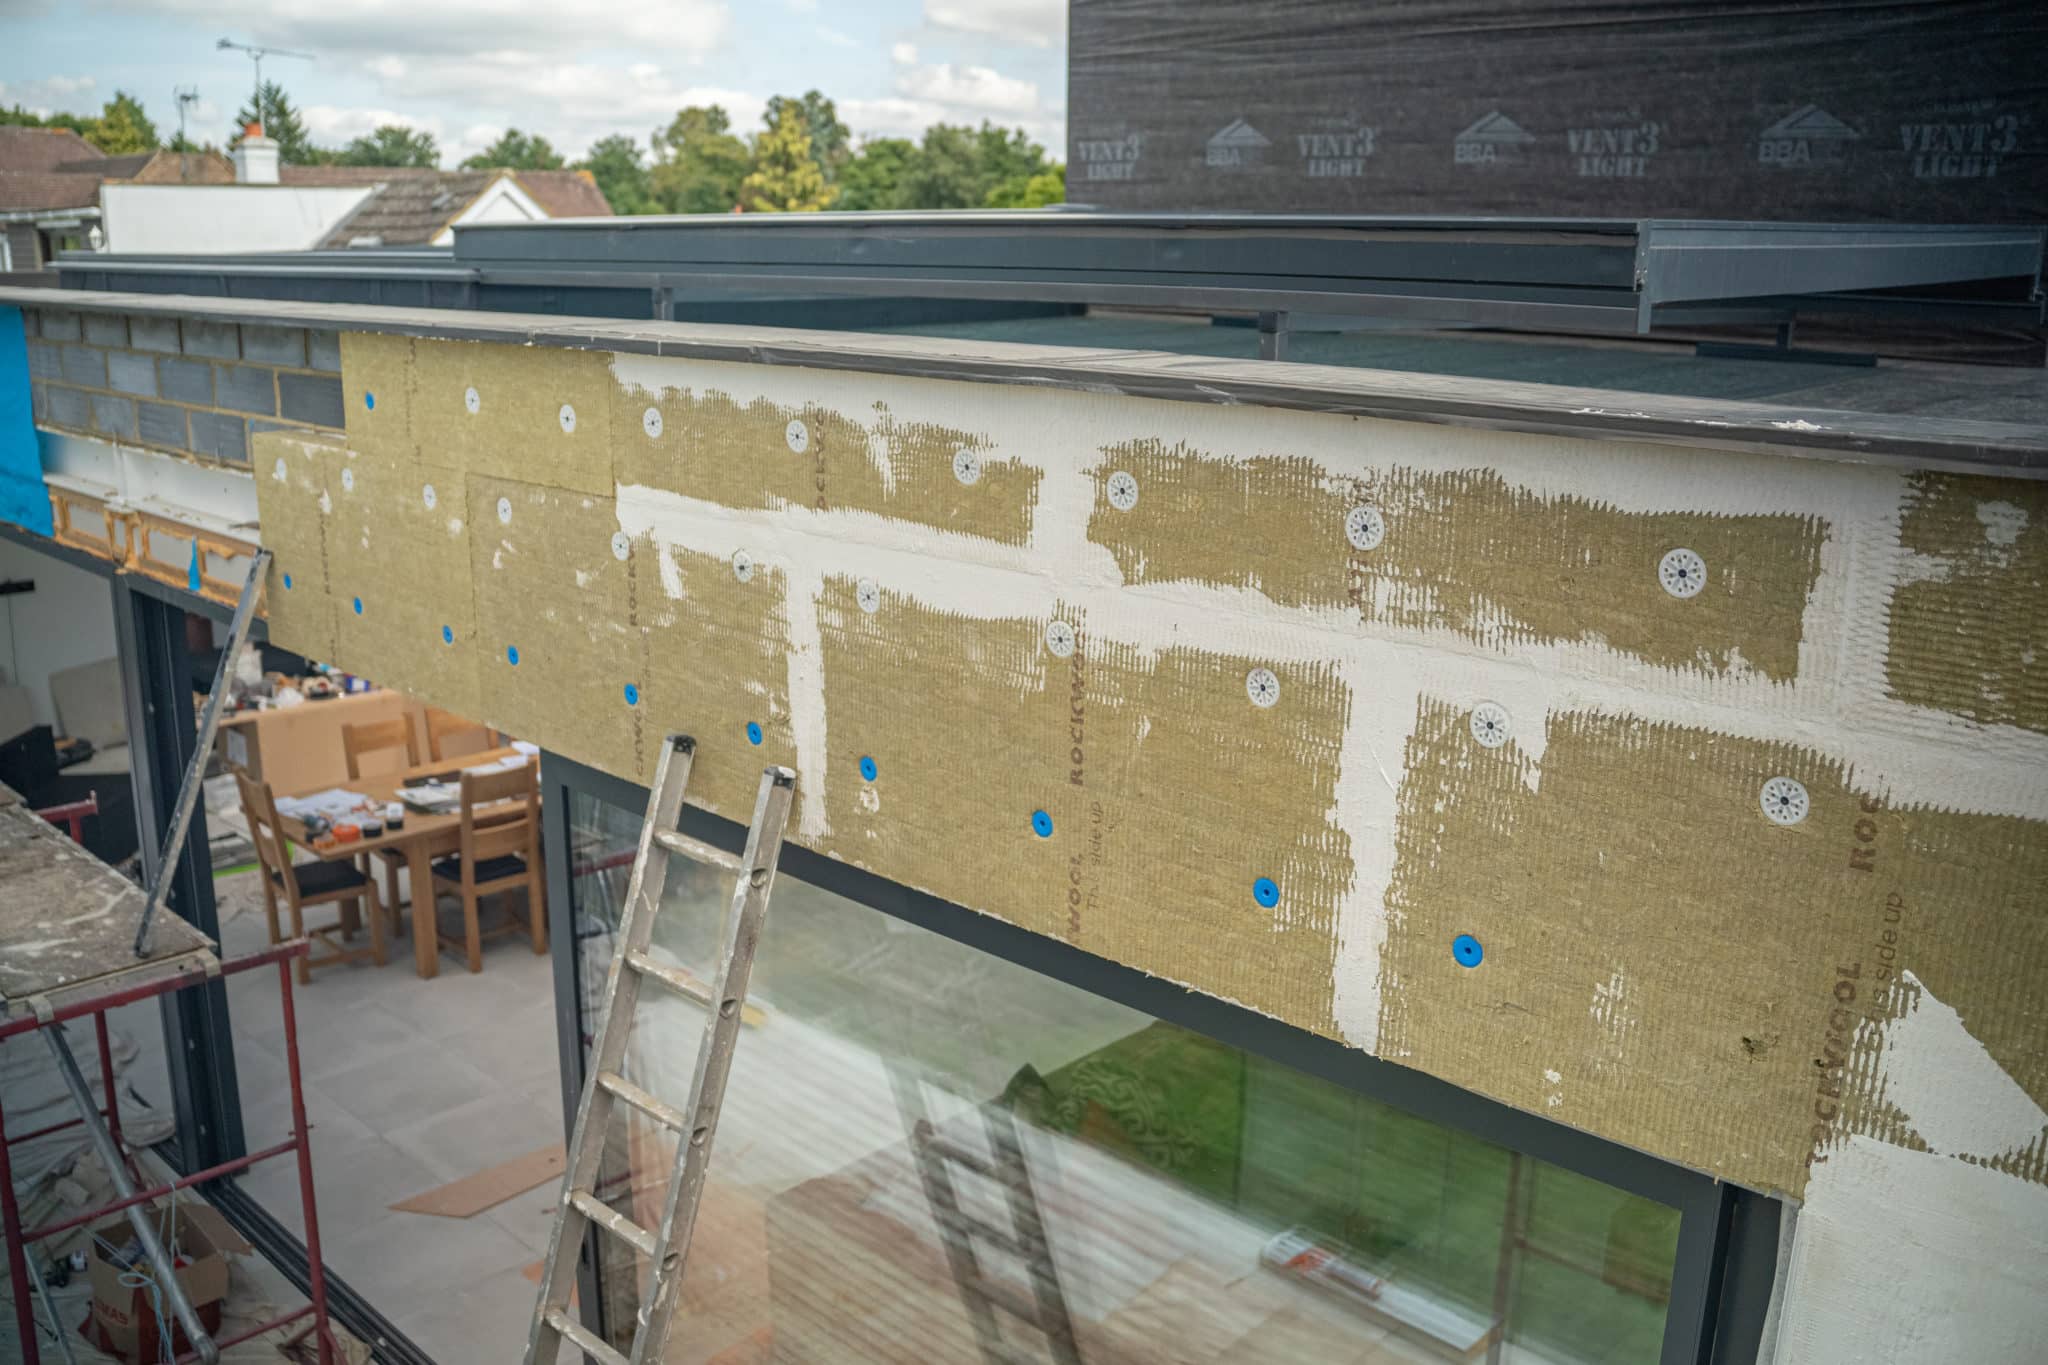
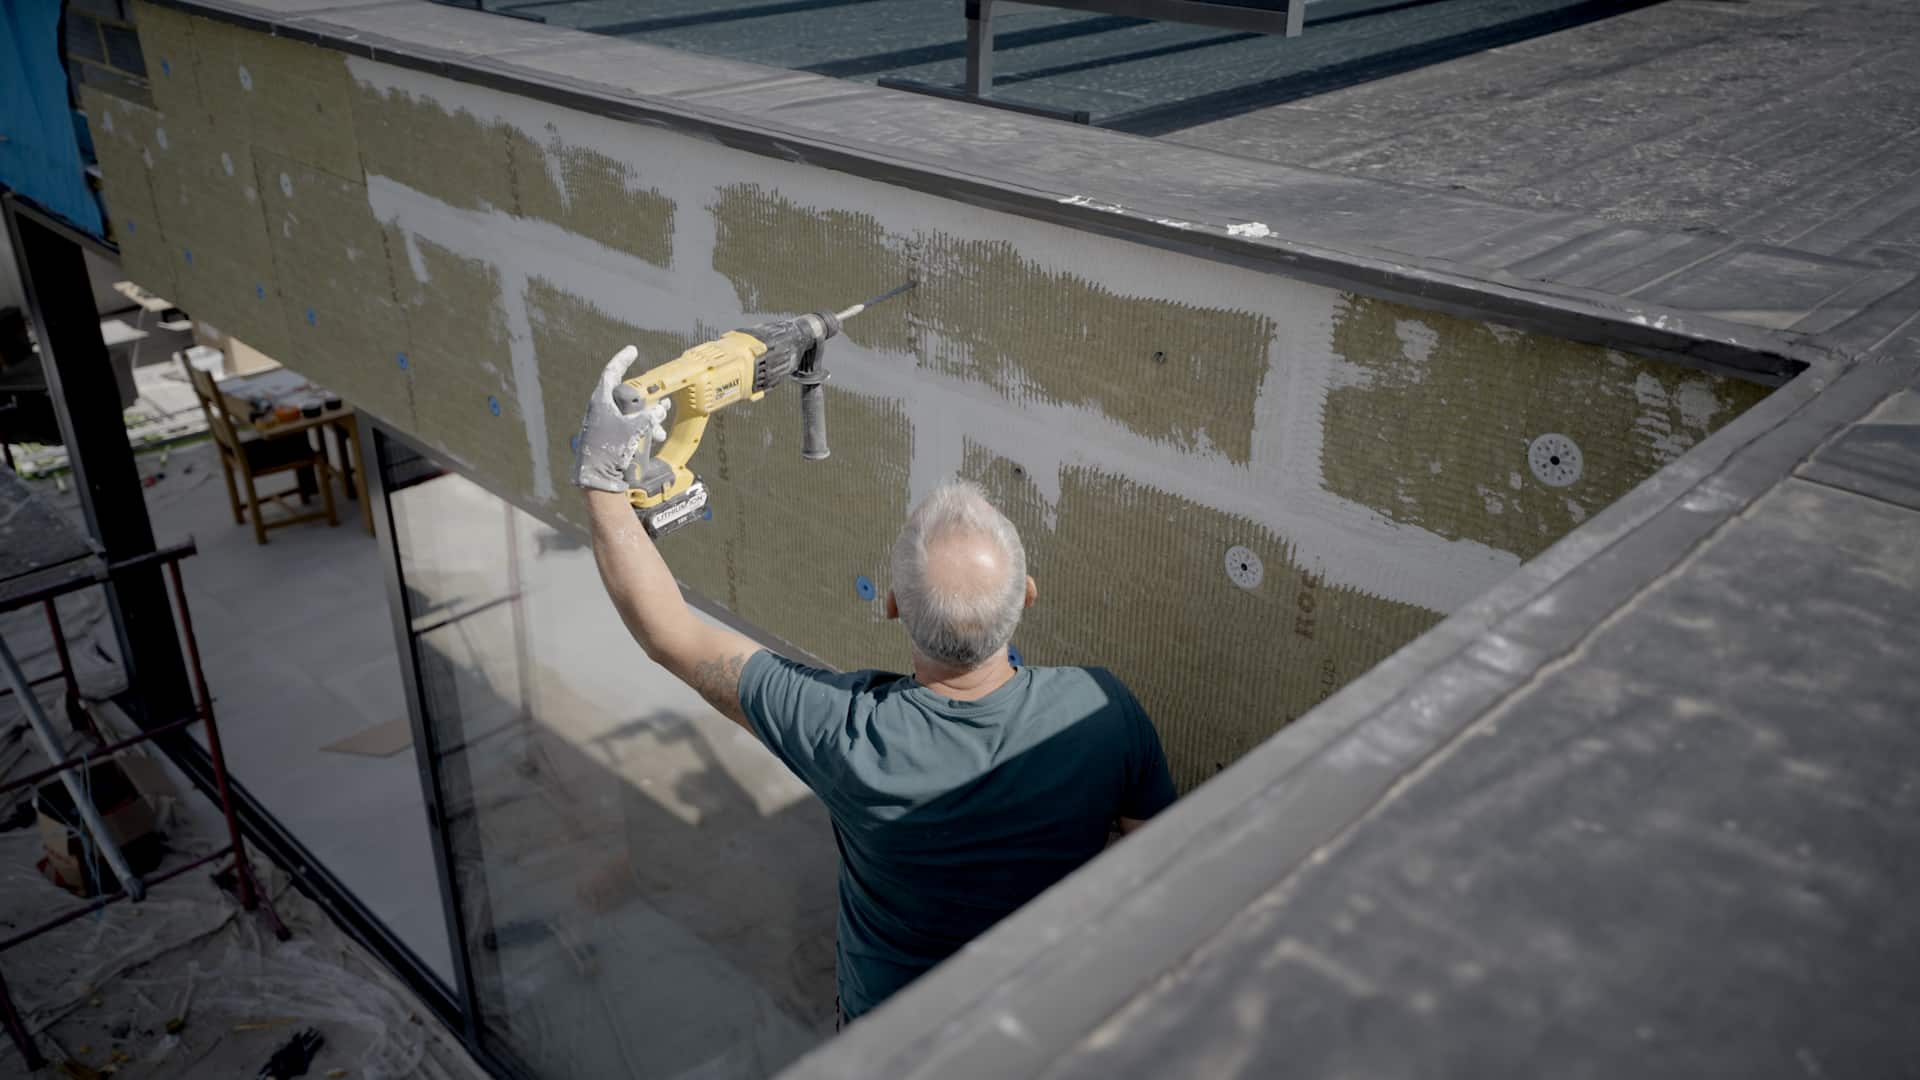
Mechanical fixings affix the boards alongside the Premium Basecoat. We would always recommend that both adhesive and fixings are part of every installation, especially in our Mineral Wool system due to the weight of the individual boards. Eugene has installed screw in fixings; we do also offer hammer in fixings. The distribution of fixings throughout each board is crucial to promote strength. The insulation boards are installed in a staggered pattern much like all brick and blockwork is. The starter track holds the insulation boards in place; Eugene chose to use aluminium starter track due to the weight of Mineral Wool, and the extended protection capabilities it provides. The clip on profile and movement beads are also installed in the first two stages. Mesh on the clip on profile, along with the UPVC material enhances the weatherproof capabilities.
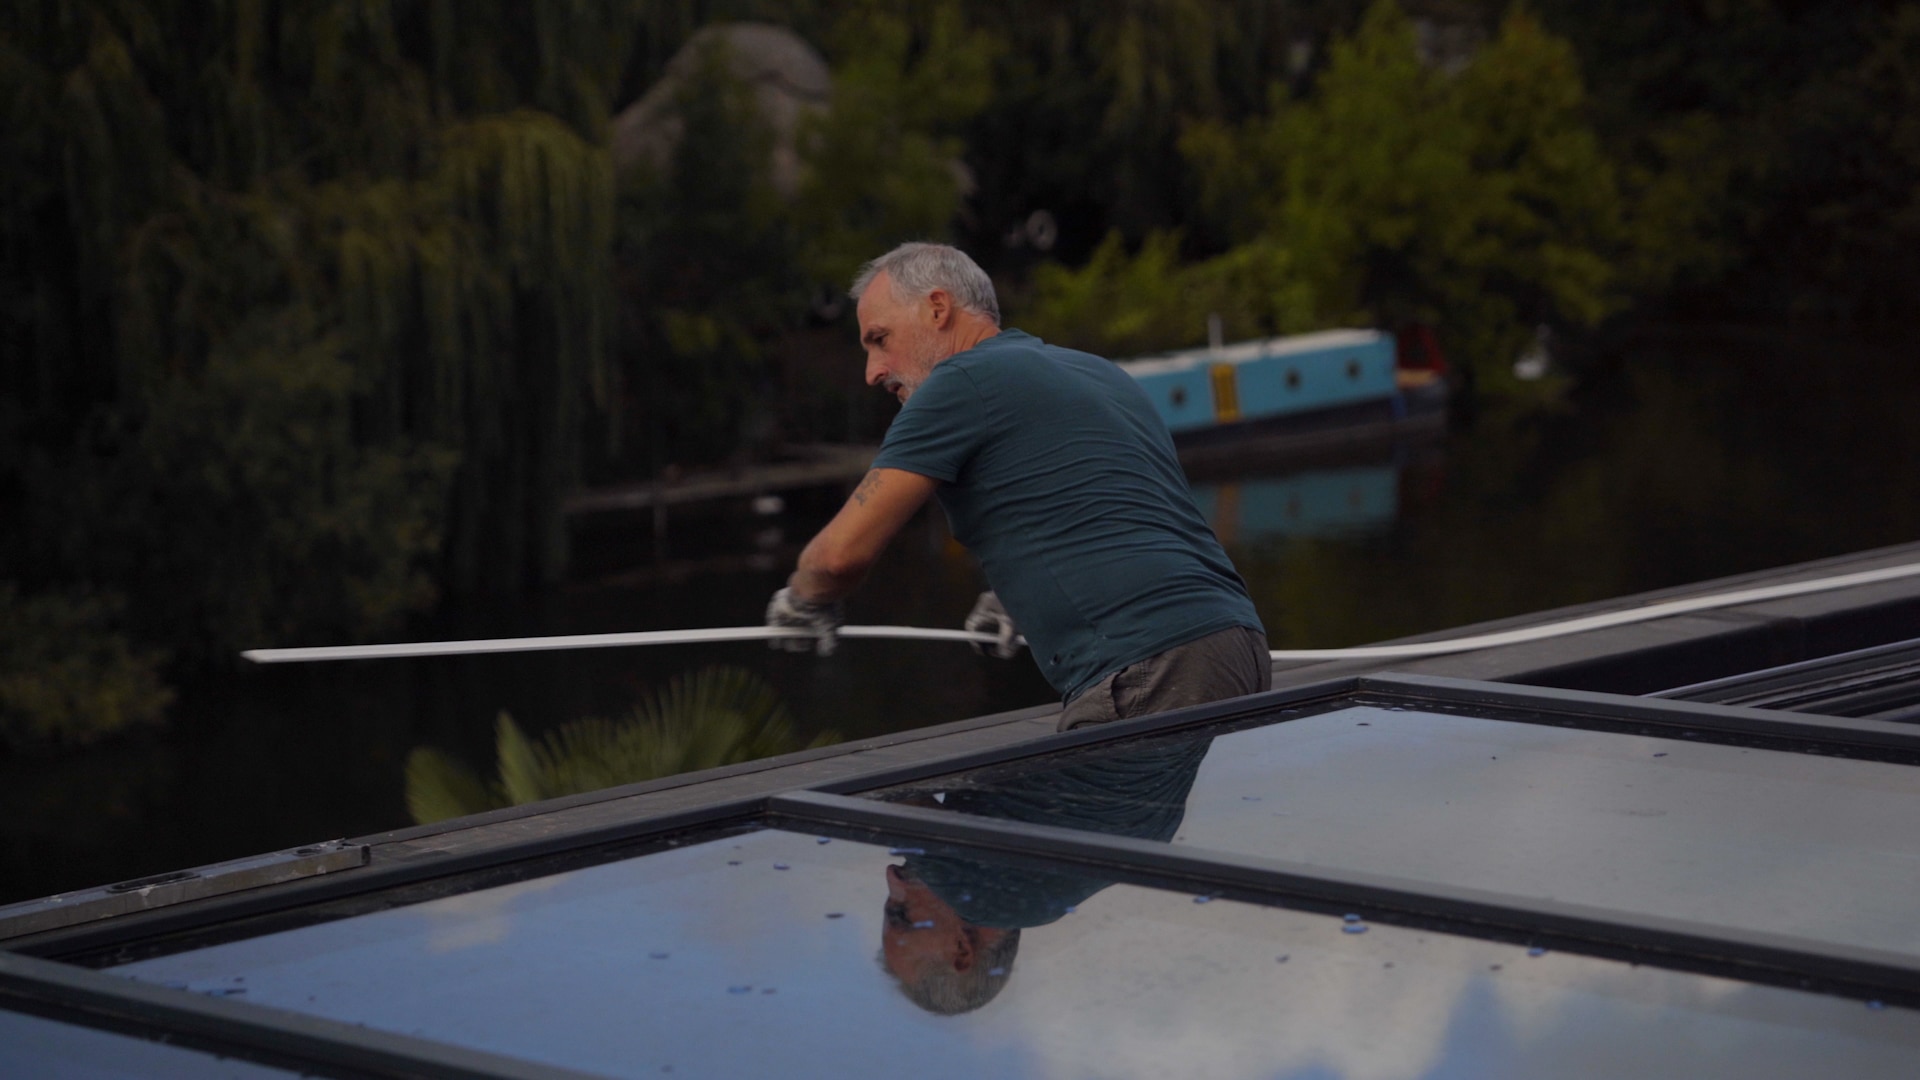
Third step
The third step in Eugene's install of our Mineral Wool system is the crucial basecoat and fibreglass mesh step. Again, Eugene used a notched trowel to apply the basecoat. When using Premium Basecoat for the basecoat layer, apply the basecoat using a 10mm notched trowel to the substrate. Then embed overlapping pieces of Fibreglass Mesh – the mesh should sit within the middle of the basecoat layer. Once embedded, the basecoat layer should be 6mm in total.
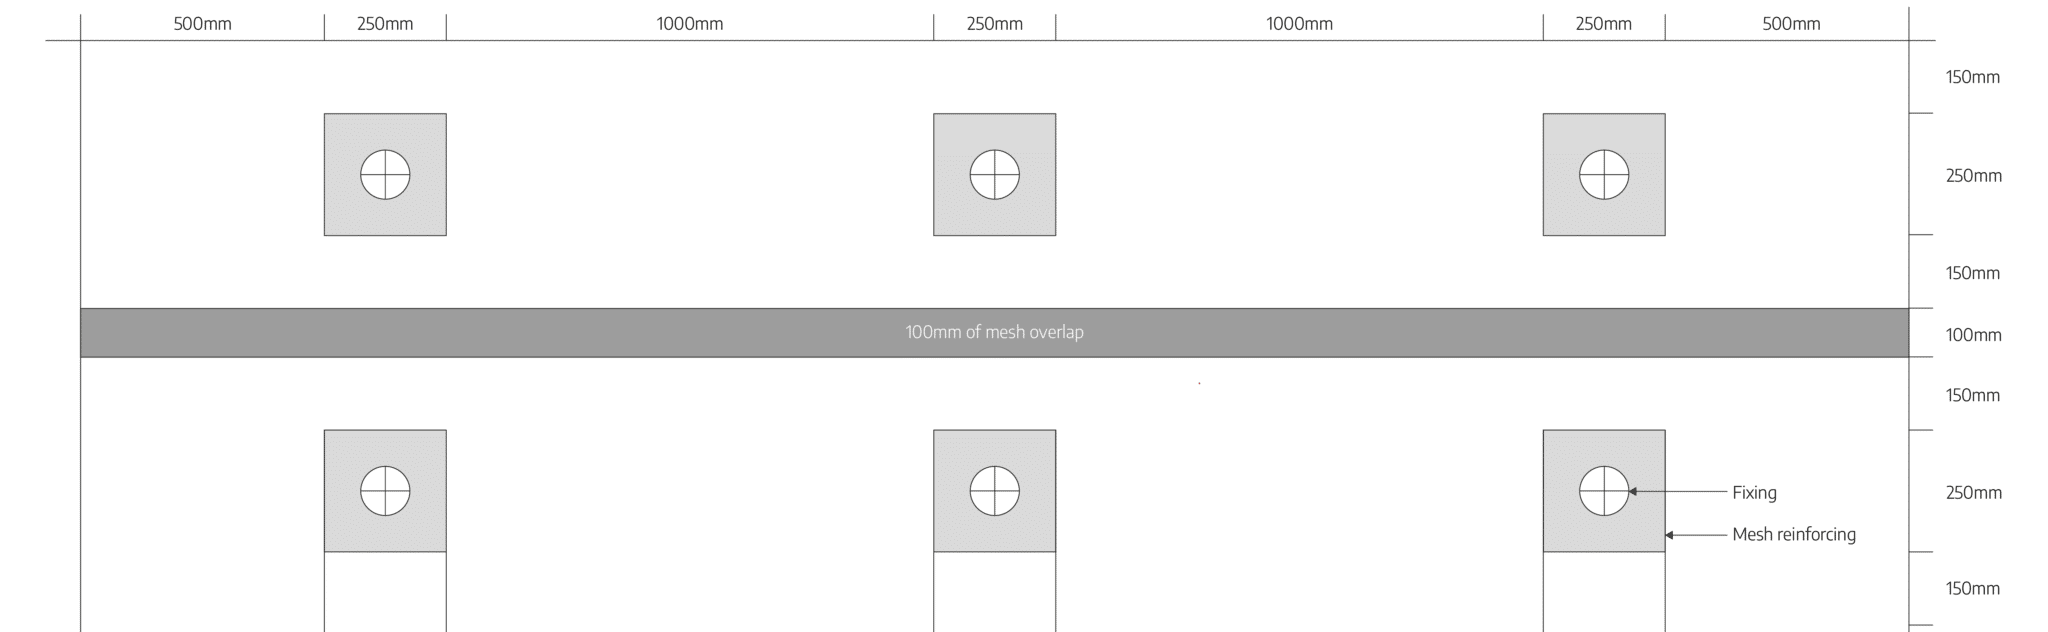
Stress patches of fibreglass mesh are also crucial to install around the fixings and around window reveals. The black marker on the fibreglass mesh indicates the overlap required. The combination of our Premium Basecoat and Fibreglass Mesh results in a smooth finish, high in tensile strength, which is ready to receive a layer of thin coat render.
Fourth step
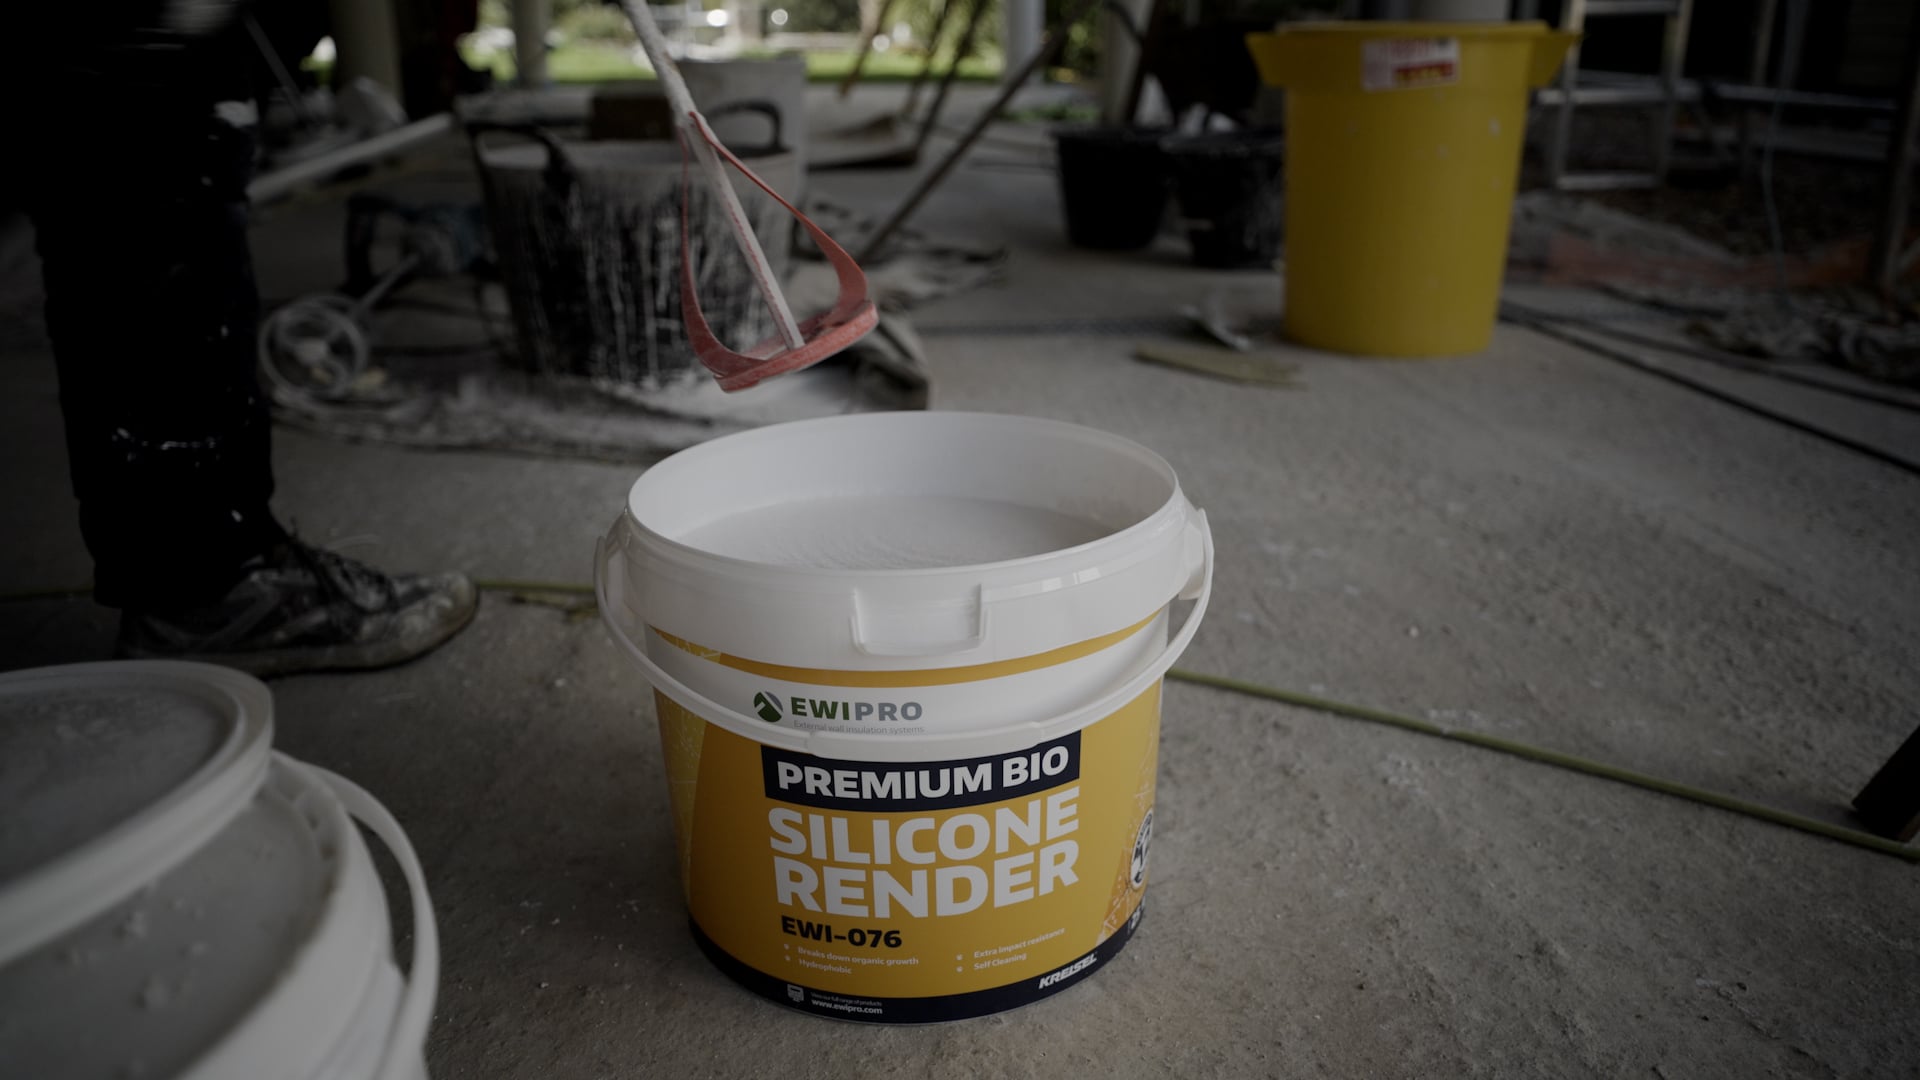
The final step in the process of installing our Mineral Wool system is the application of the thin coat render or 'topcoat'. Topcoat tends to be a fairly broad term for describing the final finish on a façade, and there are various options. We stock a range of silicone renders and Monocouche Render, as well as Acrylic and Mineral renders. Eugene has used our Premium Bio Silicone Render in 20001 Pure White, which is our most popular finish.
Premium Bio Silicone Render is the most progressive render in the EWI Pro catalogue, offering end-users an advanced range of benefits. What really sets this render apart is its ability to actively break down any sign of organic growth that occurs on the render surface. Premium Bio Silicone offers an enhanced level of impact resistance, especially when used with a fibreglass mesh-reinforced basecoat layer. It also offers increased resistance to UV rays, which means that the coloured render will not fade over time; even the brightest of colours will stay vibrant for years to come! As the property is located on the banks of a river, Premium Bio Silicone Render will actively break down any signs of organic growth which the house will be more susceptible to.
Fourth step - Application stage
Eugene used our Topcoat Primer prior to applying render. This provides several benefits; firstly it aids adhesion between the render and the basecoat. Secondly it limits the absorption of the basecoat layer, ensuring the render cures properly – this is especially important during the summer months, giving the installer time to get a finish on the render. Finally, we can tint the Topcoat Primer in the same colour as the render. This ensures that there is no basecoat bleed through.
Eugene applied the Topcoat Primer with a simple paint roller. However, application of the Silicone Render is done with a smooth trowel. It should be applied in small areas, and smoothed with a trowel. Then, use a plastic float to apply the render in a circular motion to achieve your desired finish. We have recently teamed up with Skill Builder to compile a guide video detailing how to install a whole EWI system. The Silicone Render portion starts at 16:58 of the below video. Roger and our very own Paul detail certain techniques to follow during the application of your Silicone Render.
Eugene followed the same process as detailed above, and as you can see in the images below!
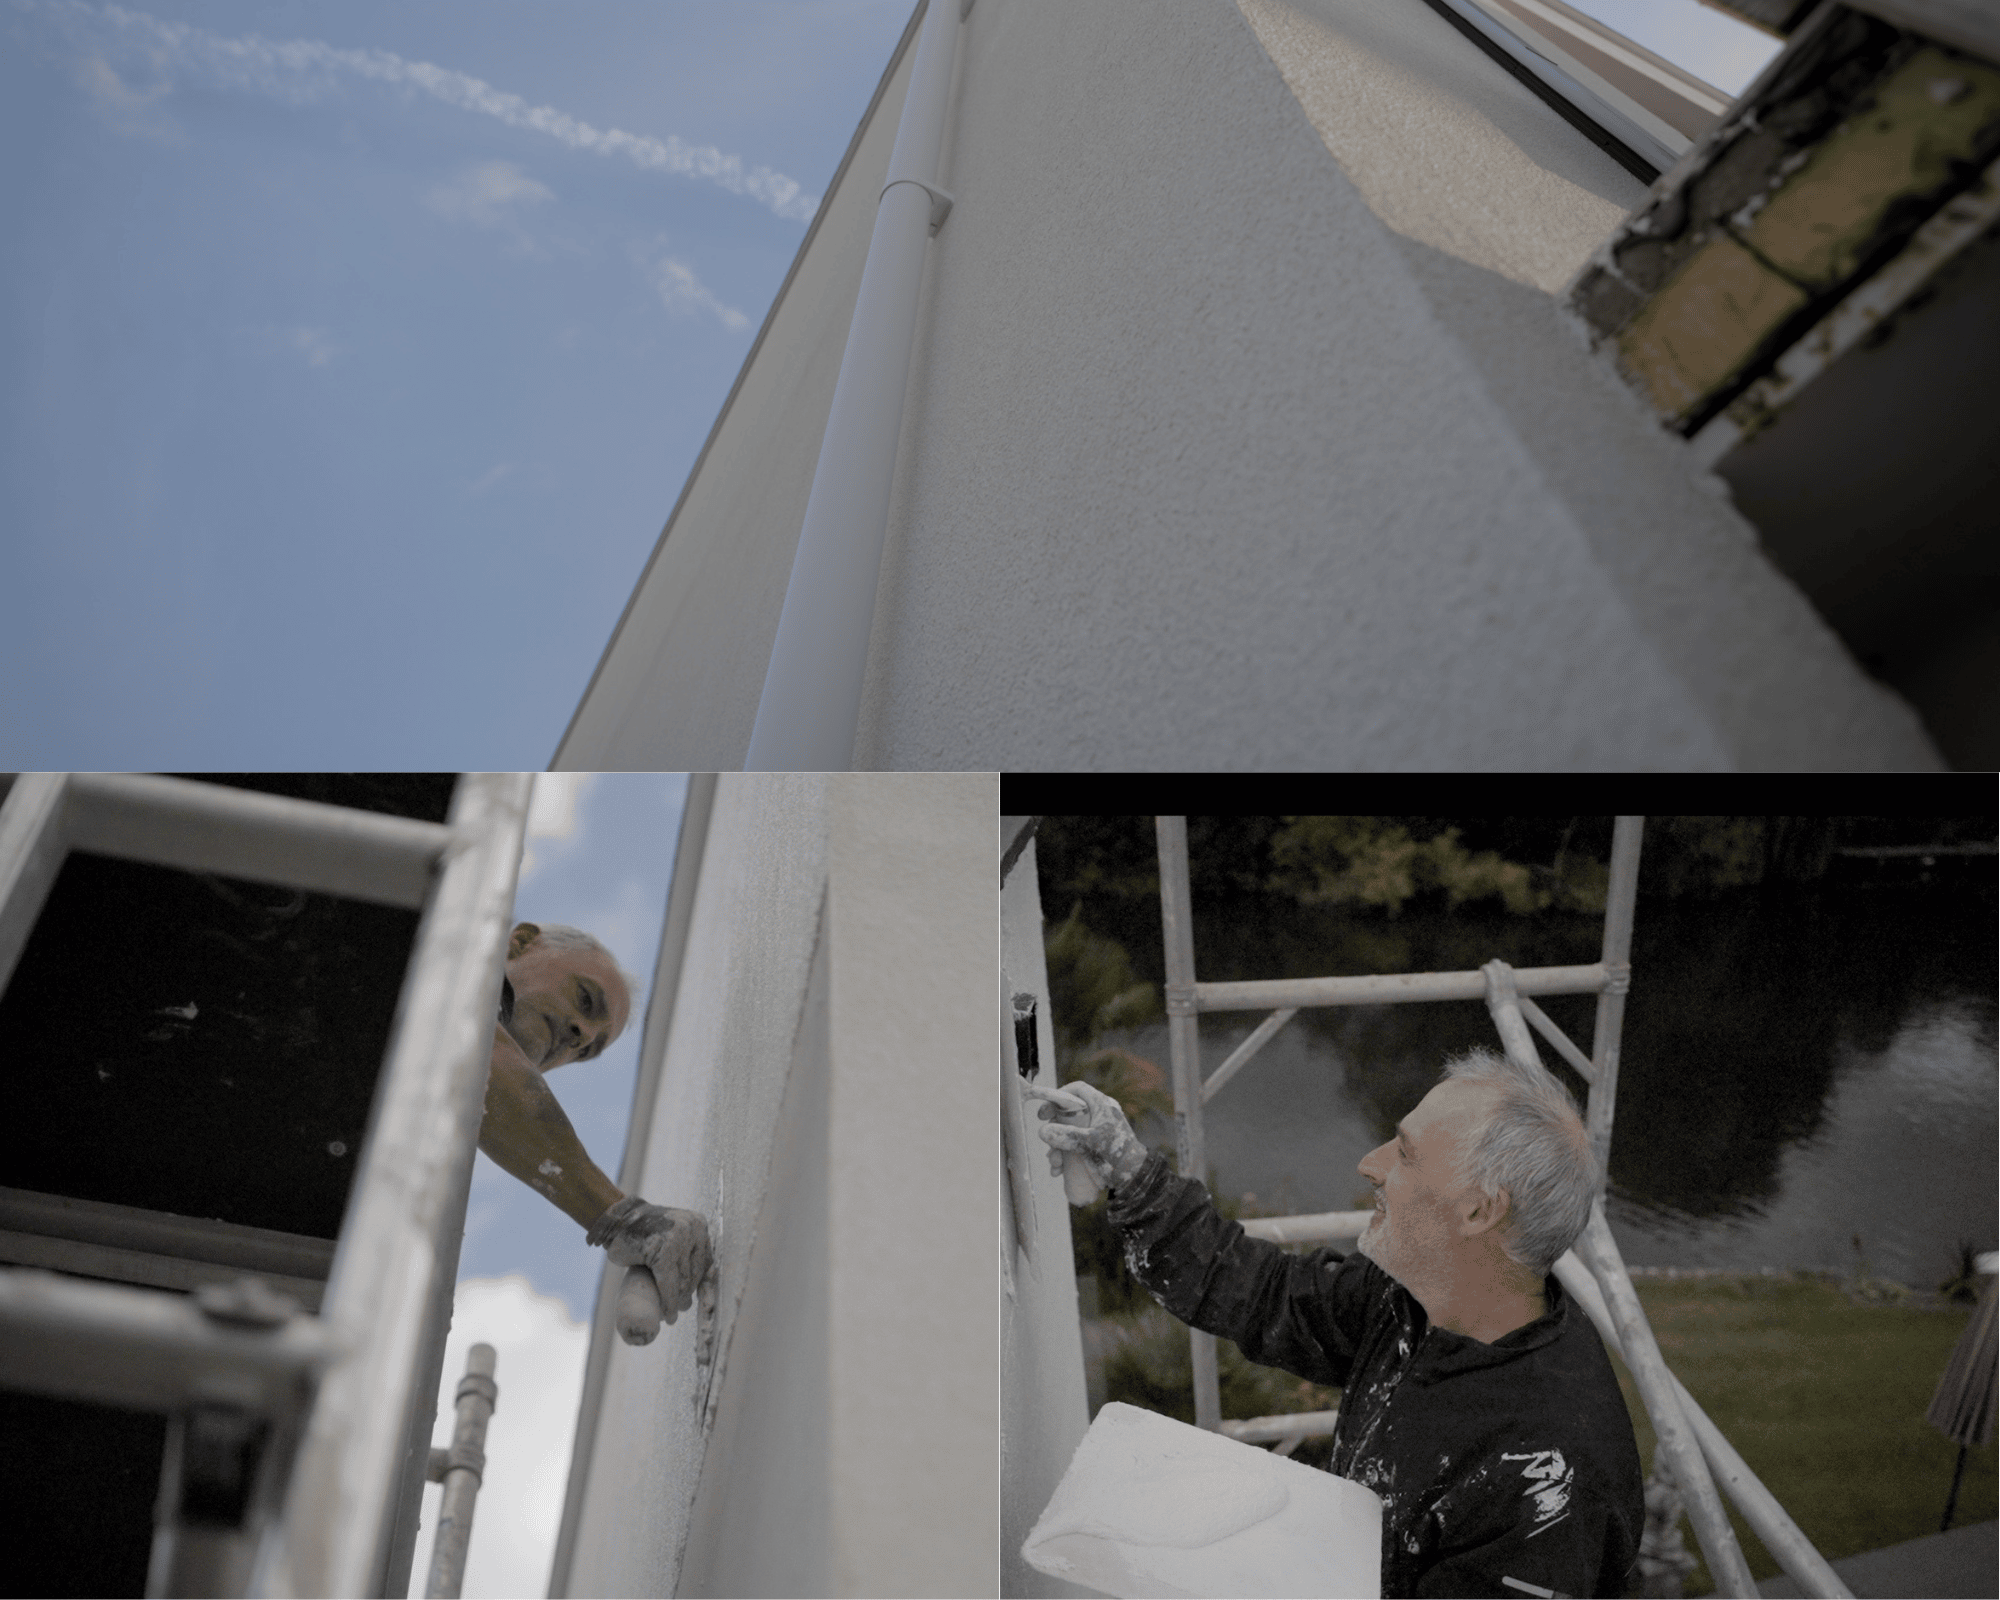
The result is an incredibly smooth and consistent finish, creating a visually impressive envelope for Eugene's property. This neatly summarises the stages of how to install our Mineral Wool system.
Final thoughts
Eugene collaborated extensively with EWI Pro's Business Development Team in regards to figuring out a plan for the property. His testimonial is below!
We'd also like to take this opportunity to thank him for allowing us the opportunity to film the process of his project. It's a fantastic testament to him, the Training Academy, and our products.
If you have a project in the planning stages or ongoing, and require any advice, give our sales team a call. We would also love to see our products and systems being used, so get in touch with the Marketing Team via Instagram, Facebook, Twitter, or email us at marketing@ewistore.co.uk!