

When rendering a wall, the process involves applying a mixture of sand, cement, and sometimes lime, onto a surface. This coating serves several functions. It provides an attractive finish to an otherwise bare or unappealing wall, improves weather resistance, and increases thermal performance. Generally, it's advisable to render in the late spring or early summer, when temperatures are moderate. However, many factors affect the render drying process. These factors go a long way in determining what the best time to render is.
Process of rendering
Since most of our renders are thin coat renders, the thickness of the topcoat depends on the grain size of the render. Our EWI-075 silicone render is our most popular render when used in conjunction with render carrier boards and the available grain sizes are 1mm, 1.5mm, 2mm and 3mm. For reference, if you were to purchase the 2mm Silicone Render, your topcoat should be applied no thicker than 2mm.
Before you begin, remove any existing paint, dirt, or loose render from the wall using a pressure washer or a stiff brush. The surface needs to be as clean as possible to allow the new render to adhere properly. If there are any larger cracks or damage to the wall, these should be repaired first.
Render should be applied using a trowel; any excess render should always be removed. Use a plastic float to apply the render in a circular motion for your desired finish.
Monocouche Scratch Render
We do stock Monocouche Scratch Render which has a slightly different process; despite being called 'monocouche' which translates to 'one-pass', the coat is applied in two coats. Firstly, to a total depth of 10mm, avoid rendering monocouche below the DPC or within 150mm of ground level. Apply the first pass with a stainless steel trowel or spray pump. Embed fibreglass mesh in the first pass, then use a scarifier to create a mechanical key. Following the mesh application, apply the second pass of monocouche render to a thickness of 8mm. Typically this is applied the next day. Once the monocouche render has nearly dried, it should be scratched back 2mm to give the final finish and a thickness of 6mm. Drying time varies depending on weather conditions. The total thickness of the finished monocouche render is approximately 16mm (10mm first pass and 6mm on the second pass).

Temperature
The hydration process, where water chemically combines with the cement, is critical for the render to set and harden properly. This process generates heat, which can be problematic if the temperatures are already high. Above 30°C, the rapid evaporation of water can cause the render to shrink and form cracks. Conversely, in cold weather below 5°C, the hydration process slows down or even stops, resulting in a weaker render that may not fully adhere to the wall. The water in the render could also freeze and expand, causing cracks. Therefore, maintaining a moderate, steady temperature is key for successful application and curing.
Humidity and rain
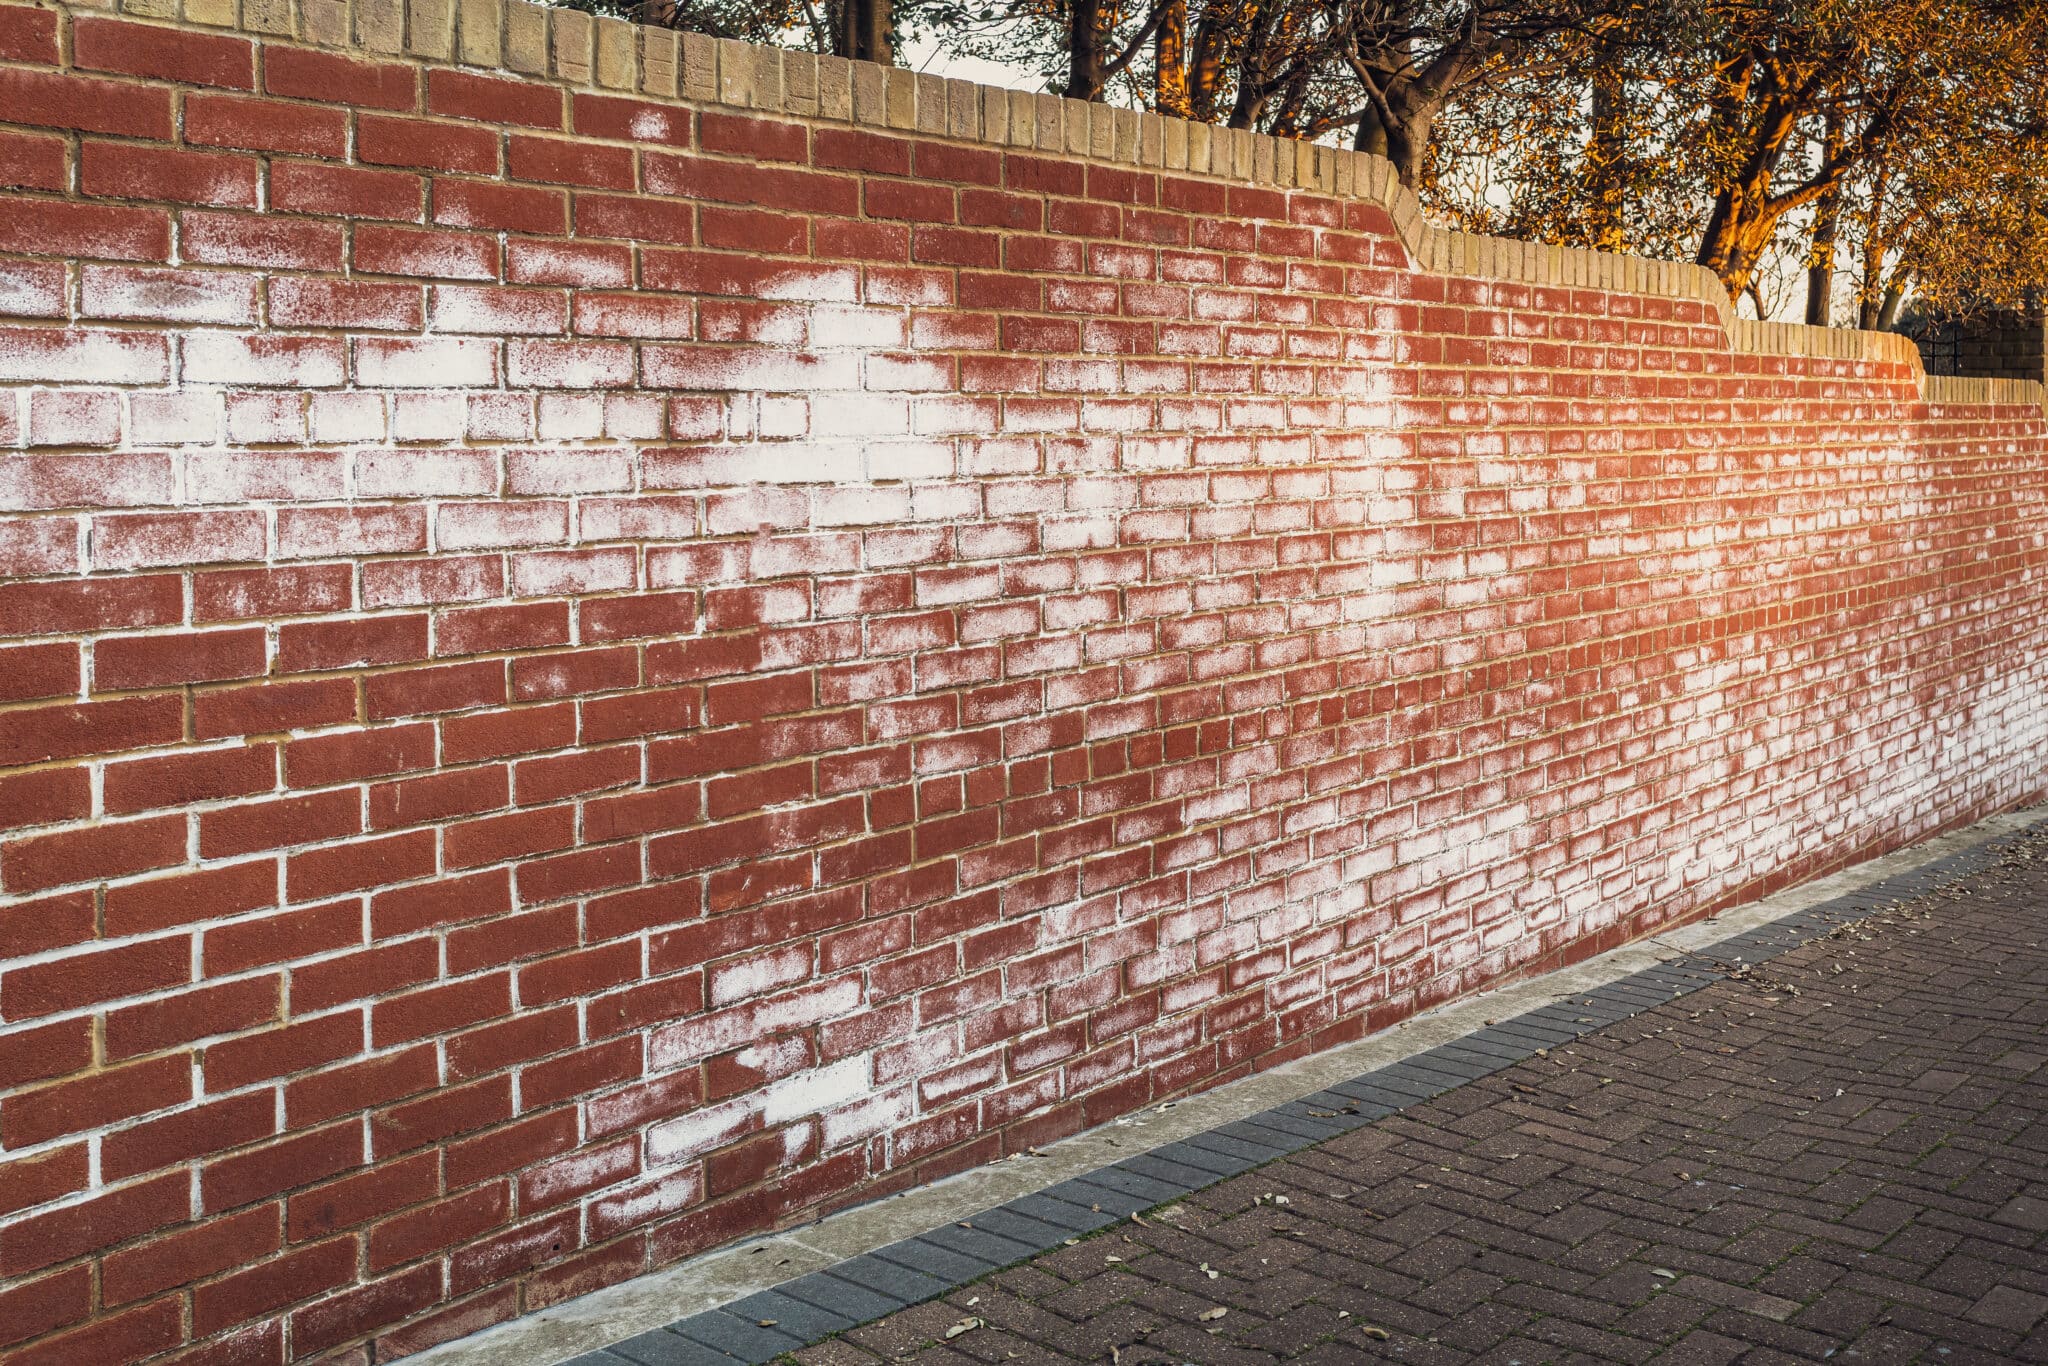
High levels of humidity can slow down the drying time of the render. This prolonged damp state can compromise the bonding between the render and the wall. Furthermore, it can encourage the growth of mould and mildew, leading to health issues and possible structural damage. Rain poses a similar threat, as it can wash off the freshly applied render or seep into it. Once the rainwater evaporates, salts from the cement might crystallise, leading to efflorescence—a white powdery substance that spoils the finish.
Frost
When the temperature drops below the freezing point, the water within the render can freeze into ice crystals. As water freezes, it expands by approximately 9%, and this expansion exerts pressure on the surrounding material, leading to cracks in the render. These cracks can then allow more moisture in, which will also freeze and expand, creating a cycle of damage. This is called the freeze-thaw cycle which can be damaging visually and structurally. To avoid this, rendering should ideally not be done when there's a risk of frost.
Sunlight
Direct sunlight, especially in peak hours, can lead to rapid drying of the render. This creates a layer of dry render on the surface while the underlying layer is still wet. As a result, the finish is uneven. The outer layer may also shrink faster than the inner one, leading to tension that results in cracks. To mitigate this, one can render early in the morning or late in the afternoon, or work on the shaded side of the building when the sun is at its strongest. Our installers will tend to start to work incredibly early (sometimes 5 am) to beat the strongest sunlight.
Wind
Strong winds can have two detrimental effects on the rendering process. First, they can speed up the drying of the render, similar to high temperatures and direct sunlight, leading to cracking. Second, winds can carry dust, debris, and other particles that can stick to the fresh render, affecting its finish and potentially disrupting its adhesion to the wall. It may be best to delay rendering if the wind speed is high.
So when is the best time to render?
In summary, the best time to render would be a moderate, consistent temperature, low humidity, no rain or frost, minimal wind, and indirect sunlight. Achieving these conditions may not always be possible, but understanding their impact allows for better planning and potentially improved outcomes. It's also worth noting that there are additives and specific mixtures available that can make render more resilient to these environmental factors.
Given the current weather and time of year, right now is a great time to render! If you are looking to render your home, leave us a comment below. Alternatively, leave any questions and we'll do our best to answer.