When upgrading your home’s energy efficiency, insulating below the damp proof course (DPC) is an essential yet often overlooked step. This part of the building can be a key source of thermal bridging and heat loss, especially in older properties. In this guide, we’ll break down why insulating below the DPC matters, and more importantly, what materials you’ll need to get the job done properly.
What Is the Damp Proof Course (DPC)?
The DPC is a horizontal barrier built into the walls of a property, typically installed at least 150mm above ground level. It prevents rising damp, when moisture from the ground is drawn into the brickwork or masonry.
Materials commonly used for DPCs include:
-
Plastic sheeting
-
Bitumen felt
-
Slate (in older buildings)
Why Insulate Below the DPC?
Although the DPC blocks moisture, it doesn’t address thermal bridging at the base of external walls. This can lead to:
-
Cold spots
-
Heat loss
-
Increased condensation risk
By insulating below the DPC, you:
-
Improve energy efficiency
-
Reduce heating bills
-
Protect the fabric of the building
The key to success lies in using moisture-resistant, breathable materials and following the correct process.
Materials Required for Insulating Below the DPC
Here’s a step-by-step look at the materials you’ll need, from surface prep to final render:
1. Primer for Substrate Preparation
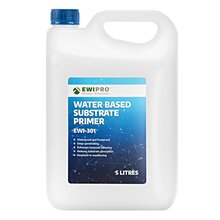
EWI-301 Water-Based Primer
-
Ideal for porous surfaces like brick or block
-
Seals the surface for better adhesive bonding
-
Easy to apply with a brush or roller
Alternative:
-
Use EWI-310 Universal Primer for smooth, non-porous surfaces (contains aggregate for grip)
Coverage: A 5L container will cover approximately 16.67 to 100 m², depending on the substrate's texture and absorbency.
Drying Time: 2-4 hours
2. Adhesive / Basecoat
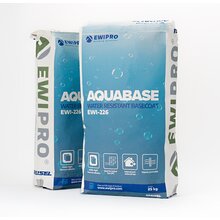
EWI-226 Aquabase
-
Highly water-resistant
-
Breathable formulation
-
Dual-purpose: can be used as both an adhesive and a basecoat
Application: Apply to the back of insulation boards with a notched trowel
Coverage: 25kg bag covers 4–5m²
Drying Time: 12–48 hours, depending on weather conditions
3. XPS Insulation Boards
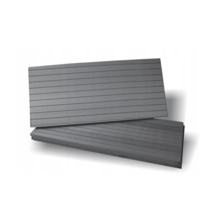
Extruded Polystyrene (XPS) is the go-to choice for below DPC insulation due to its:
-
Closed-cell structure (excellent moisture resistance)
-
High compressive strength
-
Durability
Recommended thickness: 110mm (to meet Building Regulations for solid wall properties)
Coverage: Sold per m²
Note: XPS should only be used below the DPC as its low permeability makes it unsuitable higher up the wall.
4. Fixings
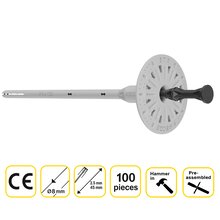
Plastic Pin Fixings
-
Reduce thermal bridging
-
Suitable for use with XPS
-
Should be installed through the adhesive and into the substrate
Fixing pattern: 1 in each corner, plus 2 in the centre of the board (6 total per board)
5. Render Beads
uPVC Beading
-
Reinforces external corners and edges
-
Helps shape and strengthen reveals and terminations
-
Embedded into the basecoat for long-lasting protection
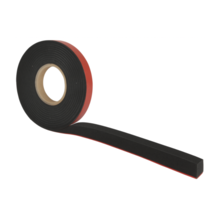
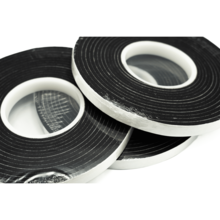
Optional: Use expanding foam tape between the starter track and top of the XPS boards to reduce condensation and draughts.
6. Basecoat Layer (Second Pass)
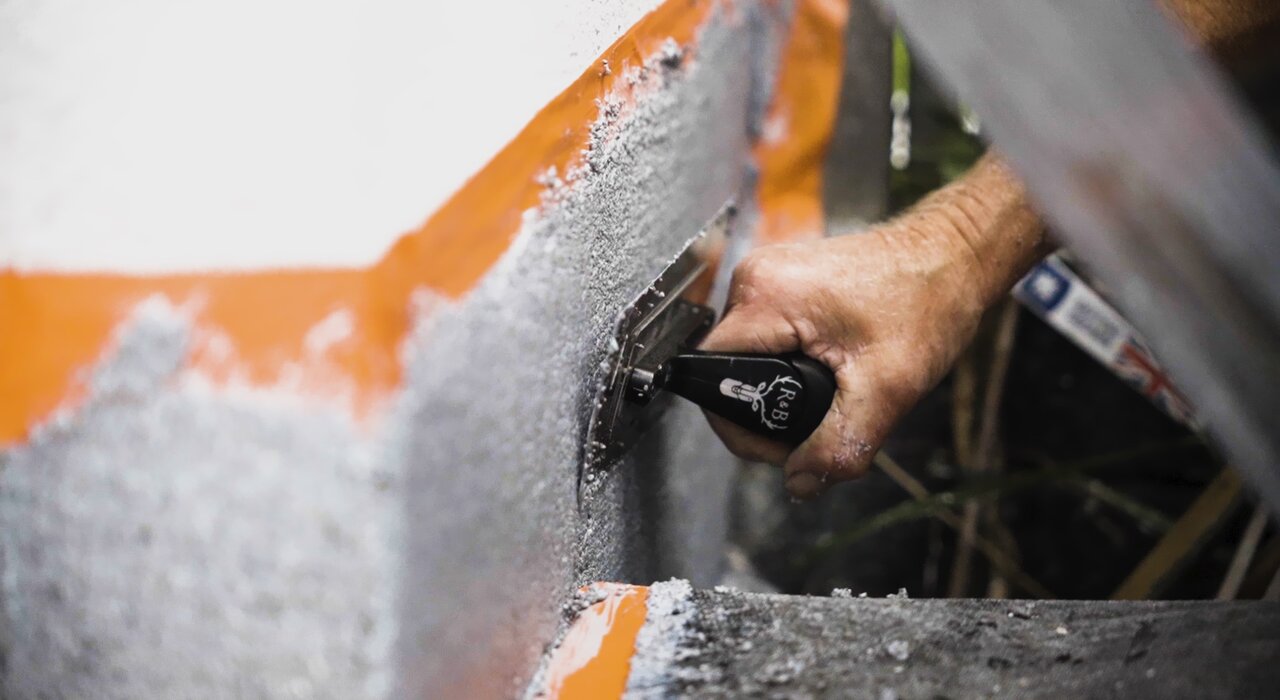
Once fixings and beads are in place, apply another layer of EWI-226 Aquabase over the XPS boards:
-
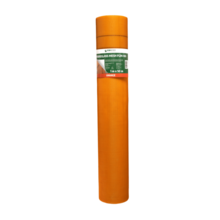
Reinforce with fibreglass mesh embedded into the wet basecoat for strength
Coverage: 25kg covers 4–5m²
Drying Time: 12–48 hours
7. Render Primer
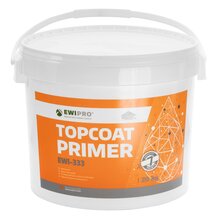
Before applying your topcoat render, prime the basecoat using EWI-333 Topcoat Primer.
-
Suitable for use with a wide range of renders, including Mosaic Render
-
Enhances adhesion and ensures an even, long-lasting finish
-
Can be tinted to match the colour of your render for improved opacity
Coverage:
-
7L bucket: 20m²
-
21L bucket: 60–70m²
Drying Time: 12–24 hours
8. Topcoat Render
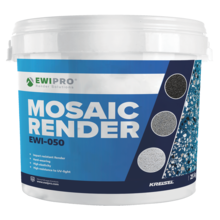
EWI-050 Mosaic Render
-
Waterproof and highly durable
-
Suitable for areas exposed to splashback and impact
-
Decorative stone-effect finish available in a wide range of colours
Coverage: 25kg bucket covers approx. 3–4m²
Drying Time: 24 hours+
Final Tips
✅ Always ensure the surface is clean, dry, and stable before starting
✅ Double-check DPC height before installation
✅ XPS insulation is only suitable below DPC—use breathable materials above
✅ Don’t skip primer or basecoat steps—they’re essential for system longevity

