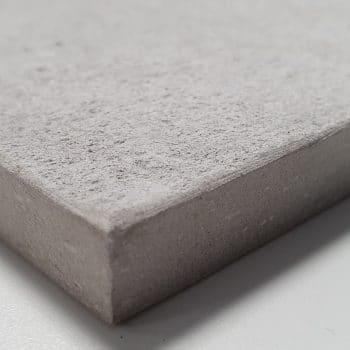
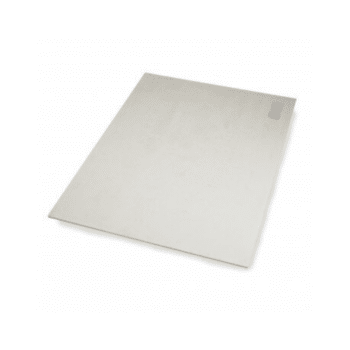
What are cement boards?
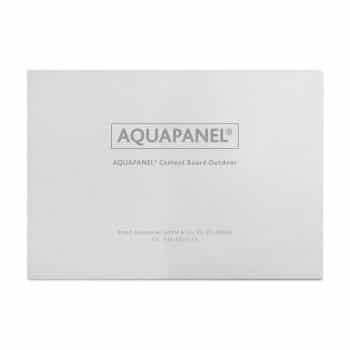
Cement boards, also known as “render carrier boards” or “weather carrying boards”, are sheets comprised of cement and reinforcing fibres used as tile backing boards as a base for render and external wall insulation. Combined with magnesium, an oxide coating and fibreglass mesh, cement boards create a solid surface that can withstand extreme weathering, including rain, wind and snow. What’s more, cement boards do not rot or swell when they encounter water, meaning they can stand the test of time even on the exterior of a property. The most common cement boards on the market for render are Aquapanels, STS render carrier board and Siniat boards.


Applying render to cement boards
Cement boards can be finished in numerous ways however, one of the most effective ways is to apply render. Not only does render enhance the external appearance of a property, but it improves its thermal performance and thereby reduces energy costs. With that, let us explain how to apply render to cement boards!
Step one: Priming the cement boards
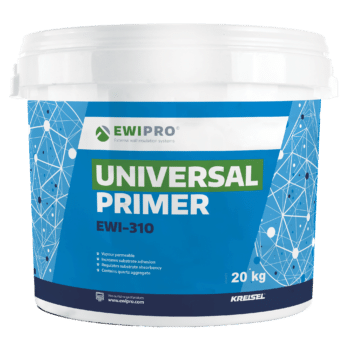
The first step to applying render to cement boards is to prime the boards. We recommend using our EWI-310 Universal Primer as the presence of silicate in the render creates an excellent adhesive for the basecoat of the render (to learn more about how primers work, make sure to check our complete guide to EWI Primers). The Universal Primer comes in 20kg buckets, and each bucket can cover between 60 and 80m2 depending on the absorption from the cement board. The primer should be applied to the cement board using a brush or roller; its red colour allows you to see clearly where on the wall it has been applied. For best results, allow the primer to dry completely before applying the next layer.
Step two: Applying the basecoat
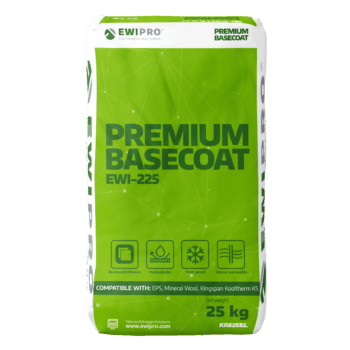
After the primer, applying the basecoat to the cement board is relatively easy. Firstly, an adhesive must be applied; our adhesives come dry, meaning they must be mixed with water before application. We recommend using our EWI-225 Premium Adhesive as this is our strongest basecoat and will help prevent cracking. Upon being mixed with water to form a cream coloured putty, the adhesive should be applied with a notched trowel. For best results, use a 10mm-sized notched trowel for applying a 6mm-thick layer of adhesive to the cement board.
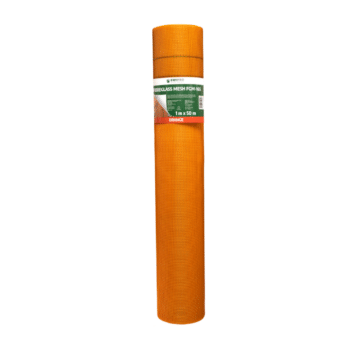
Once the adhesive has been applied, the fibreglass mesh can be embedded within the adhesive; it is this mesh that makes our render systems so flexible. The fibreglass mesh comes in rolls which must be applied vertically, overlapping one another by 10cm, within the adhesive; this can be achieved by drawing the flat edge of the notched trowel up from the bottom of a wall to pull the adhesive through the holes of the mesh. Our EWI-66645 Orange Fibreglass Mesh rolls are 50cm in length, 1m in width and cover 50m2.
As the render topcoat is so thin, it is vital to ensure that the basecoat is completely smooth. If the basecoat is still not completely smooth even after the mesh has been embedded, the easiest solution is to produce a very wet adhesive mix to apply to the basecoat.
Step three: Priming the basecoat
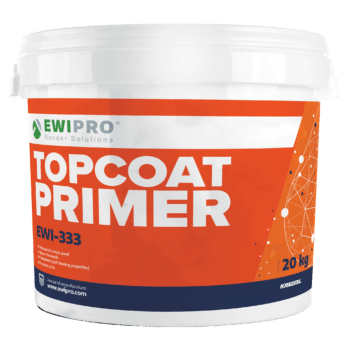
Once the fibreglass mesh-embedded adhesive is completely smooth, the wall needs to be primed ready for the render. The primer used depends on the type of render however, provided you match the primer with the render, the principle is the same. For example, our EWI-333 Silicone Silicate Primer comes in either 7kg or 2kg buckets and can be applied using a paintbrush or roller, with the 7kg bucket covering approximately 20m2 of the wall and the 2kg bucket 70m2.

Step four: Applying the render
As soon as the basecoat primer is dry, it is time to apply the render!
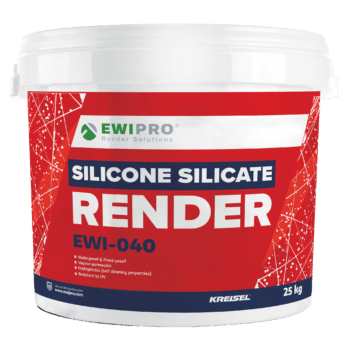
The majority of EWI Pro renders are thin-coat renders, so the thickness of the topcoat is determined by the grain size of the render. For instance, our EWI-040 Silicone Silicate Render comes in four different grain sizes – 1mm, 1.5mm, 2mm and 3mm – so, if you are to purchase a 2mm-thick Silicone Silicate Render, the topcoat should be applied no thicker than 2mm thick. We have received various reports of the render being applied too thick and thereby impinging on the desired finish, so it’s vital to remember that the thickness of the render itself and render facade must match!
With that in mind, make sure to apply the render to the cement board with a trowel as you can pull off any excess with the trowel, too. Once any excess has been removed, leave the render for five minutes, then work the render in a circular motion using a plastic float to achieve the desired finish.


And that’s how render is applied to cement boards! If thin-coat render systems are of interest to you, make sure to check out our blog on coloured render costs per square metre for an accurate idea as to how much the materials for such a system typically cost. If you have any questions, do not hesitate to comment below or contact us!


13 thoughts on “Applying Render to Cement Board”
I am trying to render a horizontal overhang on a property. My question is, can I go straight over the top of the Kingspan with an osb board, then apply the plaster render or should I consider using anything else?
I am wondering whether you need a vapour layer when applying this to cement board?
I am currently considering which insulation system to go with. I have been doing some research, and although the above matches the Sto system, I am unsure whether or not I need an air cavity behind the cement carrier board. Also whether I need to install a breathable membrane in this air cavity. Please can you advise? I want to install an insulation system that is going to last and I definitely don’t want it to cause any damp issues in my home.
Kind regards
Peter
Can you apply render to the floor without putting in a bell cast bead without beaching the DPC
Hi Dave, we would definitely not recommend bridging the DPC. A bellcast bead just about the DPC is the best bet.
My plasterer has applied a base coat after applying pva to the board which adhered okay he then applied a second coat pva when dry tried to put top coat . Which keeps peeling off has tried 3 times but will not adhere, can you give any advise please the weather is very hot has this anything to do with it .
Hi Andy, the boards aren’t absorbant so the PVA is the wrong type of primer in this case. Try using our EWI-310 universal primer for the carrier boards, or to build out multiple passes of basecoat (although not needed if using the EWI-225), or the EWI-333 Top coat primer between the basecoat and the render.
Can you advise what’s the approx finish thickness, excluding the render board? Thanks
Hi Jim, the total thickness of the basecoat and silicone render should be approximately 8mm as the basecoat layer is around 4-7mm depending on the selected basecoat. What render were you looking to use? The thickness will vary depending on that. Thanks
Probably your 1.5mm or 2mm textured render silicone finish, to match in to existing
Hi can sand and cement render go ontop the board ? As I need to do pebble dash render
Afternoon guys can I use your product as a complete novice to thin coat render on cp boards already fixed it situ?if so how to and what product is suitable?
Hi Martin, we’d probably recommend an experienced installer as they’ll be familiar with our products and ensure proper procedure. You can drop us an email on marketing@ewistore.co.uk and we can point you in the right direction.