What is EPS insulation?
EPS insulation stands for expanded polystyrene insulation. This is an advanced form of insulation system. EPS is suitable for use on a variety of properties and can help you cost-effectively insulate your home or building.
Our handy buyer’s guide will equip you with all the knowledge you will need to know about the EPS insulation system installation process. This way, you can stay informed before making your purchase.
1. Priming the Substrate for EPS
Applying primer is a necessary first step when installing an EPS insulation system. This ensures your EPS insulation system will last. EPS is compatible with a range of substrates, and requires specific priming conditions for each.
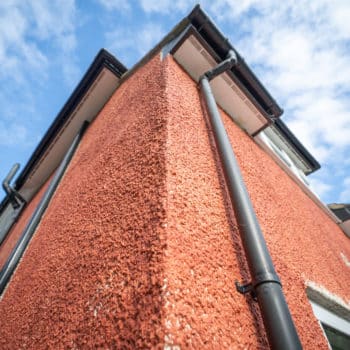
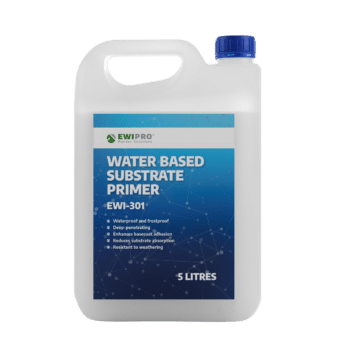
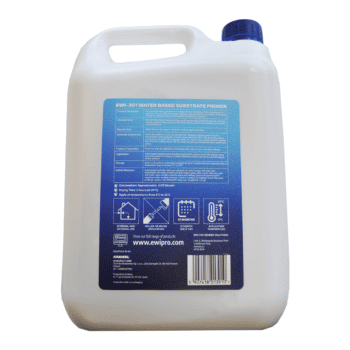
If installing onto brickwork, use EWI-301 Water Based Primer. Apply this to the substrate using a roller or brush.
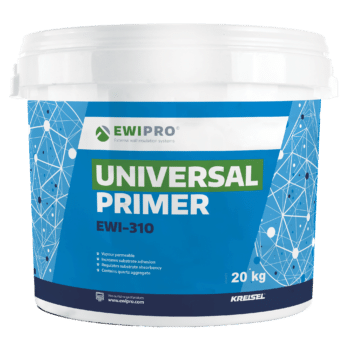
If rendering onto a smooth substrate, use the EWI-310 Universal Primer. The formula contains aggregates that create a rough surface for adhesion.
2. Installing the Starter Track
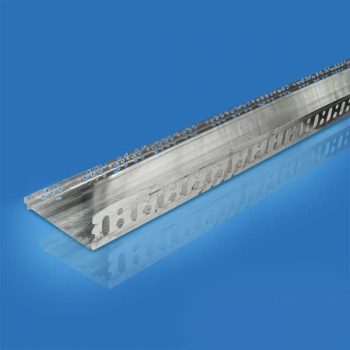
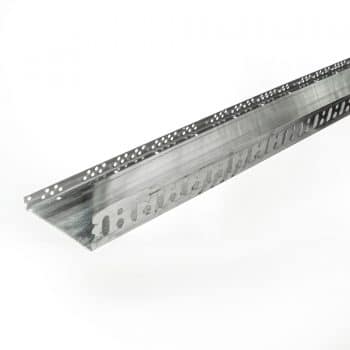
Starter Tracks create a solid base for EPS boards to be installed onto. They are drilled into the wall above the DPC. Starter Tracks can accommodate different thicknesses of insulation.
When installing a Starter Track for an EPS insulation system, you have the following 2 options:
1) UPVC Starter Track: Ensures the thermal bridging is kept to a minimum. Coverage = 2m.
2) Aluminium Starter Track: More cost-effective option. Comes with a clip-on stop bead.
Coverage = 2.5m.

3. Preparing the Adhesive
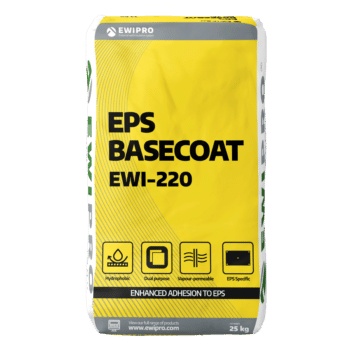
At EWI Store, all our EWI systems are held in place using adhesives and mechanical fixings from our product range. When installing EPS insulation, we highly recommend you use EWI-210 EPS Adhesive or EWI-220 EPS Basecoat.
However, EWI-220 EPS Basecoat has a distinct advantage in that it can be used as a basecoat and an adhesive.
Both EWI-220 Basecoat and EWI-210 EPS Adhesive should be mixed with water using a paddle mix. EWI-210 requires 6.0L of water and EWI-220 requires 5.0L.
Both products mentioned have coverage of 4m2 and a drying time of 24-48 hours.
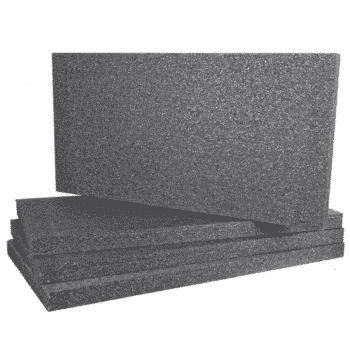
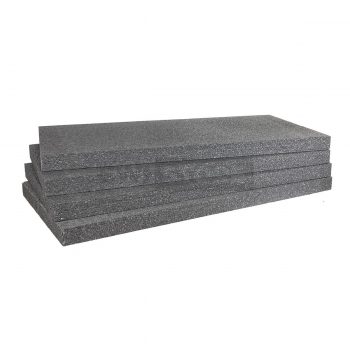
4. Applying EPS Insulation Boards
EPS insulation boards are the key component of EPS insulation systems. They are a high-performance thermal insulation material that enhance the thermal properties of a building.
Our range of EPS insulation boards come in a variety of thicknesses (from 20mm – 220mm). This means our range caters to a wide range of projects. For example, you might want to purchase a 50mm EPS insulation system for your property. Or, if insulating a brick wall, you could opt for the recommended 90mm EPS thickness.
Your next step would be to apply adhesive to the perimeter of the EPS board. Then, 3 dabs across the middle to ensure any imperfections on the surface are evened out.
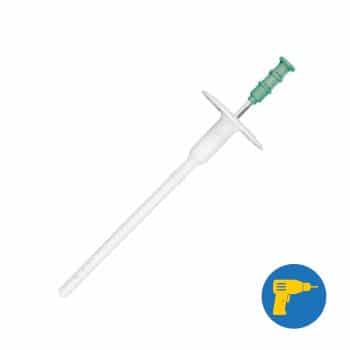
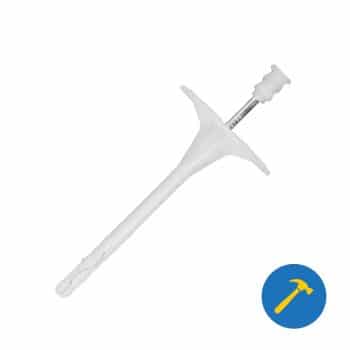
5. Installing the Fixings
We recommend that you install one fixing per corner, with an additional one in the middle of the insulation board. Plastic or metal fixings should be used with the EPS insulation system to aid binding to the wall. The fixings are available in a wide range of lengths to accommodate different thicknesses of insulation, but we recommend the fixing is at least 40mm longer than the thickness of the insulation to ensure it gets a decent hold in the brick or block.

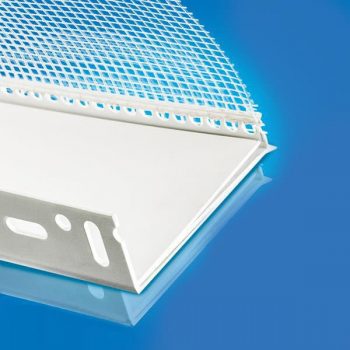
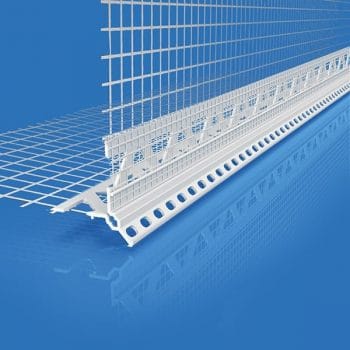
6. Applying Beading
Another key component of the EPS insulation installation process is beading. Beading works to reinforce certain areas on the external wall that are more prone to damage than others.
The beads you will require will be dependant on the areas that need reinforcing. For example, windows, doors and corners.
Our selection of available render beads allows you to choose the perfect beading for your property. They are uPVC and designed to be embedded in the basecoat layer.
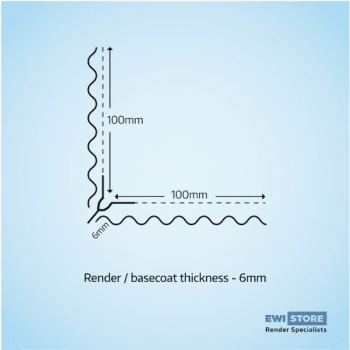
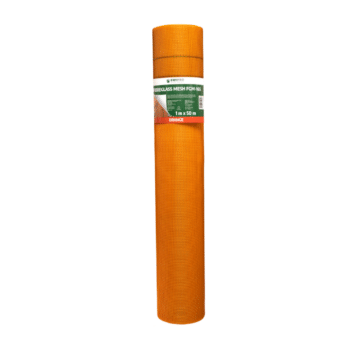
7. Applying the Basecoat and Embedding the Mesh
For EPS external wall insulation systems, EWl-220 EPS Basecoat is used for the reinforced basecoat layer. EWl-220 should be applied at a thickness of 6mm, allowing the fibreglass mesh to be embedded within it.
Once dry, the reinforcement basecoat layer provides a strong, flexible and waterproof layer.
• Coverage rates (basecoat): 1 x 25kg bag covers 3.5m2
• Coverage rates (mesh): 1 x 50m2 roll covers 42.5m2 when overlapped. Our standard mesh is sold either in rolls of 50m2 or by the m2
8. Priming the Basecoat
Following application of the mesh, and prior to rendering, your next port of call should be to prime the basecoat. Priming the basecoat aids adhesion between the basecoat and render and also limits absorption to the basecoat, allowing the render to cure correctly. Our EWI-333 Top Coat primer is the perfect product for this and can be applied with a brush or roller.
Coverage rates:
7Kg – 20m2
20kg – 60m2
Drying times: 12-24 hours.

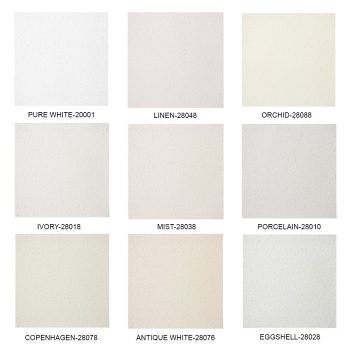
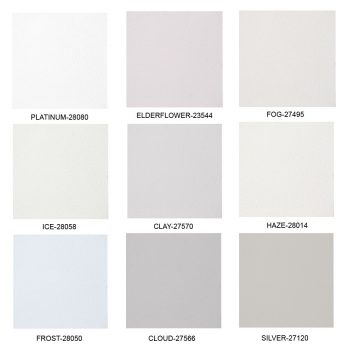
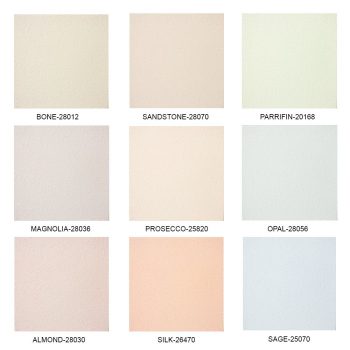
9. Applying Silicone Render
The final step in this process is to apply the render once the Topcoat Primer has dried.
Since most of our renders are thin coat renders, the thickness of the topcoat depends on the grain size of the render. For example, the available grain sizes for EWI-075 Silicone Render are 1mm, 1.5mm, 2mm and 3mm. If you were to purchase the 2mm Silicone Render, your topcoat should be applied no thicker than 2mm.
Render should be applied using a trowel. Any excess render should always be removed. Use a plastic float to apply the render in a circular motion to achieve your desired finish.
Below are the coverage rates you can expect from each grain size:
- 1.0mm = 12m2 – 13m2
- 1.5mm = 9m2 – 10m2
- 2.0mm = 7m2 – 8m2
- 3.0mm = 5m2 – 6m2


Download our Buyer’s Guides
All products mentioned are available in the EWI Store. If you have any further questions, our Sales team will be happy to assist on 0203 034 00 22.
You can download a copy of our buyer’s guide below.
Read more about EPS Insulation and its various properties and advantages here.